
Dell Inspiron 14z-5423 Wireless Mini Card Replacement
Введение
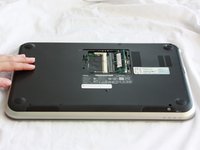
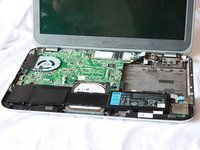
Перейти к шагу 1The wireless mini card of this laptop allows users to connect to wireless internet or hotspots. Damage to this part can prevent the computer from connecting to WIFI.
Выберете то, что вам нужно


-
-
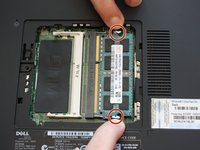
Use a J0 bit tipped screwdriver to unscrew the one 6 mm Phillips screw on the RAM cover.
-
-
-
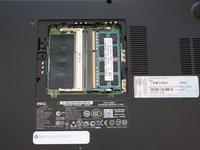
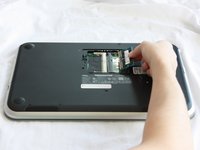
Use your fingers to carefully pull the securing clips on the RAM away from each other.
-
-
-
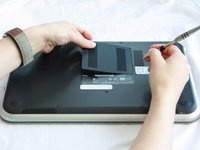
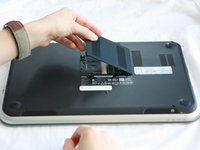
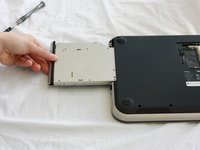
Slide the CD/DVD drive on the side of the laptop out using your fingers.
-
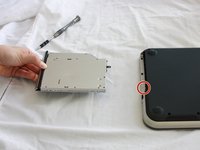
Using a J0 bit screwdriver, unscrew the one 2 mm Phillips screw.
-
-
-
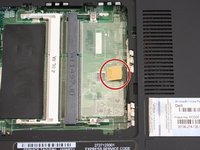
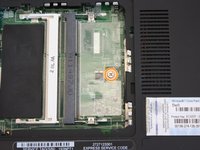
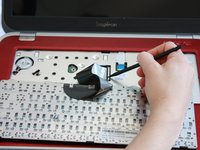
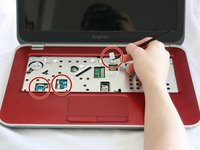
Lift the plastic yellow flap on the system board.
-
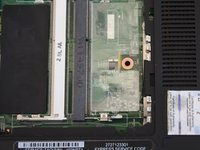
Use the J0 Bit screwdriver to remove the one 6 mm Phillips screw in center of the system board that is connected to the keyboard.
-
-
-
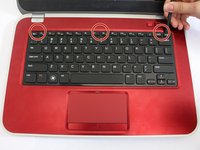
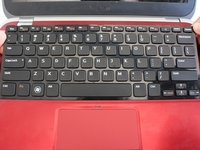
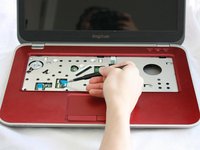
Insert a spudger next to the plastic indents located at the top of the keyboard and gently pry to release the securing clips.
-
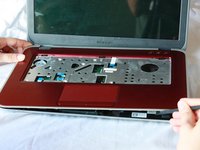
Lift the keyboard off of the computer.
-
-
-
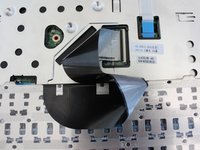
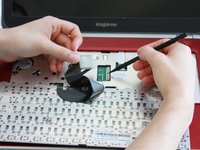
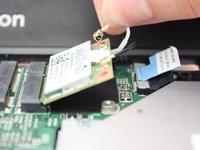
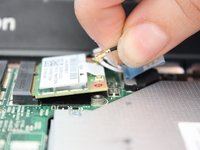
Flip the little black securing bar near the base of the ribbon with a spudger to release the ribbon from the computer.
-
-
Инструмент, используемый на этом этапе:Tweezers$4.99
-
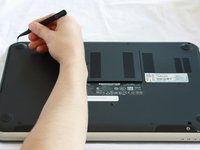
Remove all 7 rubber screw caps with tweezers.
-
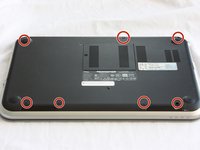
Use a J0 Bit tipped screwdriver unscrew the seven 6 mm Phillips screws on the back casing of the laptop.
-
-
-
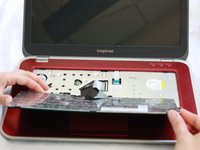
Flip the computer over and open the display.
-
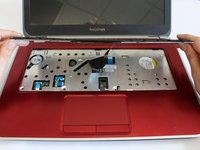
Pull on the blue tabs to disconnect the palm rest assembly from the computer.
-
-
-
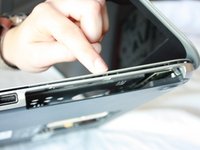
Gently wedge the nylon spudger underneath the palm-rest assembly to release the latches.
-
Continue this process on all sides of the computer edges until the assembly pulls off.
-
Remove the palm rest assembly.
-


To reassemble your device, follow these instructions in reverse order.
To reassemble your device, follow these instructions in reverse order.
Команду

CSU Fullerton, Team 2-2, Bruce Fall 2016 Участник CSU Fullerton, Team 2-2, Bruce Fall 2016
CSUF-BRUCE-F16S2G2
5 членов
Автор 11 руководств