Перейти к основному содержанию
Присоединяйся к сообществу ремонтников - Создай аккаунт

FixHub Portable Power Station Quiescent Current Rework

Выберете то, что вам нужно

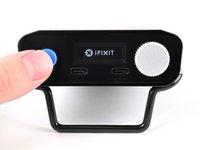
  1. FixHub Portable Power Station Quiescent Current Rework, Shut down your power station: шаг 1, изображение 1 из 3 FixHub Portable Power Station Quiescent Current Rework, Shut down your power station: шаг 1, изображение 2 из 3 FixHub Portable Power Station Quiescent Current Rework, Shut down your power station: шаг 1, изображение 3 из 3
    • Let your Portable Power Station's battery drain below 25% before starting this repair. A charged lithium‑ion battery may catch fire if damaged.

    • Hold down the blue action button for five seconds to shut down your power station.

    • Collapse the kickstand.

    Спросите у FixBot
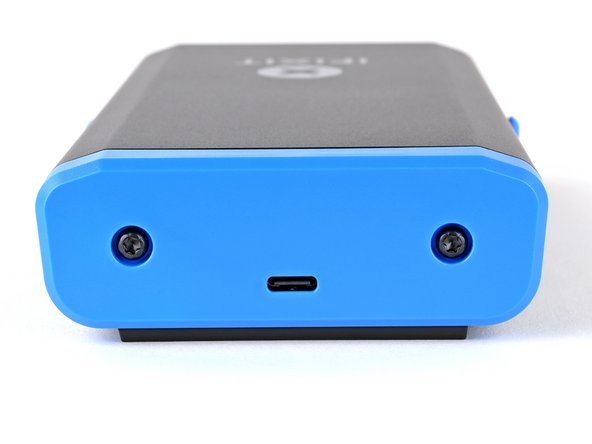
  2. FixHub Portable Power Station Quiescent Current Rework, Remove the rear cover screws: шаг 2, изображение 1 из 2 FixHub Portable Power Station Quiescent Current Rework, Remove the rear cover screws: шаг 2, изображение 2 из 2
    Инструмент, используемый на этом этапе:
    FixMat
    $36.95
    • Throughout this repair, keep track of each screw and make sure it goes back exactly where it came from.

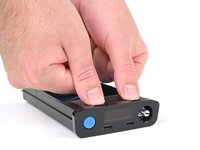
    • Use a T10 Torx screwdriver to remove the two 8 mm‑long screws securing the rear cover.

    Спросите у FixBot
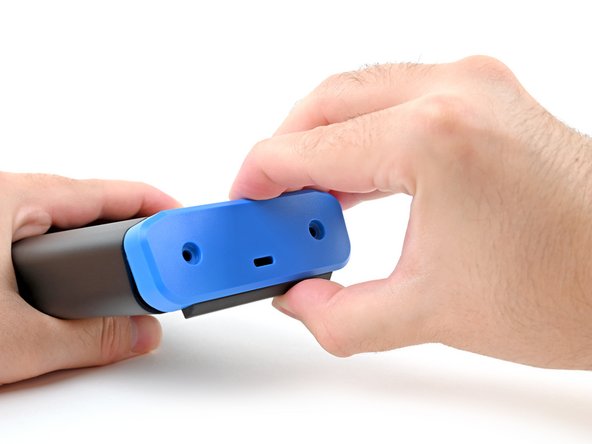
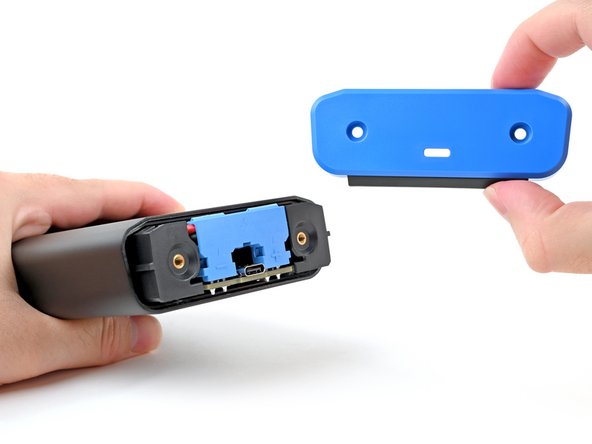
  3. FixHub Portable Power Station Quiescent Current Rework, Remove the rear cover: шаг 3, изображение 1 из 3 FixHub Portable Power Station Quiescent Current Rework, Remove the rear cover: шаг 3, изображение 2 из 3 FixHub Portable Power Station Quiescent Current Rework, Remove the rear cover: шаг 3, изображение 3 из 3
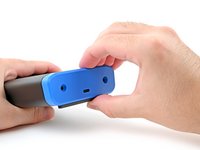
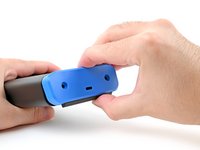
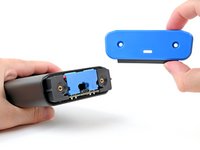
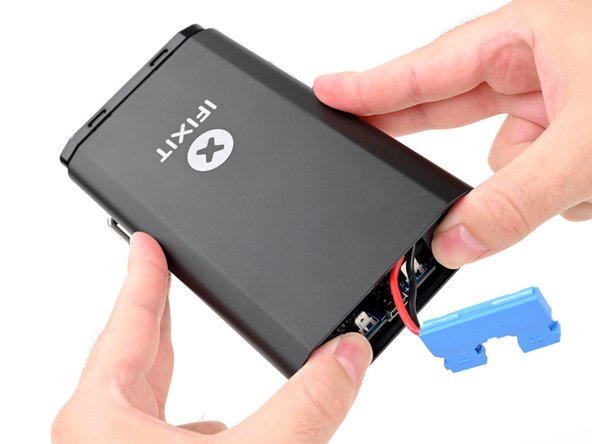
    • Grab the rear cover and pull the bottom edge towards you.

    • Remove the rear cover.

    • Don't try to remove the enclosure while the battery is still connected, or you'll damage the battery connector.

    • During reassembly, hook in the top edge of the rear cover first, then press the bottom edge into place.

    Спросите у FixBot
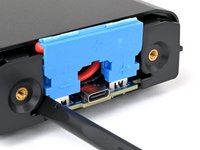
  4. FixHub Portable Power Station Quiescent Current Rework, Pry up the battery connector: шаг 4, изображение 1 из 2 FixHub Portable Power Station Quiescent Current Rework, Pry up the battery connector: шаг 4, изображение 2 из 2
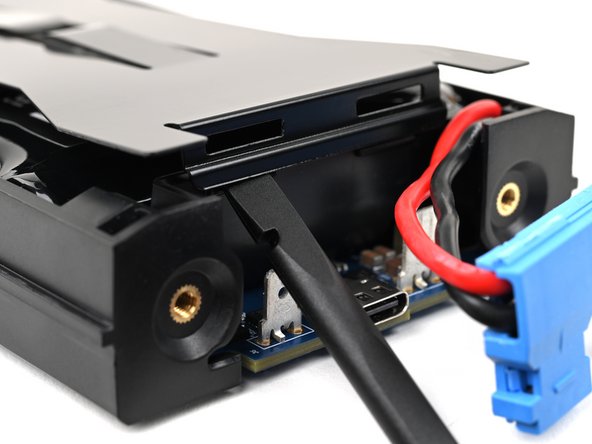
    • To avoid an electrical shock, don't use metal tools to disconnect the battery.

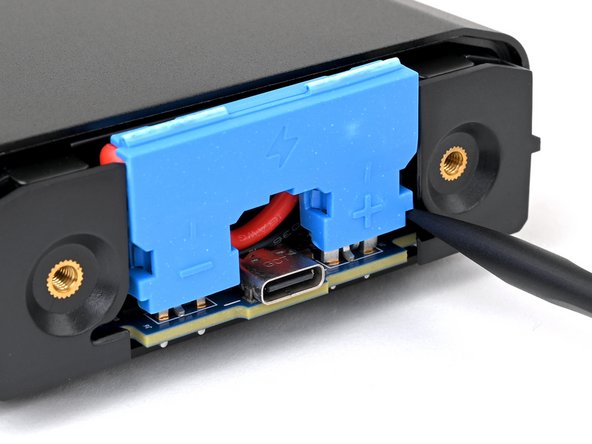
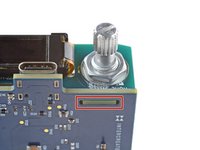
    • Insert the flat end of a spudger into one of the slots on either side of the battery connector. They're shaped just for this!

    • Use the spudger to begin prying up the connector.

    • If it's your first time disconnecting the battery, this may take some force.

    • Just when the connector starts to move, continue to the next step.

    Спросите у FixBot
  5. FixHub Portable Power Station Quiescent Current Rework: шаг 5, изображение 1 из 3 FixHub Portable Power Station Quiescent Current Rework: шаг 5, изображение 2 из 3 FixHub Portable Power Station Quiescent Current Rework: шаг 5, изображение 3 из 3
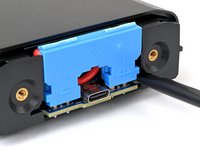
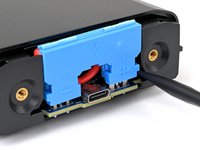
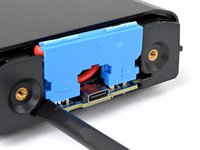
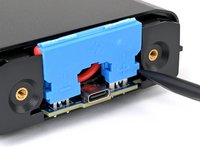
    • Repeat the process and pry up on alternating sides of the battery connector to "walk" it off of the two plugs, enough that you can easily grip it with your fingers.

    • You may have to reposition your spudger to fully release the battery connector. Be careful not to damage the board if you pry against it.

    Спросите у FixBot
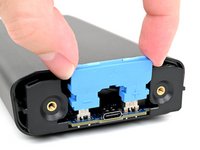
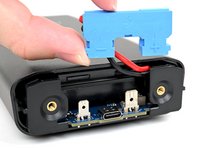
  6. FixHub Portable Power Station Quiescent Current Rework, Disconnect the battery: шаг 6, изображение 1 из 2 FixHub Portable Power Station Quiescent Current Rework, Disconnect the battery: шаг 6, изображение 2 из 2
    • Don't try to force the connector off or you might hurt yourself on the metal edges of the enclosure. If the connector doesn't come off easily, continue prying up with your spudger until the connector is loose enough to easily disconnect.

    • Grasp the battery connector by its edges and pull straight up to disconnect it.

    Спросите у FixBot
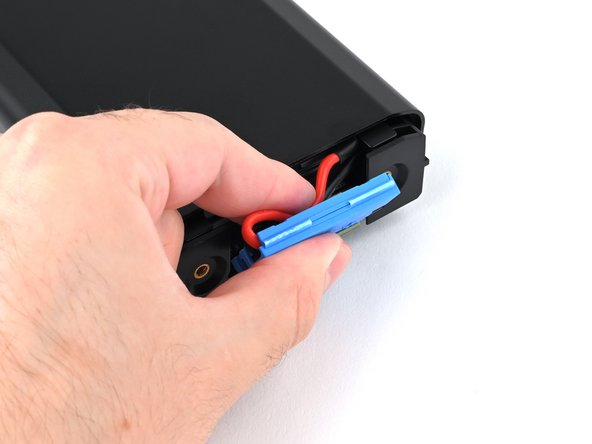
  7. FixHub Portable Power Station Quiescent Current Rework, Reassembly information: шаг 7, изображение 1 из 3 FixHub Portable Power Station Quiescent Current Rework, Reassembly information: шаг 7, изображение 2 из 3 FixHub Portable Power Station Quiescent Current Rework, Reassembly information: шаг 7, изображение 3 из 3
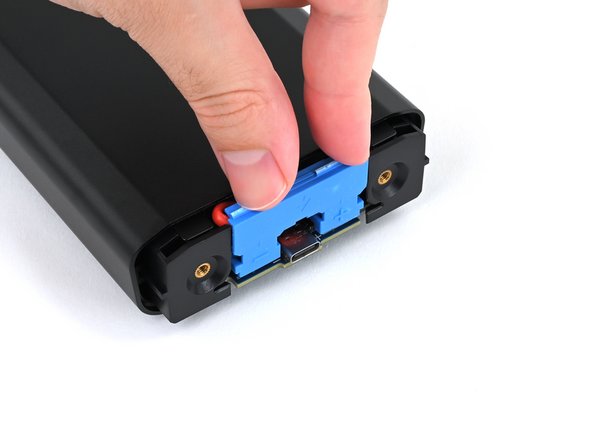
    • During reassembly, follow these steps to reconnect the battery:

    • Tuck the wires behind the connector, so the side of the connector with positive (+) and negative (-) markings is facing outward.

    • Make sure the wires aren't pinched by the enclosure.

    • Align the connector over its two metal plugs so the negative (-) side is on the left of the USB‑C port and the positive (+) side is on the right.

    • Slide the connector onto its plugs and push down firmly until it's fully seated.

    Спросите у FixBot
  8. FixHub Portable Power Station Quiescent Current Rework, Remove the chassis: шаг 8, изображение 1 из 2 FixHub Portable Power Station Quiescent Current Rework, Remove the chassis: шаг 8, изображение 2 из 2
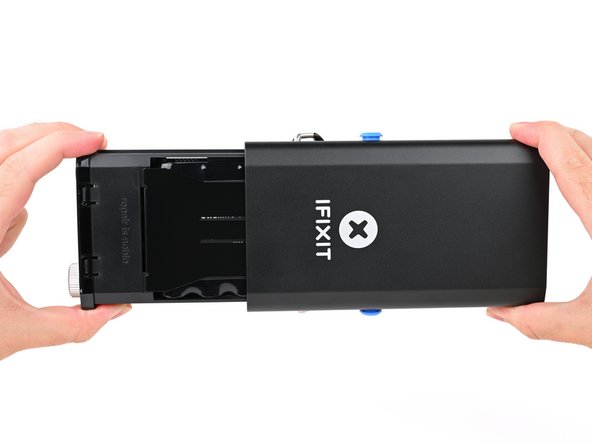
    • Place your fingers on the rear cover screw holes and push the chassis slightly out of the enclosure.

    Спросите у FixBot
  9. FixHub Portable Power Station Quiescent Current Rework: шаг 9, изображение 1 из 3 FixHub Portable Power Station Quiescent Current Rework: шаг 9, изображение 2 из 3 FixHub Portable Power Station Quiescent Current Rework: шаг 9, изображение 3 из 3
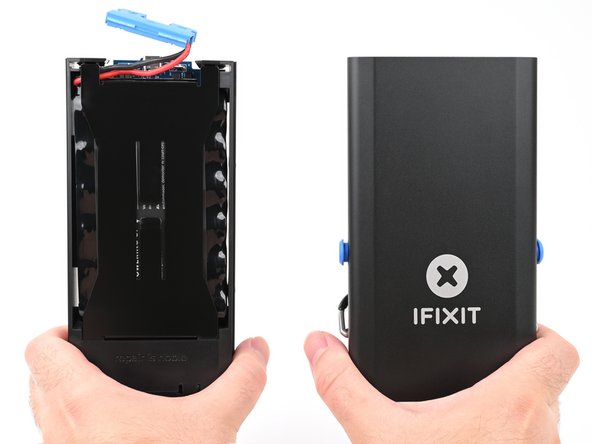
    • Slide the chassis fully out of the enclosure, making sure the battery connector doesn't get snagged.

    • During reassembly:

    • Make sure the battery is disconnected before sliding the chassis into the enclosure. Otherwise, you'll damage the battery connector.

    • Insert the battery connector side of the chassis into the end of the enclosure closest to the kickstand and slide it into place.

    Спросите у FixBot
  10. FixHub Portable Power Station Quiescent Current Rework, Remove the metal battery cover: шаг 10, изображение 1 из 2 FixHub Portable Power Station Quiescent Current Rework, Remove the metal battery cover: шаг 10, изображение 2 из 2
    • Use the flat end of a spudger or a clean fingernail to pry up the edge of the metal battery cover closest to the battery connector.

    Спросите у FixBot
  11. FixHub Portable Power Station Quiescent Current Rework: шаг 11, изображение 1 из 3 FixHub Portable Power Station Quiescent Current Rework: шаг 11, изображение 2 из 3 FixHub Portable Power Station Quiescent Current Rework: шаг 11, изображение 3 из 3
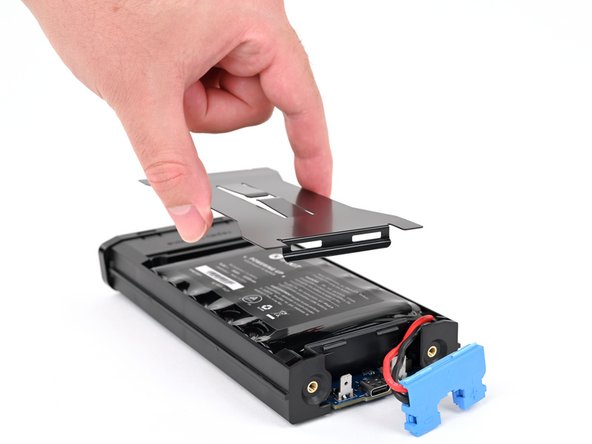
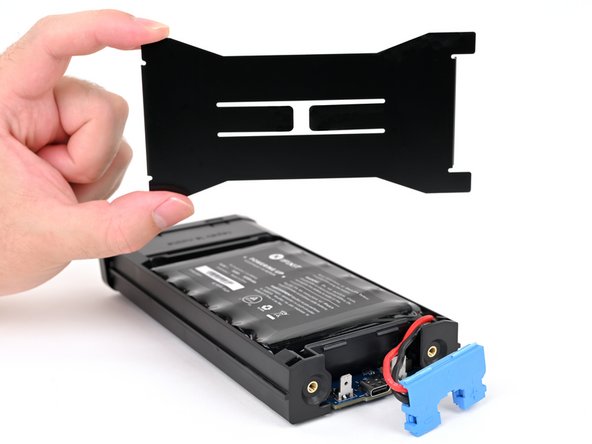
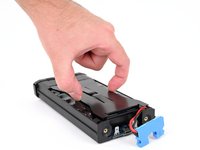
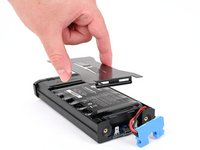
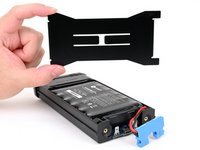
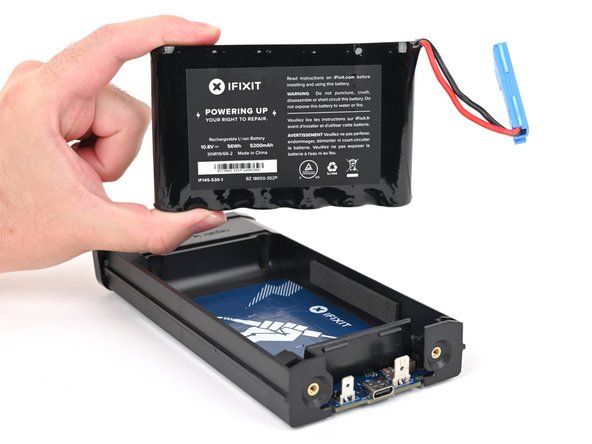
    • The battery cover locks the battery in place. Once removed, the battery becomes free to fall out of the power station.

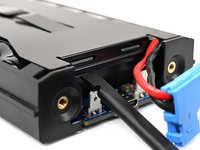
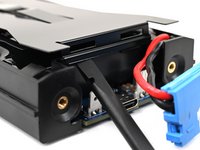
    • Remove the metal battery cover.

    • During reassembly:

    • Hook the short edge of the cover without cutouts into place at the front, near the display.

    • Firmly press down on the opposite edge of the cover until it clips into place.

    • Make sure the battery cover doesn't pinch the battery cables—they should be routed under the cover and angled inward.

    Спросите у FixBot
  12. FixHub Portable Power Station Quiescent Current Rework, Remove the battery: шаг 12, изображение 1 из 3 FixHub Portable Power Station Quiescent Current Rework, Remove the battery: шаг 12, изображение 2 из 3 FixHub Portable Power Station Quiescent Current Rework, Remove the battery: шаг 12, изображение 3 из 3
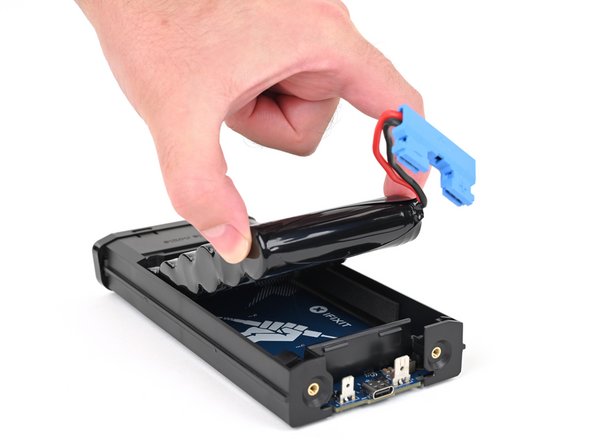
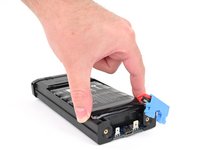
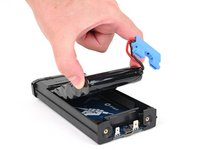
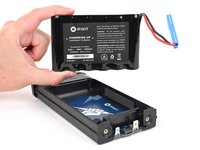
    • Remove the battery.

    • During reassembly, don't reconnect the battery until after the enclosure is installed, or you'll damage the battery connector when everything goes back together.

    Спросите у FixBot
  13. FixHub Portable Power Station Quiescent Current Rework, Remove the selector knob: шаг 13, изображение 1 из 3 FixHub Portable Power Station Quiescent Current Rework, Remove the selector knob: шаг 13, изображение 2 из 3 FixHub Portable Power Station Quiescent Current Rework, Remove the selector knob: шаг 13, изображение 3 из 3
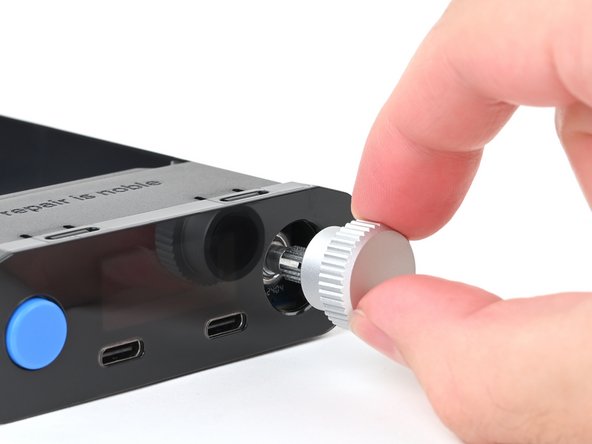
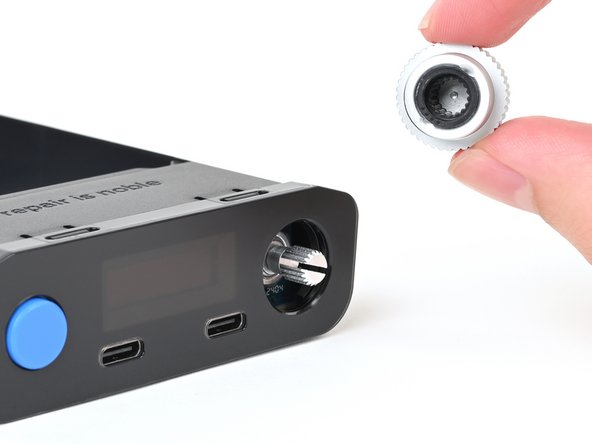
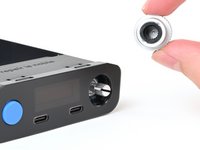
    • Pull the silver selector knob directly away from the front panel to remove it.

    Спросите у FixBot
  14. FixHub Portable Power Station Quiescent Current Rework, Remove the front panel: шаг 14, изображение 1 из 3 FixHub Portable Power Station Quiescent Current Rework, Remove the front panel: шаг 14, изображение 2 из 3 FixHub Portable Power Station Quiescent Current Rework, Remove the front panel: шаг 14, изображение 3 из 3
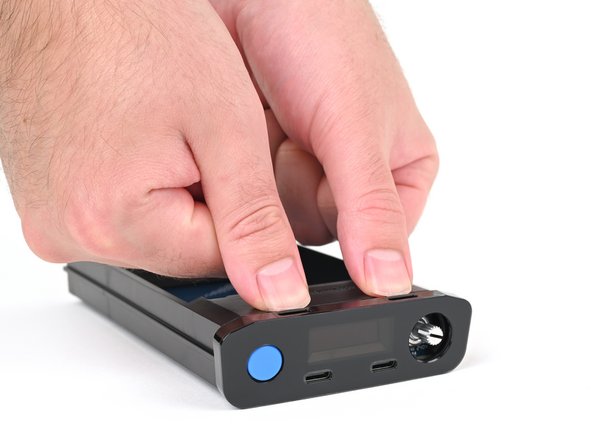
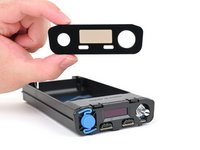
    • Use your fingers to depress the two locking tabs holding the front panel in place.

    • Press on the clips themselves (just behind the front panel) and not through the cutouts on the top edge of the front panel.

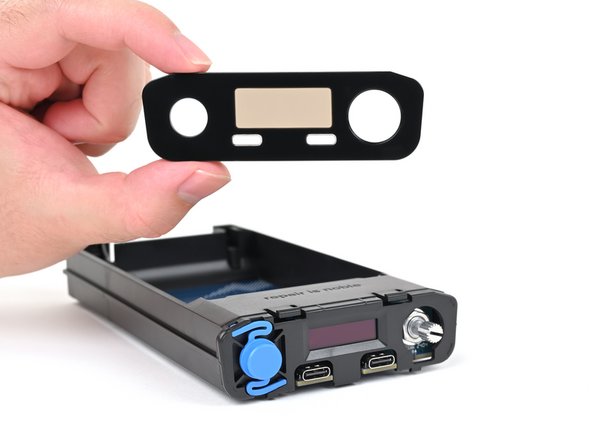
    • While pressing the tabs down, push the front panel away from the chassis and remove it.

    • During reassembly:

    • Hook in the bottom edge of the front panel first, then push the top edge until it clicks into place.

    • Make sure the two USB-C ports slide into their cutouts in the front panel and aren't trapped underneath.

    Спросите у FixBot
  15. FixHub Portable Power Station Quiescent Current Rework, Remove the main board supports: шаг 15, изображение 1 из 3 FixHub Portable Power Station Quiescent Current Rework, Remove the main board supports: шаг 15, изображение 2 из 3 FixHub Portable Power Station Quiescent Current Rework, Remove the main board supports: шаг 15, изображение 3 из 3
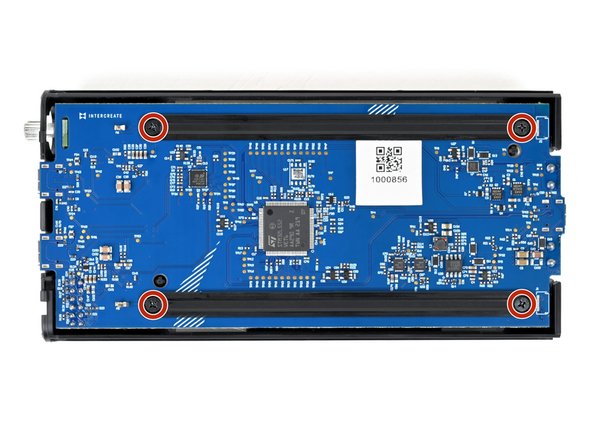
    • Flip your power station over.

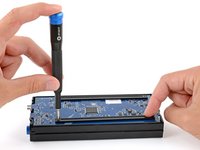
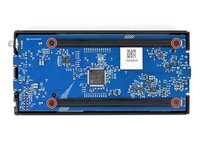
    • Use a Phillips screwdriver to remove the four 6 mm‑long screws securing the two main board supports.

    • Hold the supports in place while removing the final screws. Otherwise, the support may swing onto the board and damage the small, surface‑mounted components.

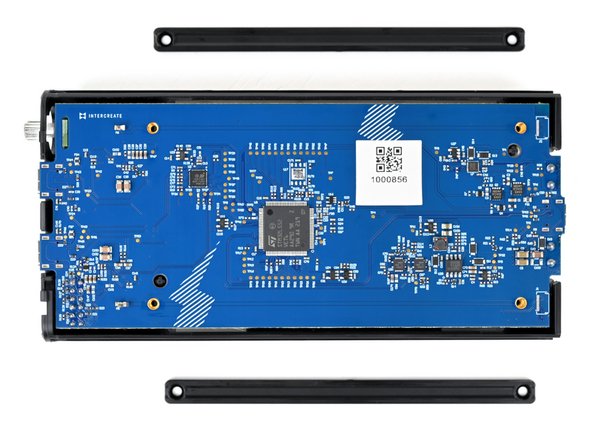
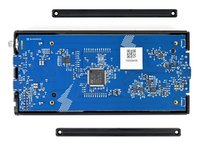
    • Remove the main board supports.

    • During reassembly, make sure the beveled sides of the main board support screw holes face up.

    Спросите у FixBot
  16. FixHub Portable Power Station Quiescent Current Rework, Remove the chassis: шаг 16, изображение 1 из 3 FixHub Portable Power Station Quiescent Current Rework, Remove the chassis: шаг 16, изображение 2 из 3 FixHub Portable Power Station Quiescent Current Rework, Remove the chassis: шаг 16, изображение 3 из 3
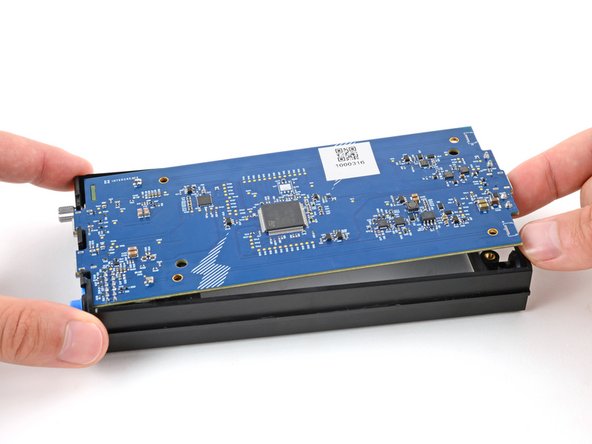
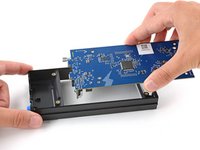
    • Use your finger to gently lift the main board by the USB‑C port, enough that you can grip the board's edges.

    Спросите у FixBot
  17. FixHub Portable Power Station Quiescent Current Rework: шаг 17, изображение 1 из 3 FixHub Portable Power Station Quiescent Current Rework: шаг 17, изображение 2 из 3 FixHub Portable Power Station Quiescent Current Rework: шаг 17, изображение 3 из 3
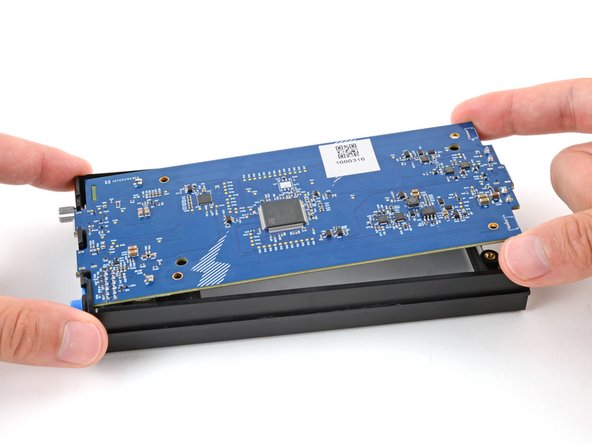
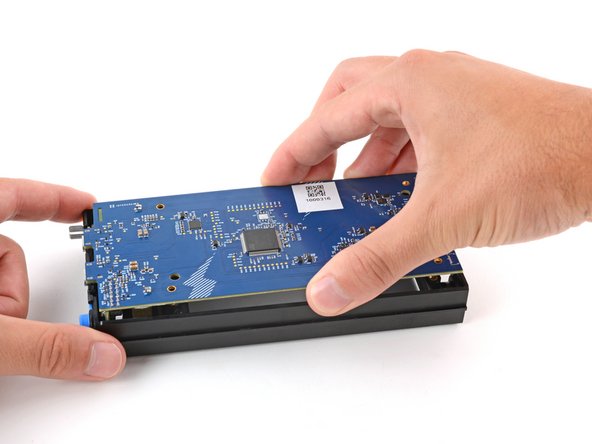
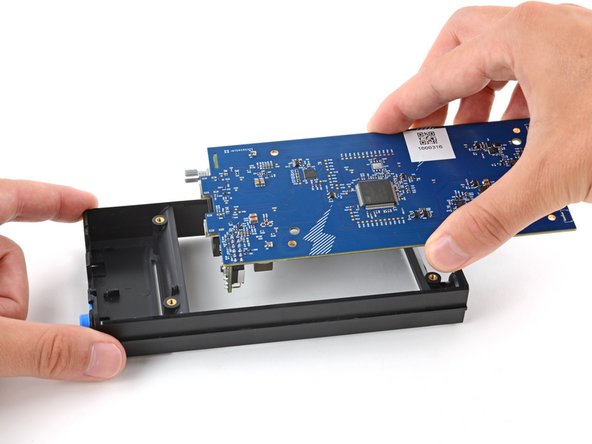
    • With one hand, firmly secure the chassis.

    • With your free hand, grip the main board near the center.

    • Lift the board straight up and pull it away from the display to remove it, threading the selector knob through its cutout.

    Спросите у FixBot
  18. FixHub Portable Power Station Quiescent Current Rework, Remove the UI board: шаг 18, изображение 1 из 3 FixHub Portable Power Station Quiescent Current Rework, Remove the UI board: шаг 18, изображение 2 из 3 FixHub Portable Power Station Quiescent Current Rework, Remove the UI board: шаг 18, изображение 3 из 3
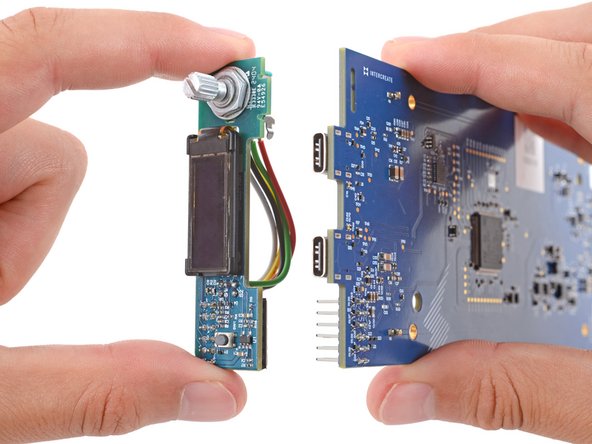
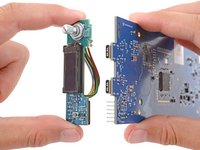
    • Long pins on the main board plug into the UI board and hold it in place.

    • With one hand, hold on to the main board.

    • Don't press the board down against your work surface, or you may damage the surface‑mounted components on the board.

    • With your free hand, grip the UI board by its edges and firmly pull it straight away from the main board to disconnect it.

    • Make sure the boards stay perpendicular to each other or the pins might get damaged.

    • During reassembly:

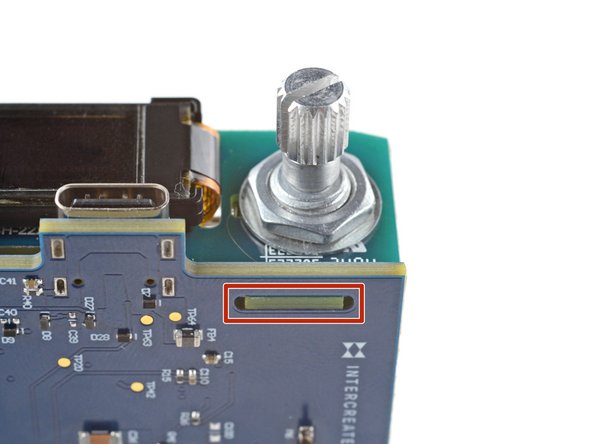
    • When pushing the UI board back into place, make sure the side opposite the sockets goes into its cutout on the main board. Otherwise, it will prevent the UI board from fully seating.

    Спросите у FixBot
  19. FixHub Portable Power Station Quiescent Current Rework, Only the main board remains: шаг 19, изображение 1 из 1
    • Only the main board remains.

    Спросите у FixBot
  20. FixHub Portable Power Station Quiescent Current Rework, Identify the resistors: шаг 20, изображение 1 из 2 FixHub Portable Power Station Quiescent Current Rework, Identify the resistors: шаг 20, изображение 2 из 2
    Инструмент, используемый на этом этапе:
    Silicone Work Mat
    $9.95
    • Set the board face‑down on a clean, heat resistant surface or work mat.

    • Identify the resistors labeled R14 and R54, towards the bottom‑right corner on the board.

    Спросите у FixBot
  21. FixHub Portable Power Station Quiescent Current Rework, Apply flux: шаг 21, изображение 1 из 1
    Инструмент, используемый на этом этапе:
    No-Clean Flux
    $4.95
    • Apply a bead of flux to the solder joint on the left side of resistor R54.

    • Flux helps molten solder flow, but gets vaporized over time. Feel free to add more flux as you desolder the resistors.

    Спросите у FixBot
  22. FixHub Portable Power Station Quiescent Current Rework, Prepare to solder: шаг 22, изображение 1 из 3 FixHub Portable Power Station Quiescent Current Rework, Prepare to solder: шаг 22, изображение 2 из 3 FixHub Portable Power Station Quiescent Current Rework, Prepare to solder: шаг 22, изображение 3 из 3
    Инструмент, используемый на этом этапе:
    FixHub Smart Soldering Iron
    $79.95
    • Put on your safety glasses.

    • Turn on your soldering iron. If your soldering iron has temperature control, set it to 375 °C (~700 °F).

    • Clean the tip of your soldering iron. If you're using a cellulose sponge, wet the sponge with distilled water until damp and quickly wipe the tip across it. If you're using brass wool, stab the tip into the wire a few times.

    • Melt a small glob of solder onto the tip of the iron. This is called "tinning the tip" and will help with heat transfer.

    • You'll likely see some wispy smoke as you melt solder. This is mostly the rosin-core flux that's built into the solder wire.

    Спросите у FixBot
  23. FixHub Portable Power Station Quiescent Current Rework, Desolder R54: шаг 23, изображение 1 из 3 FixHub Portable Power Station Quiescent Current Rework, Desolder R54: шаг 23, изображение 2 из 3 FixHub Portable Power Station Quiescent Current Rework, Desolder R54: шаг 23, изображение 3 из 3
    Инструмент, используемый на этом этапе:
    iFixit Desoldering Wick
    $4.95
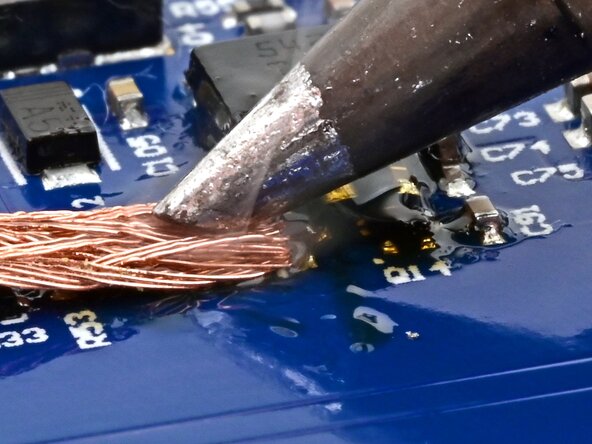
    • Place the clean end of the solder wick against the left side of R54.

    • Be careful not to wick solder away from any other components on the board. Only touch the wick to the component you're removing.

    • Press the soldering iron tip firmly against the wick for 2-3 seconds. You're trying to heat the wick hot enough so that it melts the solder underneath it.

    • If you heat the board continuously for more than 10 seconds, the excessive heat may damage it.

    • If the wick doesn't draw solder, it may be oxidized due to age—apply more flux or try a newer roll of wick.

    • Once most of the solder has soaked into the wick, lift the wick and tip away together from the joint.

    Спросите у FixBot
  24. FixHub Portable Power Station Quiescent Current Rework: шаг 24, изображение 1 из 3 FixHub Portable Power Station Quiescent Current Rework: шаг 24, изображение 2 из 3 FixHub Portable Power Station Quiescent Current Rework: шаг 24, изображение 3 из 3
    • Repeat this process to wick the solder from the right side of R54.

    Спросите у FixBot
  25. FixHub Portable Power Station Quiescent Current Rework, Remove R54: шаг 25, изображение 1 из 3 FixHub Portable Power Station Quiescent Current Rework, Remove R54: шаг 25, изображение 2 из 3 FixHub Portable Power Station Quiescent Current Rework, Remove R54: шаг 25, изображение 3 из 3
    • Use angled tweezers to gently grab R54.

    • Use the soldering iron to heat each side repeatedly, and gently wiggle R54 until it comes loose. Once it's fully loose, remove it.

    • If only one side comes loose, and the resistor stands up on one end, heat the end it's standing on and lift it off the board to remove it.

    • If the resistor sticks to the soldering iron, use tweezers to remove it.

    Спросите у FixBot
  26. FixHub Portable Power Station Quiescent Current Rework, Remove R14: шаг 26, изображение 1 из 3 FixHub Portable Power Station Quiescent Current Rework, Remove R14: шаг 26, изображение 2 из 3 FixHub Portable Power Station Quiescent Current Rework, Remove R14: шаг 26, изображение 3 из 3
    • Be careful not to touch the iron against transistor Q14 while desoldering R14.

    • Repeat this procedure to desolder and remove resistor R14.

    Спросите у FixBot
  27. FixHub Portable Power Station Quiescent Current Rework, Clean the board: шаг 27, изображение 1 из 3 FixHub Portable Power Station Quiescent Current Rework, Clean the board: шаг 27, изображение 2 из 3 FixHub Portable Power Station Quiescent Current Rework, Clean the board: шаг 27, изображение 3 из 3
    Инструмент, используемый на этом этапе:
    iFixit Chemical Dispensing Pen
    $4.95
    • Use a chemical dispensing pen or pipette to apply some isopropyl alcohol where the resistors were on the board.

    • Wipe the area with a cotton swab or lint-free cloth to soak up the flux and alcohol residue.

    Спросите у FixBot
Заключение

To reassemble your Portable Power Station, follow these instructions in reverse order, beginning with Step 19.

Take your e-waste to an R2 or e-Stewards certified recycler.

Repair didn’t go as planned? Try some basic troubleshooting, or ask our Answers community for help.

Brett Hartt

Участник с: 04/12/10

132 073 Репутация

Автор 144 руководств

0 Комментарии к руководству

Добавить комментарий

Статистика просмотров:

За последние 24 часов: 5

За последние 7 дней: 13

За последние 30 дней: 42

За всё время: 229