
HP Pavilion x2 10-n113dx Touch Pad Replacement
Введение
Перейти к шагу 1This guide will show how to replace a touch pad in the HP Pavilion x2 10-n113dx. This guide is moderate in difficulty as one must open up the back of the keyboard. It is important to have a heat pad available so that one can reassemble the gray bumper on the back of the keyboard. The replacement guide requires a Phillips #0 screwdriver and a magnetic board is helpful for keeping track of screws.
Выберете то, что вам нужно
Инструменты


Показать больше…
-
Инструмент, используемый на этом этапе:Tweezers$4.99
-
Loosen the adhesive under the gray plastic bar using a heat pad or a heat gun.
-
Remove the gray plastic bar after 5 minutes of light heat with tweezers by pulling up.
-
-
-
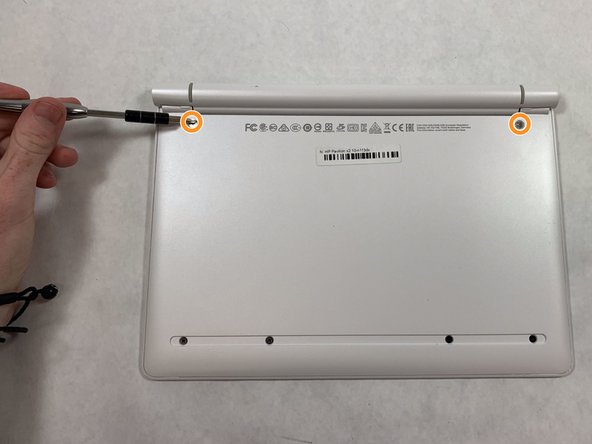
Remove the rubber stoppers at the top left and right with tweezers.
-
Remove the screws at the top and right with at Phillips #0 screwdriver.
-
These two screws have a diameter of 5.3 mm and a height of 4.3 mm.
-
-
-
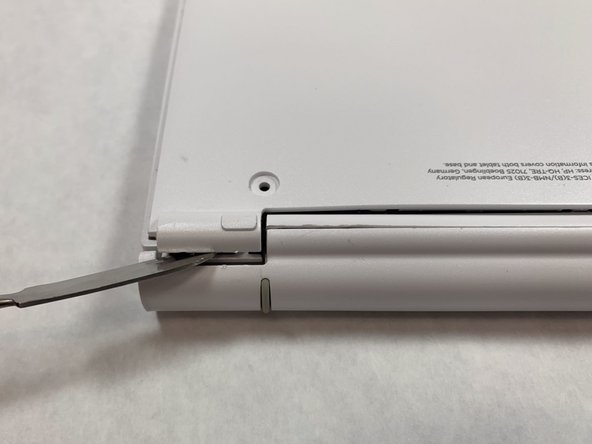
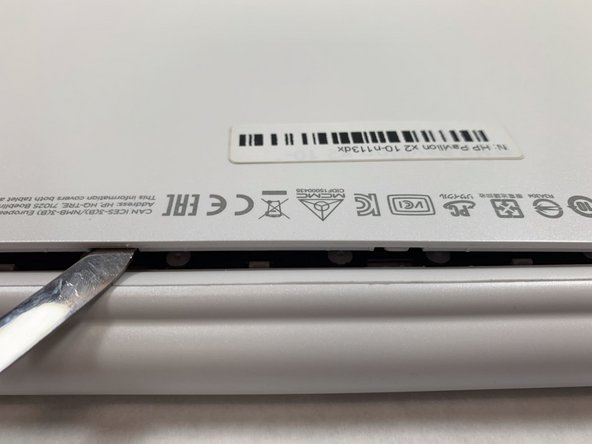
Pry open the back case with a metal spudger.
-
Then pry open the back layer with the metal spudger.
-
-
-
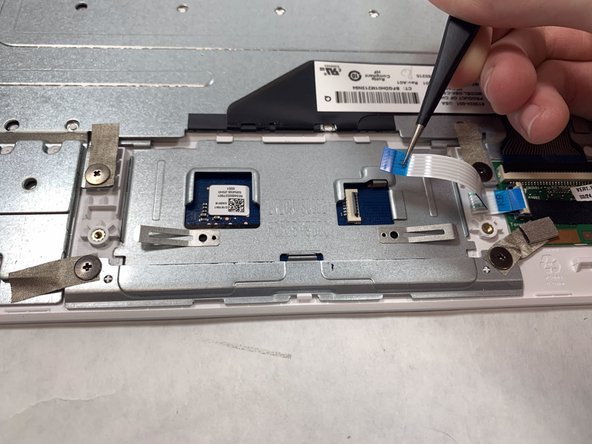
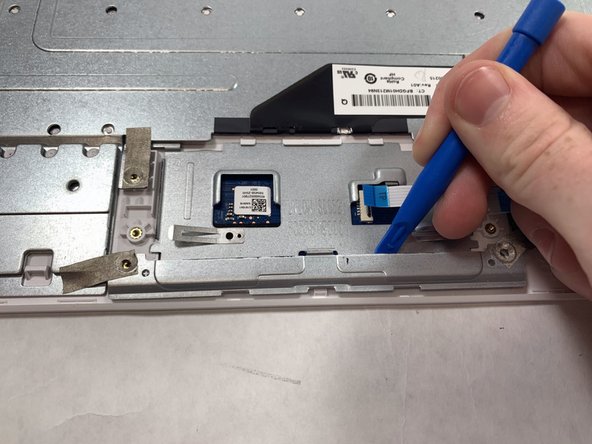
Pop open the ribbon cable piece on the touch pad with the blue plastic spudger.
-
Remove the ribbon cable with tweezers by pulling it out.
-
-
-
Remove 4 screws with at Phillips #0 screwdriver. All 4 screws have a diameter of 4.3 mm and a height of 3.7 mm.
-
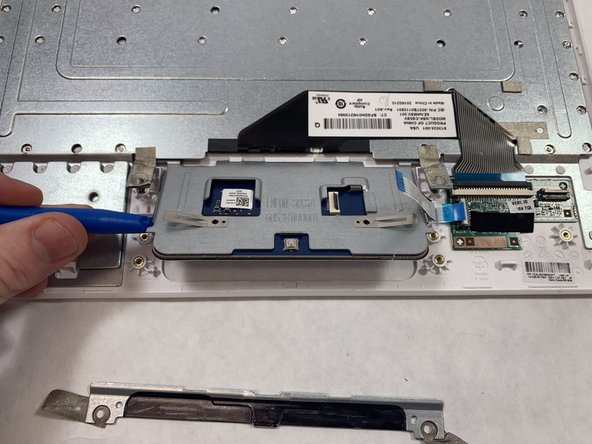
Lift the tape shown with orange boxes with tweezers.
-
Remove metal bar with a blue spudger.
-
-
-
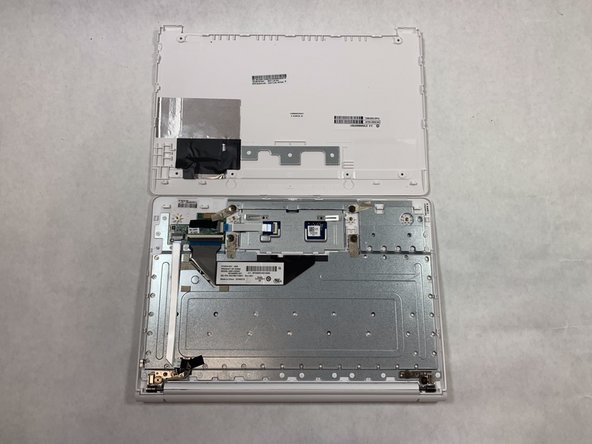
Lift up the touch pad by the metal edge with a blue plastic spudger.
-
Remove the touch pad from the computer.
-


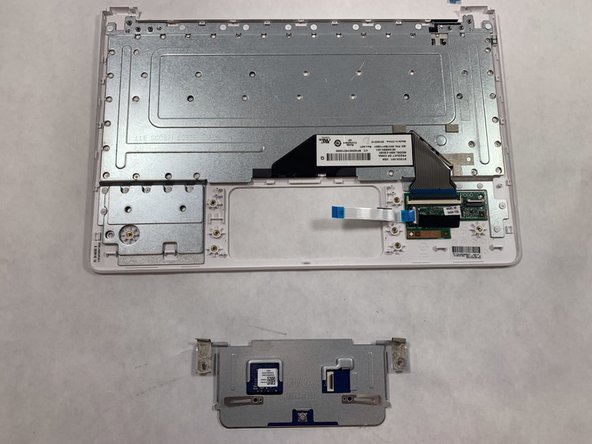


To reassemble your device, follow these instructions in reverse order.
To reassemble your device, follow these instructions in reverse order.
Команду

IUPUI, Team S1-G4, Harley Spring 2019 Участник IUPUI, Team S1-G4, Harley Spring 2019
IUPUI-HARLEY-S19S1G4
3 членов
Автор 3 руководств