
How to Shorten the Length of Pyjama Pants
Введение
Перейти к шагу 1If you've got pyjamas with pant legs that are a bit too long, there's no need to worry. This guide demonstrates how to easily shorten them, with no sewing experience or sewing machine necessary!
Выберете то, что вам нужно
Инструменты


Показать больше…
-
-
Press the pyjamas with an iron to ensure there are no creases.
-
-
-
Take some fabric chalk and measuring tape, then measure the desired length and then make marks on each leg as follows:
-
The left line indicates the desired length line.
-
The right line indicates the one inch line for the new hem you'll be creating.
-
-
-
Use scissors to remove fabric below the lower one inch line created from the chalk marks to shorten the length. Do this for each pant leg.
-
-
-
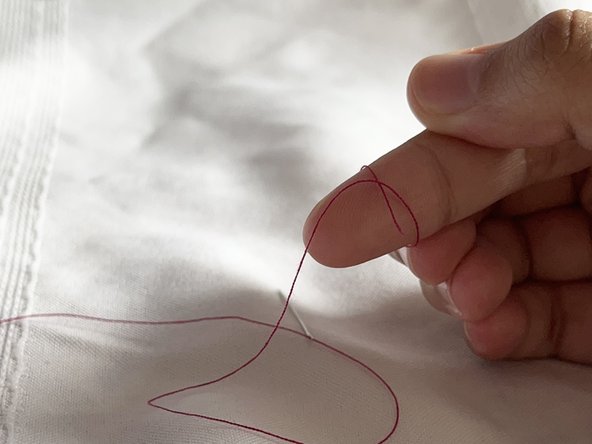
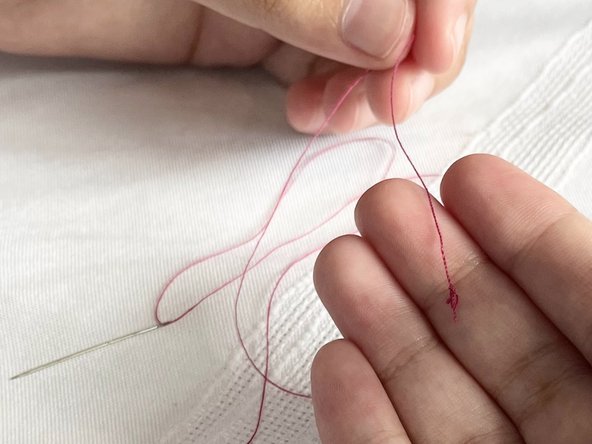
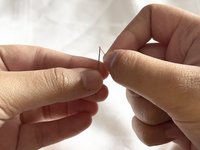
Take a needle and about 30 inches of thread and put the thread through the needle, then immediately tie the thread off.
-
-
-
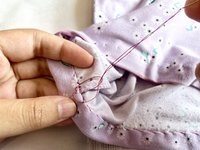
Fold the pyjama from the one inch extra line so the desired length is achieved, and then hem with the needle.
-
The needle needs to pass through both layers of the folded fabric to start the hemming process.
-
Do this for each pyjama leg.
-
-
-
At the end of the hem, take the needle through the thread three times to secure the stitch.
-


Congratulations; you did it!
Congratulations; you did it!
Отменить: Я не выполнил это руководство.
3 человек успешно провели ремонт по этому руководству.
Команду

York University, Team M-8, Allen Summer 2022 Участник York University, Team M-8, Allen Summer 2022
YORK-ALLEN-SU22SMG8
1 член
Автор 1 руководств
Один комментарий
It is a great and clear repair guide! You shot good photos for every step. Your actions were all well-captured in the photos by using the flip-book style. Properly use of markup also made the guide easier to understand. Also, all the instructions described the actions clearly so it is easy to follow.
Great work!