Введение
In this Replacement Guide, you will find the steps and process to replace the battery in the JBL Go 4.
The Battery provides power to the entire device. A failing battery can have reduced battery life or none at all, it can also begin to overheat or shut down at random times.
Before using this guide, make sure to review the troubleshooting page—oftentimes, there can be other reasons for shortened battery life.
Note: The device used in this guide is a non-genuine model, so the internal components may look different from those in your authentic device. However, the replacement procedure remains roughly the same and should still apply to your device.
Выберете то, что вам нужно
-
-
-
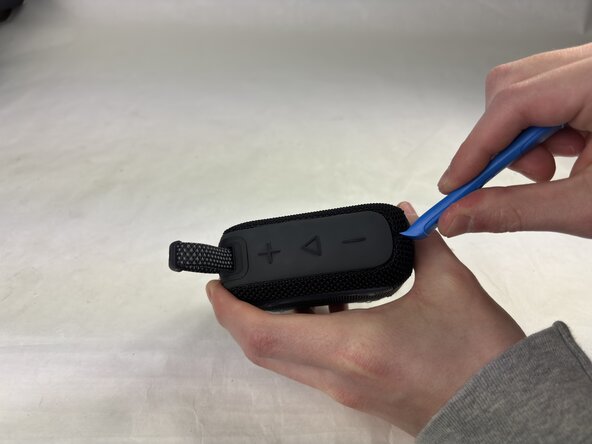
Insert an opening tool into the seam in between the grille and chassis, in the top corner opposite the strap.
-
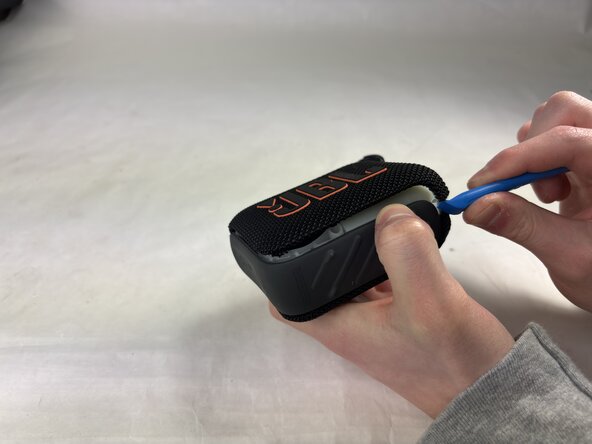
Slide the tool along the edge of the housing until the grille releases.
-
Remove the grille.
 Спросите у FixBot
-
-
-
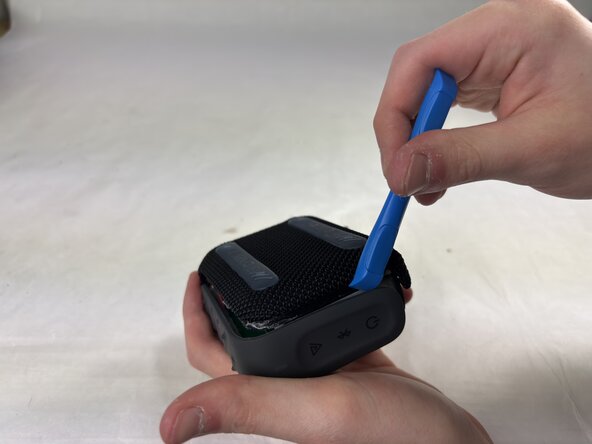
Insert an opening tool in the opposite corner, lifting carefully.
-
Slide the tool along the edge until the cover pops off.
-
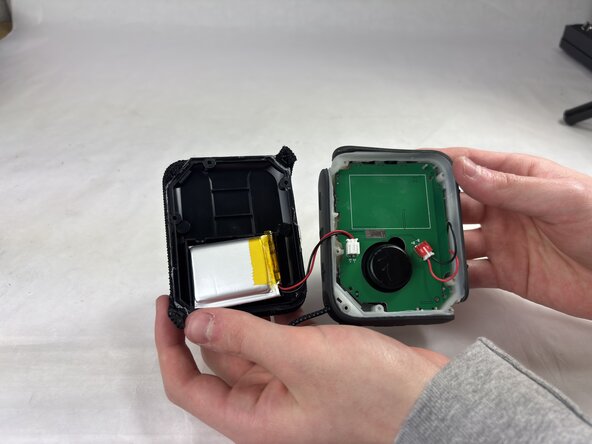
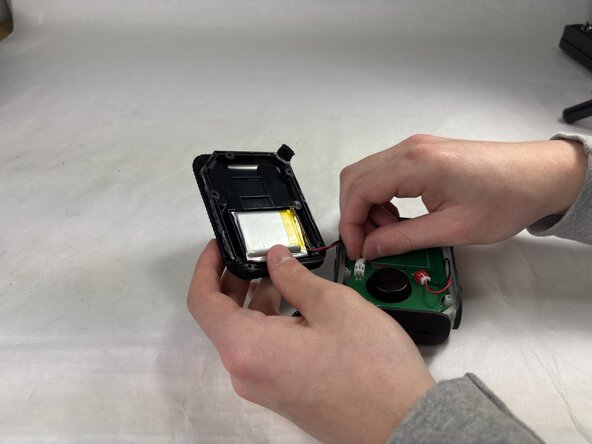
Gently pull the housing up and to the side.
-
-
-
-
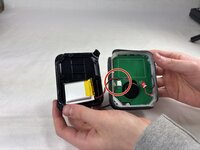
Find the connection between the motherboard and the battery cable as labeled.
-
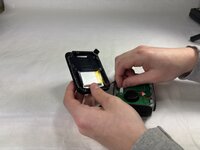
Gently depress the plastic tabs and slowly wiggle the connector until it comes free.
-
-
-
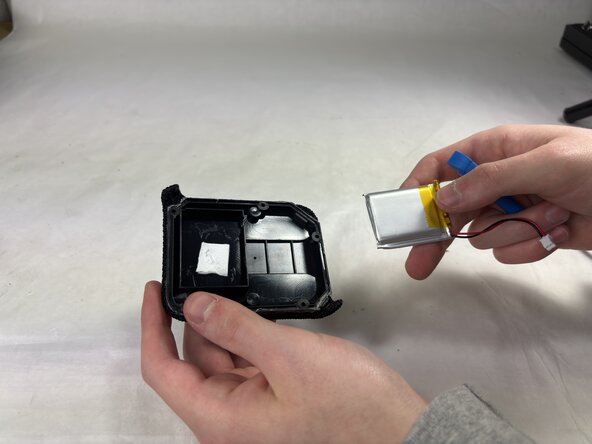
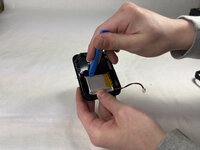
Insert an opening tool beneath the battery, on the side opposite to the battery cable.
-
Using a lever motion, pry the battery out slowly, sliding it further under to break the adhesive up.
-
-






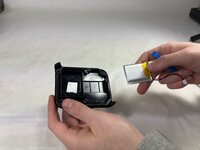
To reassemble your device, follow the above steps in reverse order.
For optimal performance, after completing this guide, calibrate your newly installed battery.
Take your e-waste to an R2 or e-Stewards certified recycler.
Repair didn’t go as planned? Try some basic troubleshooting or ask our Answers community for help.

Команда

UMass Dartmouth, Team 4-1, Konn Spring 2025 Участник UMass Dartmouth, Team 4-1, Konn Spring 2025
UMASSD-KONN-S25S4G1
4 членов
Автор 21 руководств
2 Комментарии к руководству
Great guide, thanks! Small point -
Typo - “Insert an opening into the seam”. I think you’re missing ‘tool’.
Thanks for pointing that out, @alexanderdyas. We took care of the typo. In the future, feel free to go ahead and make the edit!
