Перейти к основному содержанию
/
Мой рабочий стол для верстки руководств

Получите быстрый доступ к руководствам, запчастям и ответам касательно ваших устройств

Jhumki Stone Replacement

Jhumki Stone Replacement

Gauri Chahal

Gauri Chahal и еще один участник

Последнее обновление January 7, 2025

45 мин.
Легко

Missing a stone on your favorite jhumki can be frustrating, especially when it holds sentimental or cultural value. This guide is simple and straight forward to help you restore the gem on your jhumki without spending a fortune or having to throw away your piece.

With a few tools, you will be able to restore your jhumki and add a few more wears to its life span!

Выберете то, что вам нужно

iFixit получает комиссию, когда вы совершаете покупку по этим ссылкам.
  1. Jhumki Stone Replacement, Jhumki Stone: шаг 1, изображение 1 из 2 Jhumki Stone Replacement, Jhumki Stone: шаг 1, изображение 2 из 2
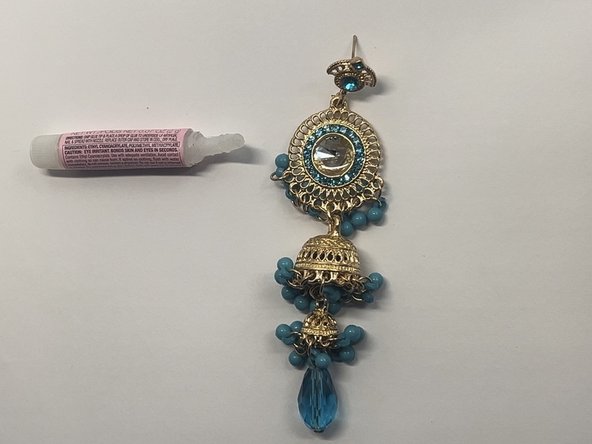
    • Identify the missing piece.

    • Identify the size of the gem, consider the color, and gauge the depth of the hole.

    • Use the unaffected Jhumki as an example.

  2. Jhumki Stone Replacement: шаг 2, изображение 1 из 2 Jhumki Stone Replacement: шаг 2, изображение 2 из 2
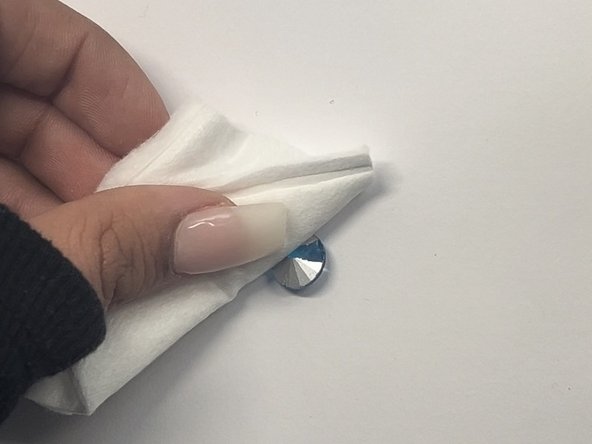
    • Use an alcohol prep pad to strip the surface of any oils.

    • Repeat this process with the gem.

    • This allows for better adhesion of the glue to the gem.

  3. Jhumki Stone Replacement: шаг 3, изображение 1 из 3 Jhumki Stone Replacement: шаг 3, изображение 2 из 3 Jhumki Stone Replacement: шаг 3, изображение 3 из 3
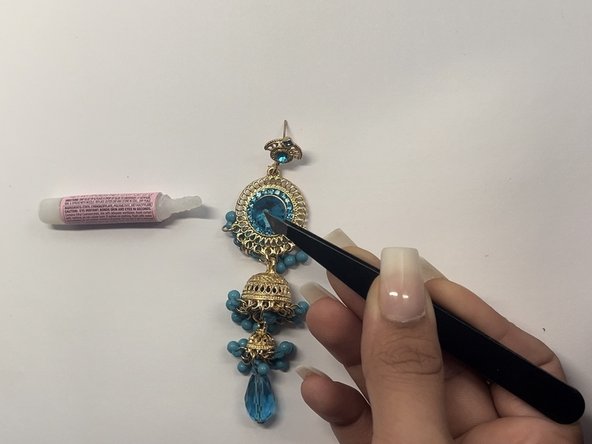
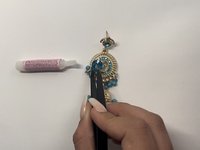
    • Using your super glue, cover the site of the missing gem completely.

    • Allow for the glue to settle into the cracks before applying the gem.

    • Only apply glue to the hole, being mindful about not overflowing the hole and leaving space for the gem to sit.

  4. Jhumki Stone Replacement: шаг 4, изображение 1 из 3 Jhumki Stone Replacement: шаг 4, изображение 2 из 3 Jhumki Stone Replacement: шаг 4, изображение 3 из 3
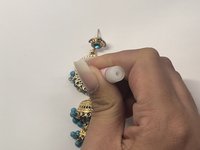
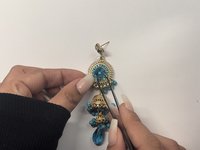
    • Use your tweezers to gently grab the gem and place it on the glue.

    • Do not use your fingers as the glue will stick instantly.

    • Use the tweezers to adjust the gem as needed.

  5. Jhumki Stone Replacement: шаг 5, изображение 1 из 1
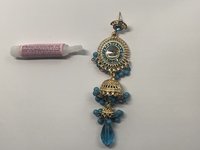
    • After allowing 30 minutes for the gem to dry, use an alcohol pad to remove any excess glue from the jhumki.

  6. Jhumki Stone Replacement: шаг 6, изображение 1 из 1
    • Use your polishing cloth to reinstate a beautiful shine to the new gem.

  7. Jhumki Stone Replacement: шаг 7, изображение 1 из 1
    • Compare against the unaffected Jhumki and make adjustments as necessary!

    • Enjoy!

    • Use acetone to remove any remaining glue from the jewelry.

Финишная черта

Gauri Chahal

Участник с: 10/31/24

145 Репутация

1 руководство автора

Команду

CSU Los Angeles, Team 4-10, Harris Fall 2024 Участник CSU Los Angeles, Team 4-10, Harris Fall 2024

CSULA-HARRIS-F24S4G10

1 член

Автор 1 руководств

0 Комментариев

Добавить комментарий

Статистика просмотров:

За последние 24 час(ов): 0

За последние 7 дней: 6

За последние 30 дней: 15

За всё время: 47