Перейти к основному содержанию
/
Мой рабочий стол для верстки руководств

Получите быстрый доступ к руководствам, запчастям и ответам касательно ваших устройств

LCD X2gen Display disassembly

LCD X2gen Display disassembly

Aleks

Aleks и 5 другие участники

Последнее обновление August 6, 2024

Нет оценки
Средне
Ненаглядные фото
Нужны более качественные фото
Нужно больше изображений
Руководство, предоставленное сообществом
Лучше введение

Выберете то, что вам нужно

Инструменты

  1. LCD X2gen Display disassembly, Display: шаг 1, изображение 1 из 1
    • X2gen 22 lcd Screen repair guide

  2. LCD X2gen Display disassembly: шаг 2, изображение 1 из 1
    • Power board displaying the capacitors to be replaced

  3. LCD X2gen Display disassembly: шаг 3, изображение 1 из 1
    • Display viewed laying face down on the working table (my dining table)

    • Remove the 6 screws. 4 on the corners and 2 middle bottom.

  4. LCD X2gen Display disassembly: шаг 4, изображение 1 из 1
    • Remove front bezel by lifting softly starting from the middle and moving out to the corners.

  5. LCD X2gen Display disassembly: шаг 5, изображение 1 из 1
    • Top middle

  6. LCD X2gen Display disassembly: шаг 6, изображение 1 из 1
    • Front bezel removed.

    • Observe: the control board, bottom right.

    • exposed screws on both sides (4 left, 4 right) holding the LCD to the back cover.

  7. LCD X2gen Display disassembly: шаг 7, изображение 1 из 1
    • Prepare to remove the 4 screws on each side to lift the LCD. Do not try to remove it after unscrewing the 8 screws. There are cables connected on the back.

    • This pic shows the right side

  8. LCD X2gen Display disassembly: шаг 8, изображение 1 из 1
    • This pic shows the left side

  9. LCD X2gen Display disassembly: шаг 9, изображение 1 из 2 LCD X2gen Display disassembly: шаг 9, изображение 2 из 2
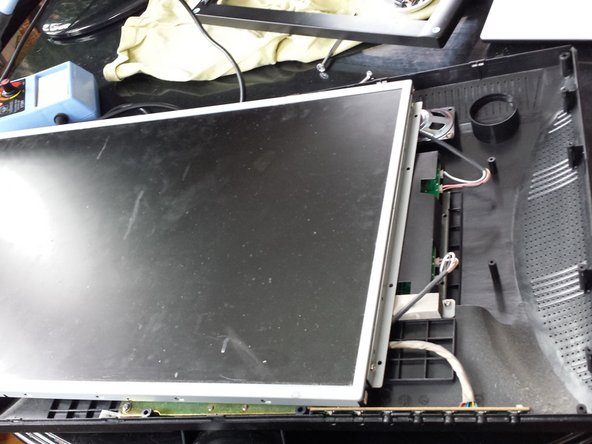
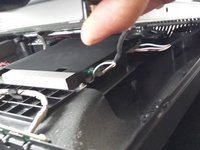
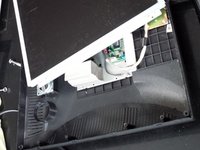
    • Lift carefully about 2 inch to expose the back light connections, 2 pink and 2 white.

    • Slide the monitor to the left about 3-4 inch. to have access to the connections.

  10. LCD X2gen Display disassembly: шаг 10, изображение 1 из 1
    • Carefully, unplug both connectors

  11. LCD X2gen Display disassembly: шаг 11, изображение 1 из 2 LCD X2gen Display disassembly: шаг 11, изображение 2 из 2
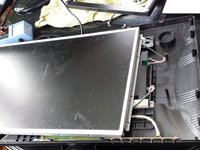
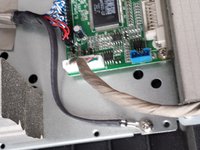
    • After removing the connectors, slide it about 3-5 inches to the right to have access to the data connector and ground

  12. LCD X2gen Display disassembly: шаг 12, изображение 1 из 1
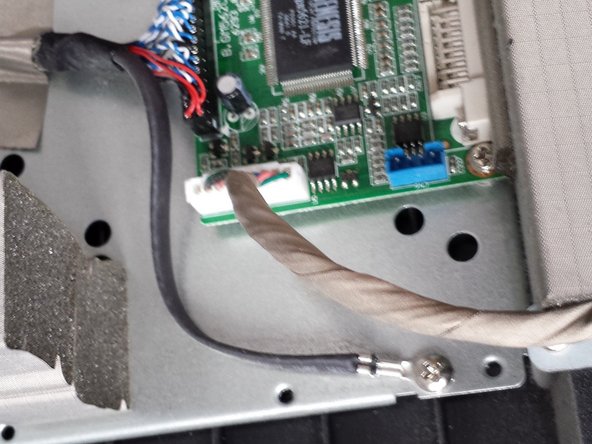
    • Remove the data connector and ground.

    • Lift display. Is now completely free

Заключение

To reassemble your device, follow these instructions in reverse order.

2 человек успешно провели ремонт по этому руководству.

Aleks

Участник с: 02/11/14

201 Репутация

1 руководство автора

0 Комментариев

Добавить комментарий

Статистика просмотров:

За последние 24 час(ов): 6

За последние 7 дней: 24

За последние 30 дней: 105

За всё время: 1,531