Перейти к основному содержанию
Присоединяйся к сообществу ремонтников - Создай аккаунт

LG G3 Loudspeaker Replacement

Выберете то, что вам нужно

    1. LG G3 Loudspeaker Replacement, Back Cover: шаг 1, изображение 1 из 2 LG G3 Loudspeaker Replacement, Back Cover: шаг 1, изображение 2 из 2
      • Power off your phone before beginning disassembly.

      • Insert a thumbnail, or a prying tool like a spudger, into the notch at the bottom left of the back cover.

      • Pry the back cover up to separate its plastic clips.

      Спросите у FixBot

      Добавить комментарий

    2. LG G3 Loudspeaker Replacement: шаг 2, изображение 1 из 2 LG G3 Loudspeaker Replacement: шаг 2, изображение 2 из 2
      • Lift the back cover to release the rest of the plastic clips and remove it.

      • In case you can't lift the back cover completely, slide your fingernail or your prying tool around the midframe to release the remaining clips.

      • To reinstall the back cover, press it firmly into place until you hear a snap from the plastic clips to form a seamless connection with the rear side of the phone.

      Спросите у FixBot

      Добавить комментарий

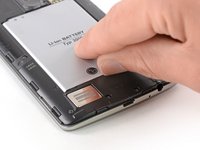
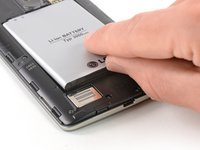
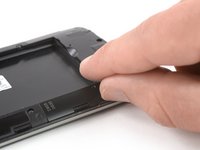
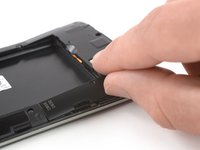
    1. LG G3 Loudspeaker Replacement, Battery: шаг 3, изображение 1 из 2 LG G3 Loudspeaker Replacement, Battery: шаг 3, изображение 2 из 2
      • Use a fingernail or a prying tool at the marked notch to lever the battery out of its recess.

      Спросите у FixBot

      Добавить комментарий

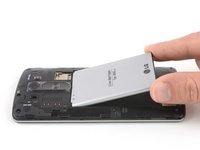
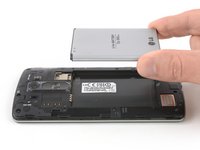
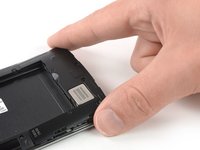
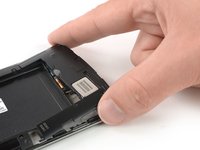
    2. LG G3 Loudspeaker Replacement: шаг 4, изображение 1 из 2 LG G3 Loudspeaker Replacement: шаг 4, изображение 2 из 2
      • Lift the battery out of its recess and remove it.

      Спросите у FixBot

      Добавить комментарий

    1. LG G3 Loudspeaker Replacement, Loudspeaker: шаг 5, изображение 1 из 1
      • Remove the four Phillips #00 screws (4 mm length).

      Спросите у FixBot

      Добавить комментарий

    2. LG G3 Loudspeaker Replacement: шаг 6, изображение 1 из 2 LG G3 Loudspeaker Replacement: шаг 6, изображение 2 из 2
      • Insert a thumbnail, or a prying tool like a spudger, into the notch at the bottom left of the back cover you used earlier to remove the back cover.

      • Pry up the plastic panel, including the loudspeaker, until you can get a good grip.

      Спросите у FixBot

      Добавить комментарий

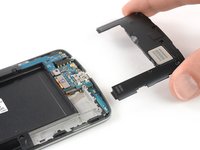
    3. LG G3 Loudspeaker Replacement: шаг 7, изображение 1 из 3 LG G3 Loudspeaker Replacement: шаг 7, изображение 2 из 3 LG G3 Loudspeaker Replacement: шаг 7, изображение 3 из 3
      • Carefully remove the plastic panel including the loudspeaker by gently pulling it away from the phone assembly.

      Спросите у FixBot

      Добавить комментарий

Заключение

If possible, turn on your device and test your repair before installing new adhesive and resealing.

Take your e-waste to an R2 or e-Stewards certified recycler.

Repair didn’t go as planned? Try some basic troubleshooting, or ask our Answers Community for help.

Отменить: Я не выполнил это руководство.

8 человек успешно провели ремонт по этому руководству.

Dominik Schnabelrauch

Участник с: 11/23/16

261 843 Репутация

Автор 682 руководств

0 Комментарии к руководству

Добавить комментарий

Статистика просмотров:

За последние 24 часов: 29

За последние 7 дней: 42

За последние 30 дней: 78

За всё время: 14,945