Этот перевод был сделан машиной и пока не проверен человеком. Говорите на этом языке? Просмотрите его.

Замена дисплейного модуля LG G3

Dominik Schnabelrauch и 15 другие участники
Последнее обновление 7 авг 2026 г.
Просмотров: 253 тыс.
Просмотр статистики:
- За последние 24 часа:
- 4
- За последние 7 дней:
- 29
- За последние 30 дней:
- 112
- За все время:
- 252 858
Комментарии: 49
6 комментариев к шагам, 43 комментариев к инструкции.
Перейти к комментариям инструкцииЗавершено: 130 131
130 пользователей отметили эту инстркукцию как "завершенное". Вы будете следующим?
131 пользователей отметили эту инструкцию как "завершенное". В том числе и Вы — отличная работа!
Избранные: 83 84
83 эта инструкция понравилась многим пользователям (и они подписались на нее). Вы будете следующим?
84 эта инструкция понравилось многим пользователям (и они подписались на нее), в том числе и Вам!
Предлагаемое руководство
Эта инструкция была специально выделена сотрудниками iFixit.
Введение
Перейти к шагу 1 ↓Используйте это руководство для снятия или замены разбитого или изношенного дисплейного модуля вместе с рамкой в LG G3 (D855).
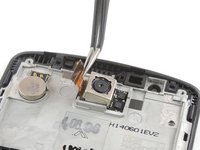
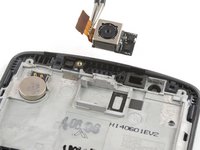
В этом руководстве показано, как заменить дисплейный модуль LG G3 в сборе, включая рамку. В процессе ремонта необходимо перенести все компоненты, такие как вибромотор, камеры и разговорный динамик, на новую деталь. Если вы хотите заменить только ЖК-экран без рамки, перейдите к этому руководству.
Выберете то, что Вам нужно
Запчасти
-
-
LG G3 (AT&T) Screen Assembly$14.99
-
LG G3 (T-Mobile) Screen Assembly$119.99


Инструменты
-
Spudger4.9
-
-


-
-
-
Вставьте ноготь или инструмент для вскрытия, например спуджер, в выемку в левом нижнем углу задней крышки.
-
Подденьте заднюю крышку, чтобы отсоединить её пластиковые защелки.
 Спросите у FixBot
-
-
-
Приподнимите заднюю крышку, чтобы высвободить оставшиеся пластиковые защелки, и снимите ее.
-
-
-
-
-
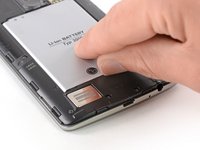
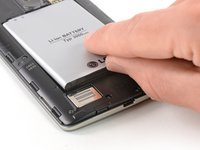
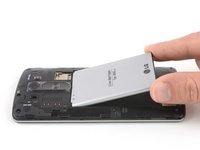
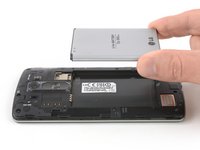
Используйте ноготь или инструмент для поддевания в отмеченном пазу, чтобы извлечь аккумулятор из ниши.
-
-
-
-
-
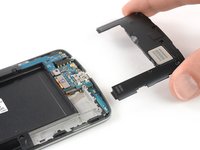
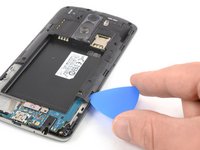
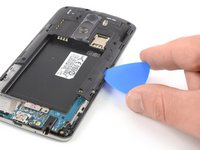
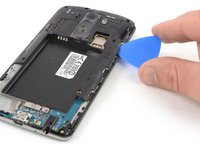
Вставьте ноготь или инструмент для вскрытия, например, спуджер, в выемку в левом нижнем углу задней крышки, которую вы использовали ранее для её снятия.
-
Подденьте пластиковую панель, включая динамик, пока не сможете надежно захватить её.
-
-
-
Осторожно снимите пластиковую панель вместе с динамиком, аккуратно отделив ее от корпуса телефона.
-
-
-
-
Открутите восемь винтов Phillips #00 (длиной 4 мм).
-
-
-
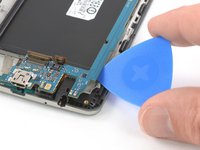
Вставьте медиатор в зазор между нижним правым углом крышки материнской платы и самой платой.
-
Подденьте крышку материнской платы, чтобы отстегнуть пластиковые защелки, удерживающие её на месте.
-
Двигайтесь вдоль правого края.
-
-
-
Аккуратно приподнимите правый край крышки материнской платы.
-
Извлеките материнскую плату в сборе.
-
-
-
-
-
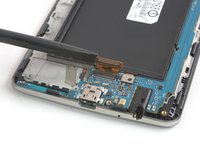
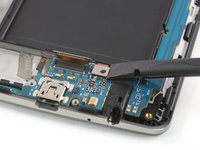
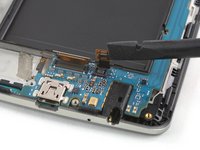
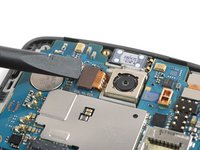
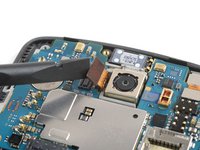
Используйте пластиковую лопатку (spudger), чтобы поддеть и отсоединить шлейф дисплея.
-
-
-
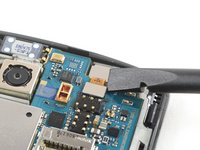
Используйте пластиковую лопатку (spudger), чтобы поддеть и отсоединить шлейф дигитайзера.
-
-
-
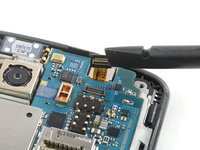
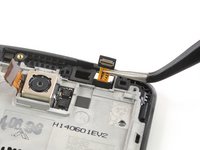
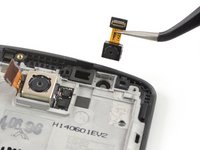
Используйте пластиковую лопатку, чтобы поддеть и отсоединить шлейф фронтальной камеры.
-
-
-
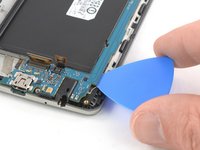
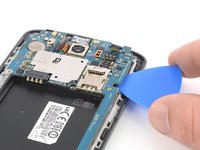
Вставьте медиатор под нижний правый угол материнской платы и медленно извлеките её из посадочного места, поворачивая медиатор в сторону.
-
-
-
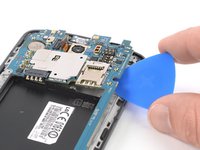
Вставьте медиатор под правый край материнской платы в районе разъема SIM-карты и подденьте её, повернув медиатор на бок.
-
-
-
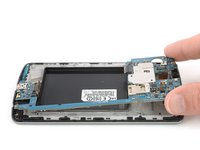
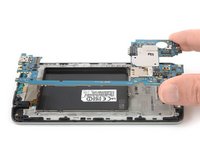
Возьмите верхнюю часть материнской платы и осторожно извлеките её из телефона.
-
-
-
-
-
Инструмент, используемый на этом этапе:Tweezers$4.99
-
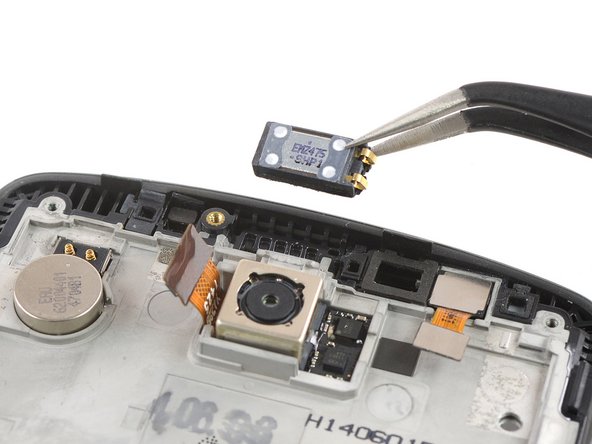
Используйте пинцет, чтобы извлечь динамик разговорного динамика.
-
-
-
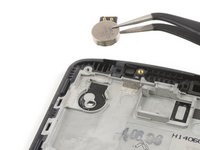
Вставьте один из кончиков пинцета под вибромотор и подденьте его.
-
Извлеките вибромотор.
-
-
-
Нагрейте нижнюю часть экрана с помощью iOpener, чтобы размягчить находящийся под ним клей.
-
-
-
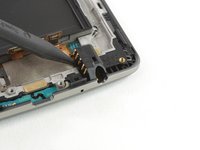
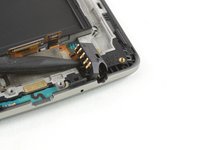
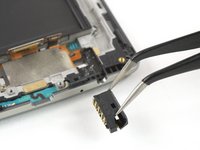
Используйте острый конец лопатки (spudger), чтобы поддеть разъем для наушников, и извлеките его с помощью пинцета.
-
-
-
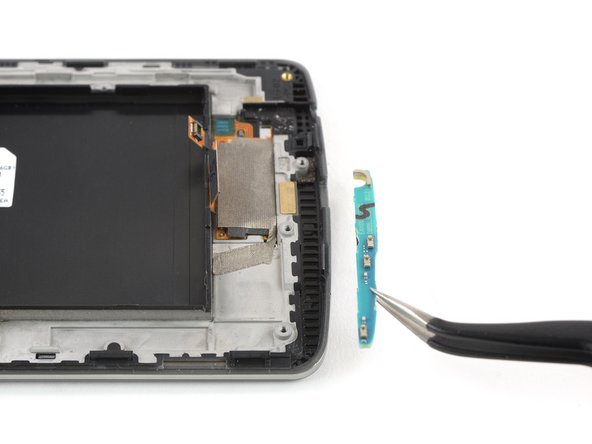
Используйте пинцет, чтобы аккуратно поддеть и извлечь дочернюю плату в нижней части модуля экрана.
-






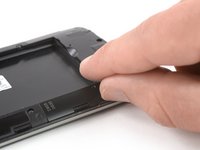
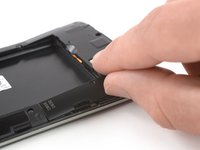


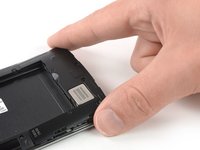
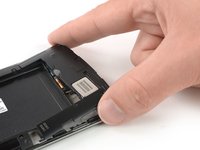




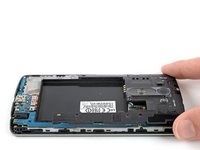
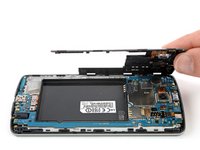
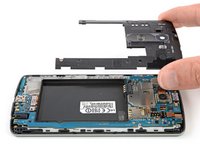


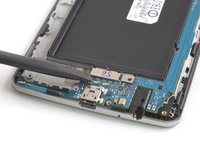




















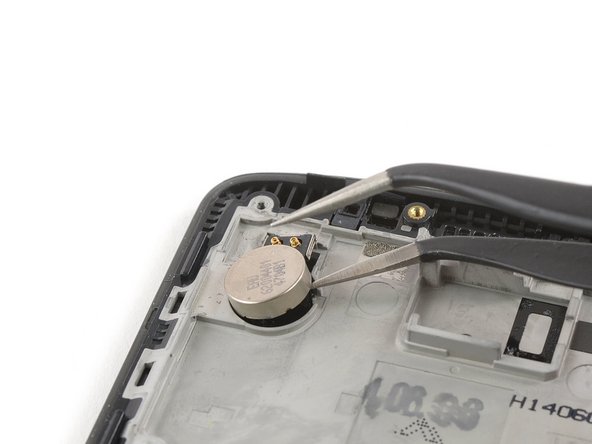
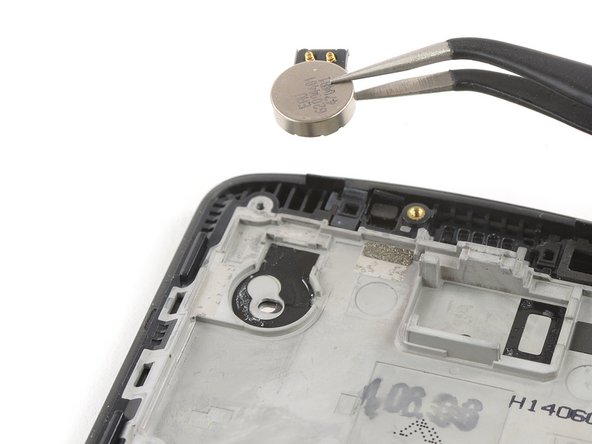





Для сборки устройства выполните эти инструкции в обратном порядке. При необходимости нанесите новый клей.
По возможности включите телефон и проверьте работу новой детали перед окончательной сборкой.
Ремонт пошел не по плану? Попробуйте выполнить базовую диагностику или обратитесь за помощью к нашему сообществу Answers.
Отменить: Я не выполнил это руководство.
130 человек успешно провели ремонт по этому руководству.

43 Комментарии к руководству
Ok so after I did all this my screen is black and so I ordered a second screen and also nothing the phone works great and makes noises also touch responds but nothing on lcd just black can you help me with this also if I take battery out and plug up charger it shows a battery warning on lcd so clearly it works
Has it sustained any water damage?
Did you get it working i have the same issue? the picture displays with the original screen but not with the new one. i have tried 3 different screens and get the same on all of them. i even tried updating to the latest software but only get a black screen, no picture.
When i have had this on iphones i just so a reset by holding down the buttons and the screen starts to work.
Please someone help
Same here! I also findout that lcd still works, if you get some flashlight on screen in a dark room, you will see that only backlight not working when battery plugged. I tried to baking it but it still didn't worked. It's obvious that backlight could properly operate as it works when you take off the battery. I'm looking for solutions, if I find any, will wrote it here.
Did someone find a solution to this? I also replaced my screen and it keeps black solid when I turn it on, even with the touch working properly.
