
Lenovo Yoga 710-11ISK Motherboard Replacement

Введение
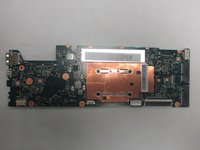
Перейти к шагу 1The Lenovo Yoga 710-11ISK’s motherboard is one of the most important components as it acts as a brain for all the internals. This guide shows how to disassemble the computer in order to access the motherboard and replace it.
Выберете то, что вам нужно
Инструменты


Показать больше…
-
-
Remove the eleven screws that attach the back panel using a T5 Torx screwdriver.
-
-
-
Insert an opening tool between the bottom panel and chassis, then pry around the entire perimeter until the five clips detach, releasing the bottom panel.
-
-
-
Use a Phillips #000 screwdriver to remove the four screws securing the battery.
-
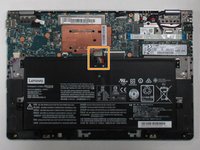
Hold the cable connector on both sides and gently pull it directly out of its port.
-
Lift the battery up and out.
-
-
-
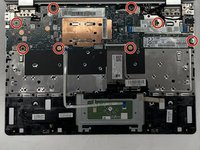
Use a Phillips #000 screwdriver to remove the eight screws securing the motherboard, Wi-Fi card, and SSD card.
-
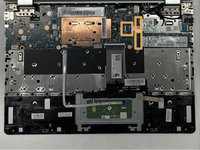
Unplug the Wi-Fi and SSD cards from the motherboard along with the attached wire harnesses.
-


To reassemble your device, follow these instructions in reverse order.
To reassemble your device, follow these instructions in reverse order.

Команду

The Citadel Military College of South Carolina, Team 1-6, Eggleston Spring 2022 Участник The Citadel Military College of South Carolina, Team 1-6, Eggleston Spring 2022
CMCSC-EGGLESTON-S22S1G6
3 членов
Автор 3 руководств