Перейти к основному содержанию
/
Мой рабочий стол для верстки руководств

Получите быстрый доступ к руководствам, запчастям и ответам касательно ваших устройств

Necklace or Bracelet Clasp Replacement

Necklace or Bracelet Clasp Replacement

Rachel Stein

Rachel Stein и 2 другие участники

Последнее обновление January 6, 2025

3 - 7 минут
Легко

Rather than taking time and extra money to have your jewelry fixed, this guide will show you how to repair and replace the jump rings and clasps on your necklace or bracelet in a few easy steps. No prior jewelry experience is required to complete this easy fix.

The materials needed will be a new clasp, new jump rings (circular chain piece)/backing piece, and a needle nose pliers.

Выберете то, что вам нужно

iFixit получает комиссию, когда вы совершаете покупку по этим ссылкам.
  1. Necklace or Bracelet Clasp Replacement, Clasp: шаг 1, изображение 1 из 3 Necklace or Bracelet Clasp Replacement, Clasp: шаг 1, изображение 2 из 3 Necklace or Bracelet Clasp Replacement, Clasp: шаг 1, изображение 3 из 3
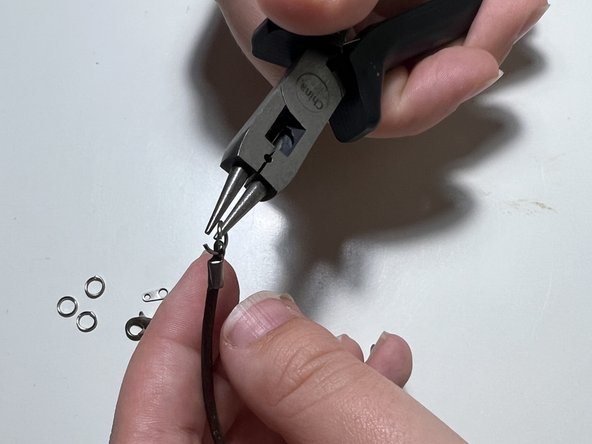
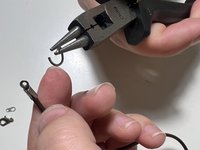
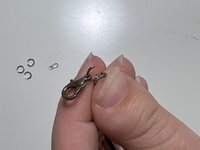
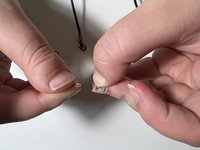
    • Using either a pair of needle nose pliers or a pair of round nose pliers, open the jump ring attached to the jewelry clasp by twisting the ring apart.

  2. Necklace or Bracelet Clasp Replacement: шаг 2, изображение 1 из 2 Necklace or Bracelet Clasp Replacement: шаг 2, изображение 2 из 2
    • Slide off the broken clasp from the jump ring.

  3. Necklace or Bracelet Clasp Replacement: шаг 3, изображение 1 из 1
    • Remove the jump ring.

  4. Necklace or Bracelet Clasp Replacement: шаг 4, изображение 1 из 2 Necklace or Bracelet Clasp Replacement: шаг 4, изображение 2 из 2
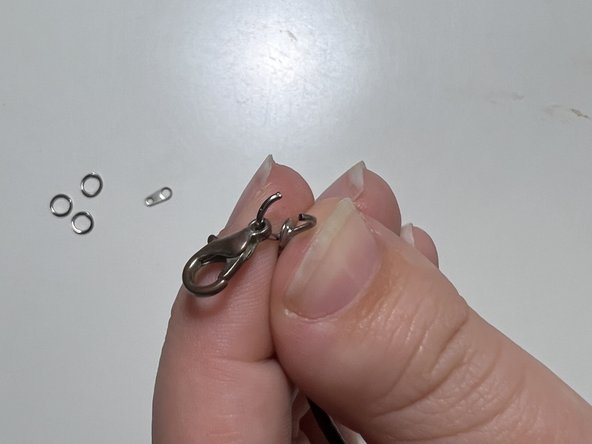
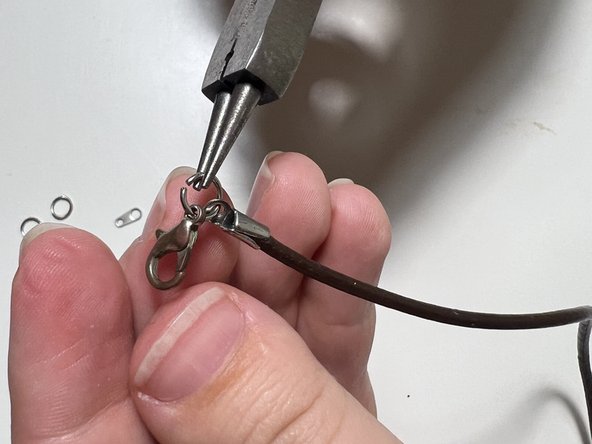
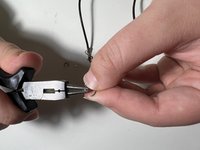
    • Using a new jump ring, open it with the pliers and slide it into the necklace using the same pull-apart method.

  5. Necklace or Bracelet Clasp Replacement: шаг 5, изображение 1 из 2 Necklace or Bracelet Clasp Replacement: шаг 5, изображение 2 из 2
    • Take the new clasp and slide it onto the new jump ring.

  6. Necklace or Bracelet Clasp Replacement: шаг 6, изображение 1 из 1
    • Close the new jump ring.

    • If the jump ring does not completely close, use the pliers to squeeze the ring gently so the ends come together.

  7. Necklace or Bracelet Clasp Replacement: шаг 7, изображение 1 из 2 Necklace or Bracelet Clasp Replacement: шаг 7, изображение 2 из 2
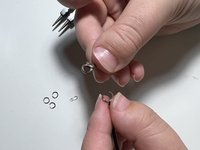
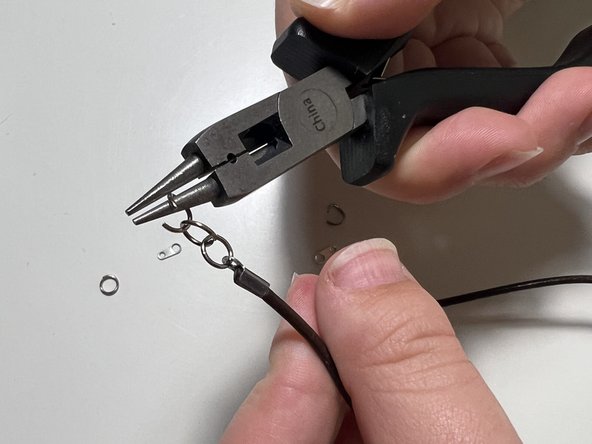
    • If you need to extend your necklace/bracelet, take the new jump rings, and open them with the pliers. Linking them one at a time with the same open/close procedure as previously demonstrated, add them to the opposite side of the new clasp.

  8. Necklace or Bracelet Clasp Replacement: шаг 8, изображение 1 из 2 Necklace or Bracelet Clasp Replacement: шаг 8, изображение 2 из 2
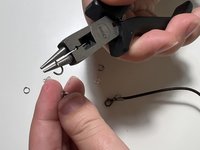
    • Add on the non-clasp back piece to the new jump ring chain using same open/close process as previously demonstrated.

Финишная черта

Rachel Stein

Участник с: 10/01/24

157 Репутация

1 руководство автора

Команду

University of Wisconsin Eau Claire, Team 1-3, Cameron Fall 2024 Участник University of Wisconsin Eau Claire, Team 1-3, Cameron Fall 2024

UWEC-CAMERON-F24S1G3

3 членов

Автор 1 руководств

0 Комментариев

Добавить комментарий

Статистика просмотров:

За последние 24 час(ов): 1

За последние 7 дней: 13

За последние 30 дней: 35

За всё время: 107