Перейти к основному содержанию
/
Мой рабочий стол для верстки руководств

Получите быстрый доступ к руководствам, запчастям и ответам касательно ваших устройств

Nextbook Flexx 10 Battery Pack Replacement

Nextbook Flexx 10 Battery Pack Replacement

Jeremiah Fredere

Jeremiah Fredere и 5 другие участники

Последнее обновление January 20, 2025

30 мин.
Средне
Граммар-наци
Нужны более качественные фото
Проблема с примечаниями
Лучше введение

With this guide you will be able to successfully remove the damaged or old battery pack.

Выберете то, что вам нужно

Инструменты

  1. Nextbook Flexx 10 Battery Pack Replacement, Battery Pack: шаг 1, изображение 1 из 2 Nextbook Flexx 10 Battery Pack Replacement, Battery Pack: шаг 1, изображение 2 из 2
    • To begin, remove the screen from the keyboard.

    • Open the 2-in-1, and hold the screen.

    • Press the silver button at the top of the keyboard.

    • When the screen lifts up, gently lift the screen away from the keyboard.

  2. Nextbook Flexx 10 Battery Pack Replacement: шаг 2, изображение 1 из 3 Nextbook Flexx 10 Battery Pack Replacement: шаг 2, изображение 2 из 3 Nextbook Flexx 10 Battery Pack Replacement: шаг 2, изображение 3 из 3
    • Removing the back cover will invalidate your warranty.

    • You may use your fingers, or a spudger. Be careful not to break your cover OR your fingernail. Removing the cover requires good judgement.

    • The goal is to separate the black from the silver. Start in a corner, or a flat edge -- whichever works best for you. Remember to not use too much force.

    • Once you start the initial separation, keep going until you free one edge. The goal now is to free three edges of the rectangle.

    • If your progress stops on one side of the rectangle, go to the other side and try there.

  3. Nextbook Flexx 10 Battery Pack Replacement: шаг 3, изображение 1 из 1
    • Gently pull the back cover from the screen assembly.

    • Keep the plastic cover close. It's great for holding screws!

    • When putting the cover back on, press firmly around to outside edge with the screen facing down on a flat, debris-free surface.

  4. Nextbook Flexx 10 Battery Pack Replacement: шаг 4, изображение 1 из 1
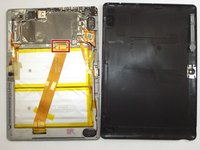
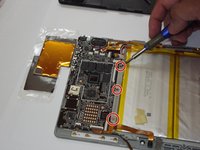
    • Once you have the cover off, remove the screws from the outer perimeter of the board assembly with a small philips head screwdriver. See arrows.

  5. Nextbook Flexx 10 Battery Pack Replacement: шаг 5, изображение 1 из 3 Nextbook Flexx 10 Battery Pack Replacement: шаг 5, изображение 2 из 3 Nextbook Flexx 10 Battery Pack Replacement: шаг 5, изображение 3 из 3
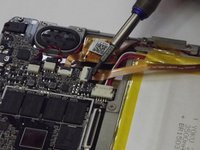
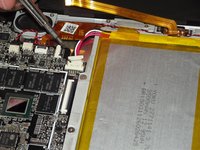
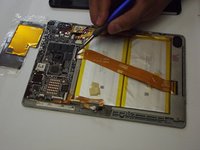
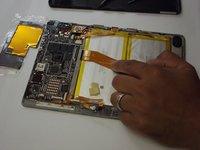
    • Remove the smaller ribbon clip on the right side of the device and top right of the battery.

    • Remove the second clip underneath the ribbon clip.

  6. Nextbook Flexx 10 Battery Pack Replacement: шаг 6, изображение 1 из 3 Nextbook Flexx 10 Battery Pack Replacement: шаг 6, изображение 2 из 3 Nextbook Flexx 10 Battery Pack Replacement: шаг 6, изображение 3 из 3
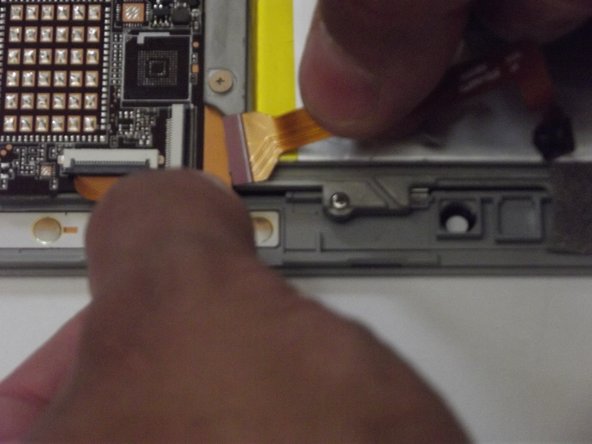
    • When removing the second cable clip use a small flat head screw driver to lift the latch.

    • when removing be careful not to damage the ribbon cable.

  7. Nextbook Flexx 10 Battery Pack Replacement: шаг 7, изображение 1 из 2 Nextbook Flexx 10 Battery Pack Replacement: шаг 7, изображение 2 из 2
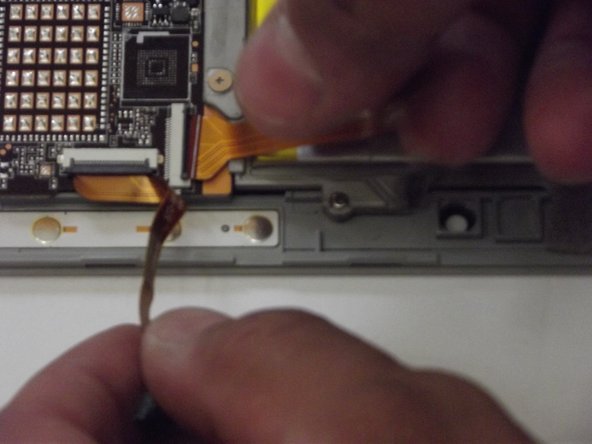
    • Repeat step 6 for the large ribbon cable.

  8. Nextbook Flexx 10 Battery Pack Replacement: шаг 8, изображение 1 из 3 Nextbook Flexx 10 Battery Pack Replacement: шаг 8, изображение 2 из 3 Nextbook Flexx 10 Battery Pack Replacement: шаг 8, изображение 3 из 3
    • To remove the battery section of the device from the circuit board remove, use the small Phillips head screwdriver for the 3 small screws near the top.

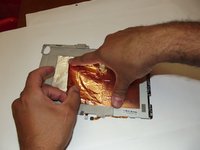
    • To get the battery pack completely away from the circuit board there is copper foil on the back of the battery.

    • be careful not to rip the copper foil. Pull the foil slowly an evenly.

  9. Nextbook Flexx 10 Battery Pack Replacement: шаг 9, изображение 1 из 3 Nextbook Flexx 10 Battery Pack Replacement: шаг 9, изображение 2 из 3 Nextbook Flexx 10 Battery Pack Replacement: шаг 9, изображение 3 из 3
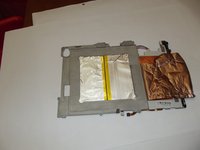
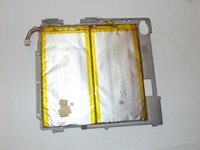
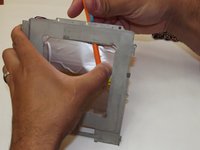
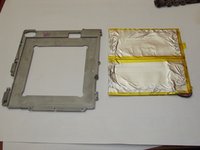
    • Now that the battery is all by itself find a non-sharp and thin object to help pry the battery from its base.

    • Move slowly and carefully to not puncher the battery casing.

    • FINALLY you have successfully removed the battery from your device.

Заключение

To reassemble your device, follow these instructions in reverse order.

4 человек успешно провели ремонт по этому руководству.

Jeremiah Fredere

Участник с: 10/02/17

171 Репутация

1 руководство автора

Команду

Western Carolina University, Team S1-G4, Virtue Fall 2017 Участник Western Carolina University, Team S1-G4, Virtue Fall 2017

WCU-VIRTUE-F17S1G4

5 членов

Автор 12 руководств

0 Комментариев

Добавить комментарий

Статистика просмотров:

За последние 24 час(ов): 0

За последние 7 дней: 6

За последние 30 дней: 24

За всё время: 4,743