
Parrot AR.Drone 2.0 Motor Replacement

Введение
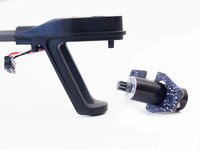
Перейти к шагу 1Use this guide to diagnose and replace a faulty motor on your Parrot AR.Drone 2.0.
AR.Drone 2.0 spare parts and mounting tools are available from several Parrot retailers.
Выберете то, что вам нужно
Запчасти
Инструменты


Показать больше…
Видео обзор
-
-
Disconnect the battery by pulling the two red wires apart.
-
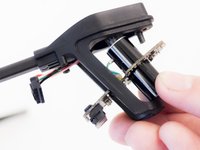
Remove the battery by releasing the battery retaining straps.
-
-
-
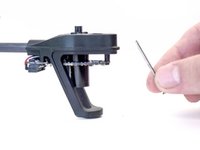
The propeller, gear, and rod can be removed by simply lifting them off the motor.
-


To reassemble your device, follow these instructions in reverse order.
To reassemble your device, follow these instructions in reverse order.
Отменить: Я не выполнил это руководство.
5 человек успешно провели ремонт по этому руководству.

Команду

Cal Poly, Team 25-89, Amido Spring 2010 Участник Cal Poly, Team 25-89, Amido Spring 2010
CPSU-AMIDO-S10S25G89
4 членов
Автор 61 руководств
2 Комментариев
I need to know this also. replaced cross.member but did not put motors in original spots now my drone goes crazy and erratic