Перейти к основному содержанию
/
Мой рабочий стол для верстки руководств

Получите быстрый доступ к руководствам, запчастям и ответам касательно ваших устройств

Sony Cyber-shot DSC-H200 SD Door Replacement

Sony Cyber-shot DSC-H200 SD Door Replacement

Elizabeth Morrison

Elizabeth Morrison и 8 другие участники

Последнее обновление May 7, 2024

30 - 35 минут
Средне
Запчасти и средства модернизации

Your SD door could be stuck, loose or broken. This guide will show you how to remove and replace an SD door. In order to reach the SD door screw, you need to access the motherboard. Please refer to the LCD Screen prerequisite guide and the motherboard prerequisite guide for proper LCD Screen and Motherboard removal.

Выберете то, что вам нужно

Инструменты

Показать больше…

  1. Sony Cyber-shot DSC-H200 SD Door Replacement, SD Door: шаг 1, изображение 1 из 2 Sony Cyber-shot DSC-H200 SD Door Replacement, SD Door: шаг 1, изображение 2 из 2
    • Using a screwdriver, remove four 6mm screws located on the back panel.

  2. Sony Cyber-shot DSC-H200 SD Door Replacement: шаг 2, изображение 1 из 1
    • Using a screwdriver, remove the two 6mm screws on the bottom.

    • Using a screwdriver, remove the four 3mm screws on the bottom.

  3. Sony Cyber-shot DSC-H200 SD Door Replacement: шаг 3, изображение 1 из 1
    • Open the SD Door, unscrew and remove the single 6mm screw closest to "PUSH IN/OUT" under the SD card slot.

  4. Sony Cyber-shot DSC-H200 SD Door Replacement: шаг 4, изображение 1 из 2 Sony Cyber-shot DSC-H200 SD Door Replacement: шаг 4, изображение 2 из 2
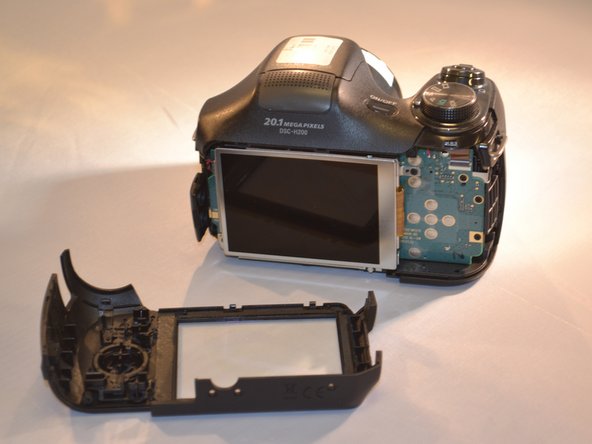
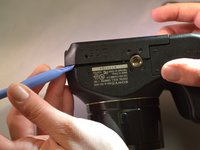
    • Using the blue plastic opening tools, remove the back panel (the LCD and motherboard are exposed).

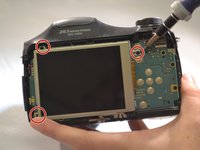
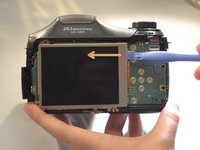
  5. Sony Cyber-shot DSC-H200 SD Door Replacement: шаг 5, изображение 1 из 2 Sony Cyber-shot DSC-H200 SD Door Replacement: шаг 5, изображение 2 из 2
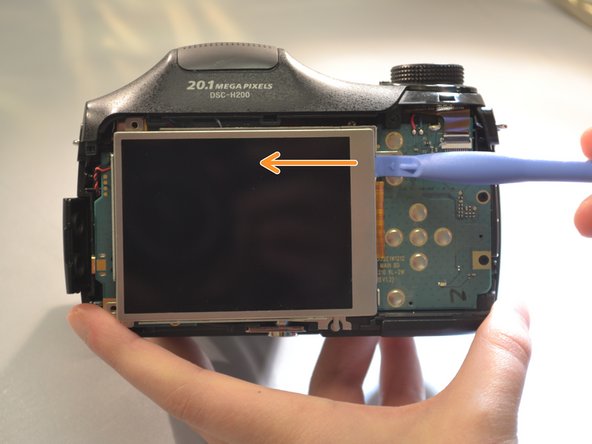
    • Using a screwdriver, remove the three 4mm screws that attach the LCD to the camera motherboard (The LCD is contained in a holding plate, attached to the motherboard with a ribbon cable).

    • Using the blue plastic opening tool remove the LCD Screen from the motherboard.

  6. Sony Cyber-shot DSC-H200 SD Door Replacement: шаг 6, изображение 1 из 1
    • Using a screwdriver, remove the single 4mm screw at the bottom of the holding plate.

  7. Sony Cyber-shot DSC-H200 SD Door Replacement: шаг 7, изображение 1 из 1
    • Lift the holding plate away from the motherboard and set aside (the pin attaching the door to the body is now accessible).

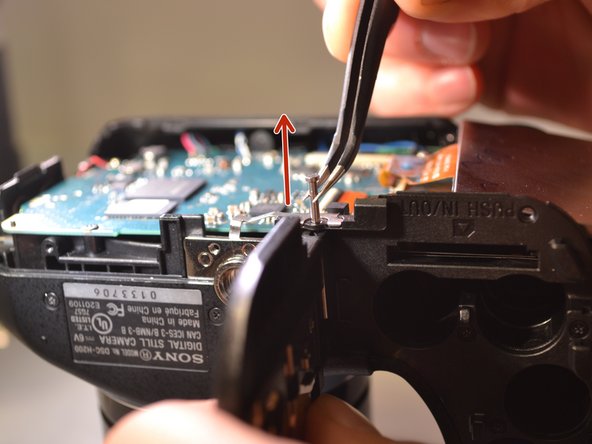
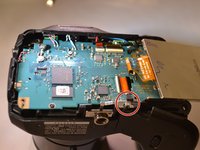
  8. Sony Cyber-shot DSC-H200 SD Door Replacement: шаг 8, изображение 1 из 2 Sony Cyber-shot DSC-H200 SD Door Replacement: шаг 8, изображение 2 из 2
    Инструмент, используемый на этом этапе:
    Tweezers
    $4.99
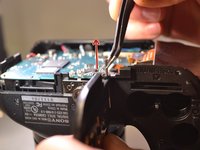
    • Using tweezers remove the pin that attaches the door to the body.

  9. Sony Cyber-shot DSC-H200 SD Door Replacement: шаг 9, изображение 1 из 1
    • Remove the door.

Заключение

To reassemble your device, follow these instructions in reverse order.

Еще один человек закончил это руководство.

Elizabeth Morrison

Участник с: 04/08/15

287 Репутация

Автор 2 руководств

Команду

Eastern Washington University, Team 2-3, Matresse Spring 2015 Участник Eastern Washington University, Team 2-3, Matresse Spring 2015

EWU-MATRESSE-S15S2G3

4 членов

Автор 10 руководств

0 Комментариев

Добавить комментарий

Статистика просмотров:

За последние 24 час(ов): 0

За последние 7 дней: 11

За последние 30 дней: 26

За всё время: 1,709