
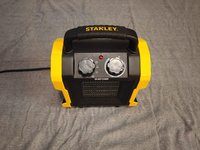
Stanley ST-222A-120 Pressure Sensor Replacement

Введение
Перейти к шагу 1- If your Stanley ST-222A-120 Heavy-Duty Electric Heater isn’t working or turning on at all it might be because the pressure plate at the bottom of the device is broken or isn’t being pushed down all the way.
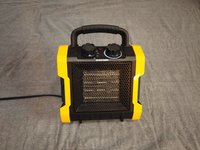
- The pressure plate and pressure sensor is a safety feature on the heater. If the pressure plate isn’t pushed down all the way the device thinks the heater may have tipped over and wont let itself turn on.
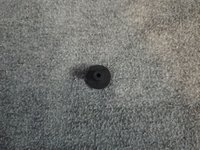
- Before using this guide, inspect the heater and make sure that the heaters pressure plate, on the bottom of the device, is there and that it is not damaged.
- You don’t need any tools for this guide, although on step 6 a pair of needle nose pliers may be helpful.
- Before beginning make sure to unplug the device so that you do not accidently electrocute yourself during the procedure.
-
-
Use your hands to pry apart the plastic halves of the heater to see the internals of the device.
-
-
-
Locate small pressure sensor replacement and small pressure pin at the bottom of the device.
-
-
-
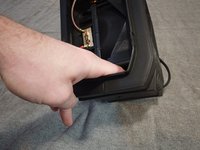
Use your hands to help guide the pressure pin back into a position where the replacement plate can slide back onto it.
-
-
-
While the plastic is open hold the pin out with a finger.
-
Line up the pressure plate to the pressure pin.
-


To reassemble your device, follow these instructions in reverse order.
To reassemble your device, follow these instructions in reverse order.
Отменить: Я не выполнил это руководство.
2 человек успешно провели ремонт по этому руководству.

Команду

Linn Benton Community College, Team S1-G10, Johnson Fall 2020 Участник Linn Benton Community College, Team S1-G10, Johnson Fall 2020
LBCC-JOHNSON-F20S1G10
1 член
Автор 3 руководств