
Toshiba Tecra 8200 Hard Drive Replacement
Введение
Перейти к шагу 1If your Toshiba Tecra 8200 is running slowly or you are unable to save documents, your hard drive may need replacement.
Выберете то, что вам нужно

-
-
To remove the battery, flip the device, so that the bottom is facing upward.
-
-
-
Slide the battery to the right side until you hear a click.
-
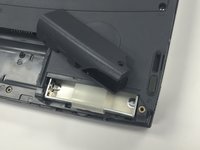
Carefully remove the battery from its compartment.
-
-
-
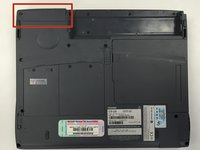
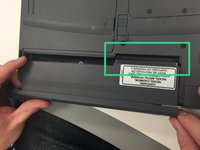
Locate the hard drive panel.
-
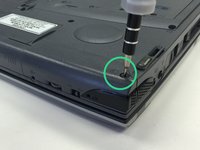
Remove the single screw labeled F4 by using a Philips size #00 screwdriver.
-
Save the screw, as it will be needed for reassembly.
-
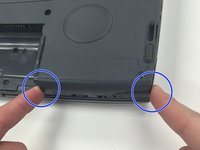
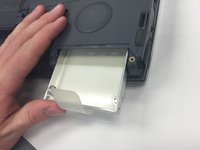
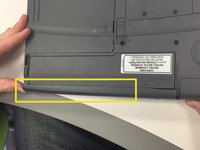
Remove the panel, exposing the hard drive.
-
-
-
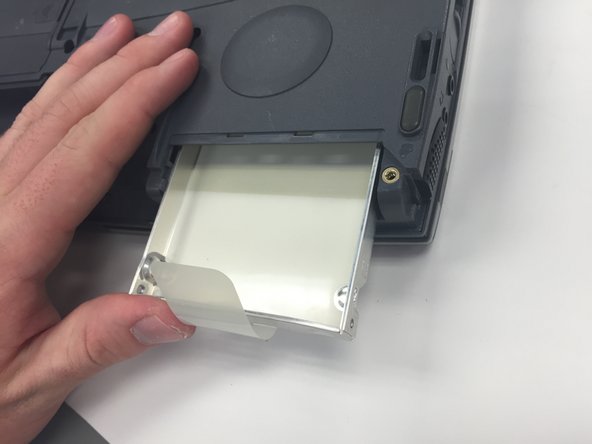
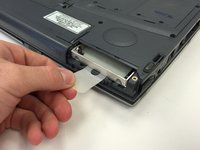
Pull the tab to remove the hard drive.
-
Insert the new hard drive by pushing it into the compartment, leaving the new "pull" tab exposed.
-
-
-
Tuck the "pull" tab back into the hard drive compartment.
-
Replace the panel.
-
Replace the single F4 screw.
-
-
-
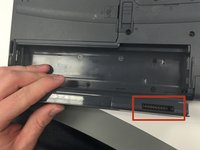
Identify the connector pins on the battery.
-
Line up the connector pins on the battery with the connector pins on the computer and push inward to reconnect the battery.
-
Slide the exterior panel towards the center of the computer to lock the battery in place.
-


Команду

Ohio State, Team 1-3, Buehl Winter 2015 Участник Ohio State, Team 1-3, Buehl Winter 2015
OSU-BUEHL-W15S1G3
3 членов
Автор 9 руководств