Примечание: Вы редактируете необходимое руководство. Любые внесённые вами изменения влияют на все 18 руководства, которые включают этот шаг.
Перевод шага 28
Шаг 28

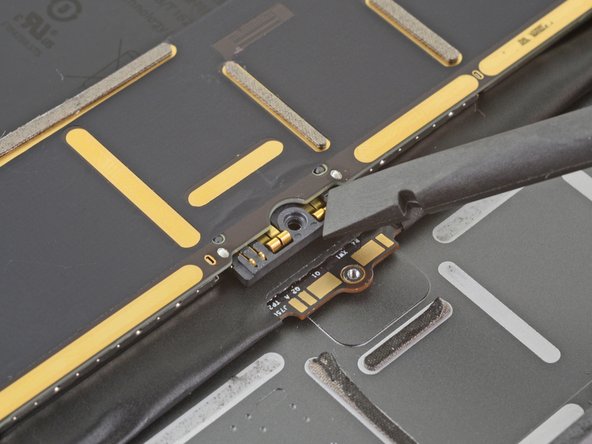
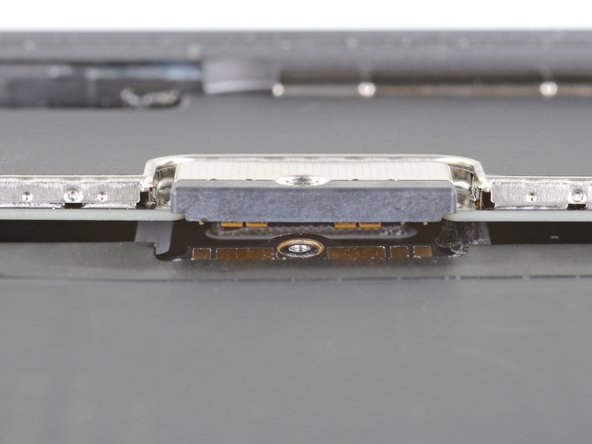


Battery connector information
Ваш вклад лицензируется под свободной лицензией Creative Commons .