Примечание: Вы редактируете необходимое руководство. Любые внесённые вами изменения влияют на все 3 руководства, которые включают этот шаг.
Перевод шага 2
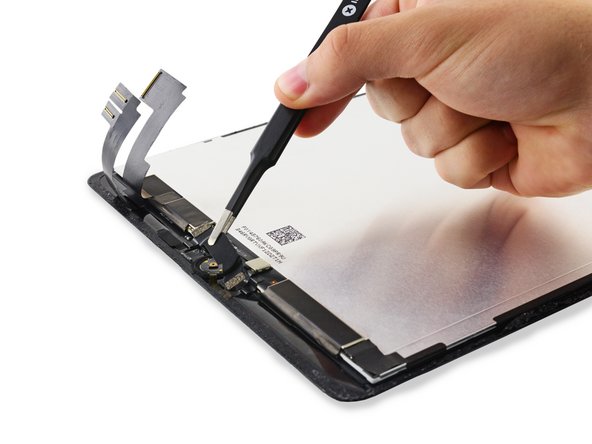
Шаг 2


-
Remove the Home Button bracket and peel up the tape connected to it.
-
Scrape off as much of the old adhesive residue from the bracket as you can, then clean it with acetone or high-concentration (90% or greater) isopropyl alcohol.
-
Secure the bracket with hot-melt glue, superglue, or high-strength double-sided tape. Make sure the bracket is aligned correctly before allowing your adhesive to cure, or the home button will not click when pressed.
Ваш вклад лицензируется под свободной лицензией Creative Commons .