Перейти к основному содержанию

Выберете то, что вам нужно

Это демонтаж а неруководство по ремонту. Чтобы отремонтировать T-Mobile Huawei Prism U8651T, воспользуйтесь нашим сервисным руководством.

  1. T-Mobile Huawei Prism U8651T Teardown, Remove Back Cover Panel: шаг 1, изображение 1 из 3 T-Mobile Huawei Prism U8651T Teardown, Remove Back Cover Panel: шаг 1, изображение 2 из 3 T-Mobile Huawei Prism U8651T Teardown, Remove Back Cover Panel: шаг 1, изображение 3 из 3
    • Place the phone face down.

    • Slide the back cover panel away from you, until you hear a click.

    • Lift the back cover panel off.

  2. T-Mobile Huawei Prism U8651T Teardown, Remove Battery: шаг 2, изображение 1 из 3 T-Mobile Huawei Prism U8651T Teardown, Remove Battery: шаг 2, изображение 2 из 3 T-Mobile Huawei Prism U8651T Teardown, Remove Battery: шаг 2, изображение 3 из 3
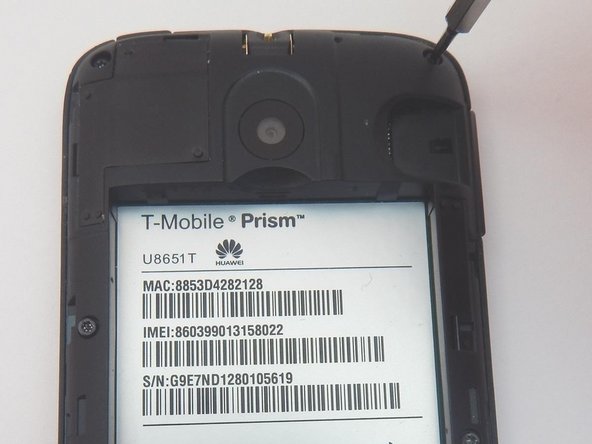
    • Place the plastic opening tool in the gap between the camera and battery.

    • Pry the battery up.

    • Remove the battery.

  3. T-Mobile Huawei Prism U8651T Teardown, Torx Screws: шаг 3, изображение 1 из 3 T-Mobile Huawei Prism U8651T Teardown, Torx Screws: шаг 3, изображение 2 из 3 T-Mobile Huawei Prism U8651T Teardown, Torx Screws: шаг 3, изображение 3 из 3
    Инструмент, используемый на этом этапе:
    T4 Torx Screwdriver
    $5.99
    Купить
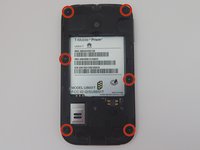
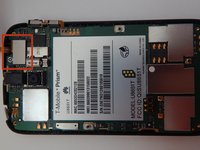
    • Locate the six 3mm torx screws holding the plastic mid frame in place.

    • Remove the six torx screws with the T4 torx screwdriver.

  4. T-Mobile Huawei Prism U8651T Teardown, Remove Plastic Mid Frame: шаг 4, изображение 1 из 3 T-Mobile Huawei Prism U8651T Teardown, Remove Plastic Mid Frame: шаг 4, изображение 2 из 3 T-Mobile Huawei Prism U8651T Teardown, Remove Plastic Mid Frame: шаг 4, изображение 3 из 3
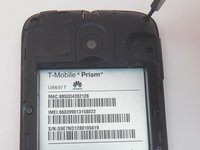
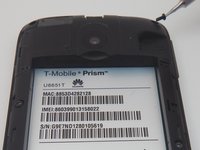
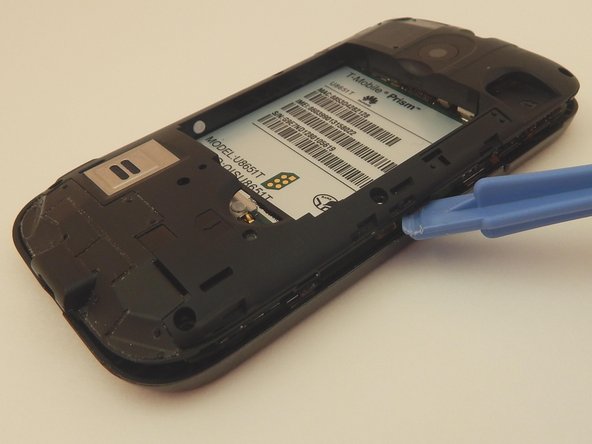
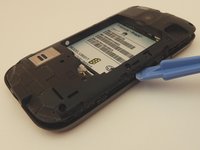
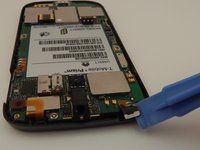
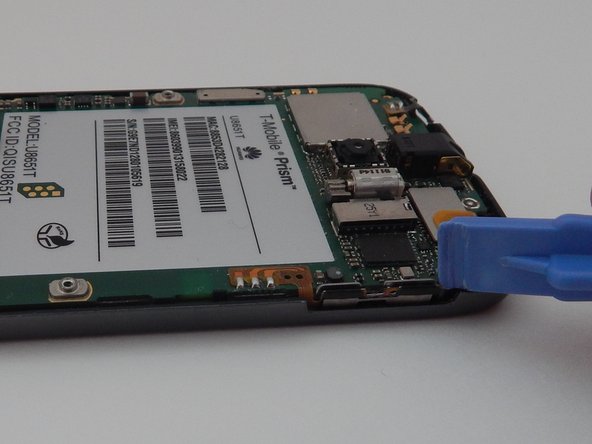
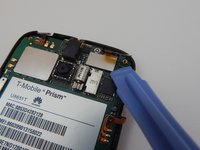
    • Place the plastic opening tool in the charging port.

    • Pry up to loosen the bottom edge of the plastic mid frame.

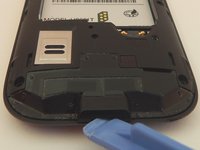
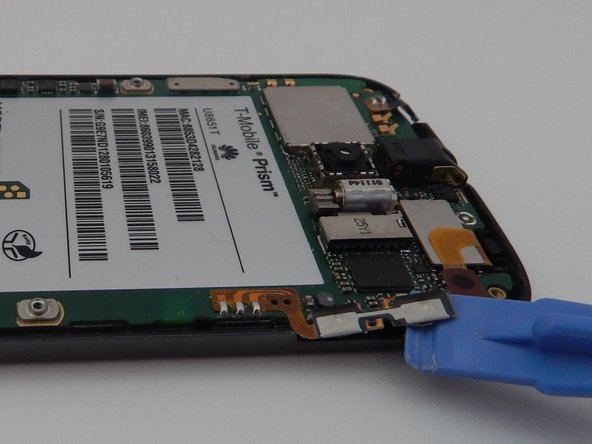
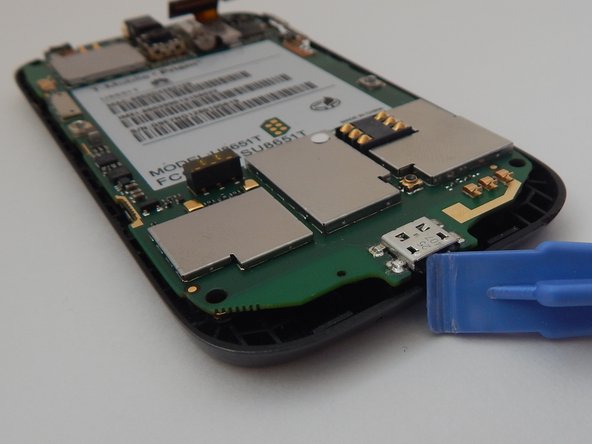
    • Work the plastic opening tool along the seam, until the the plastic mid frame is detached.

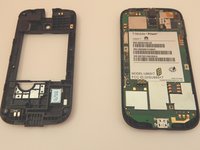
    • Remove the plastic mid frame.

  5. T-Mobile Huawei Prism U8651T Teardown, Remove Power and Volume Buttons: шаг 5, изображение 1 из 2 T-Mobile Huawei Prism U8651T Teardown, Remove Power and Volume Buttons: шаг 5, изображение 2 из 2
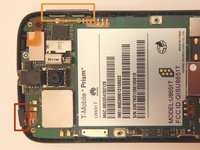
    • Locate the power button.

    • Locate the volume botton.

    • Slide the two buttons up and out of the phone.

    • The removed buttons are incredibly easy to lose, so be sure to keep an eye on them.

  6. T-Mobile Huawei Prism U8651T Teardown, Remove Power Button Sensor Strip: шаг 6, изображение 1 из 3 T-Mobile Huawei Prism U8651T Teardown, Remove Power Button Sensor Strip: шаг 6, изображение 2 из 3 T-Mobile Huawei Prism U8651T Teardown, Remove Power Button Sensor Strip: шаг 6, изображение 3 из 3
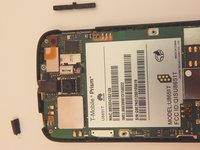
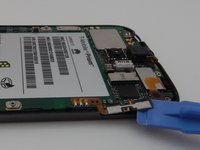
    • Locate the power button sensor strip.

    • Place the plastic opening tool under the sensor strip.

    • Pry the sensor strip up.

  7. T-Mobile Huawei Prism U8651T Teardown, Remove Volume Button Sensor Strip: шаг 7, изображение 1 из 3 T-Mobile Huawei Prism U8651T Teardown, Remove Volume Button Sensor Strip: шаг 7, изображение 2 из 3 T-Mobile Huawei Prism U8651T Teardown, Remove Volume Button Sensor Strip: шаг 7, изображение 3 из 3
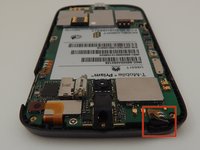
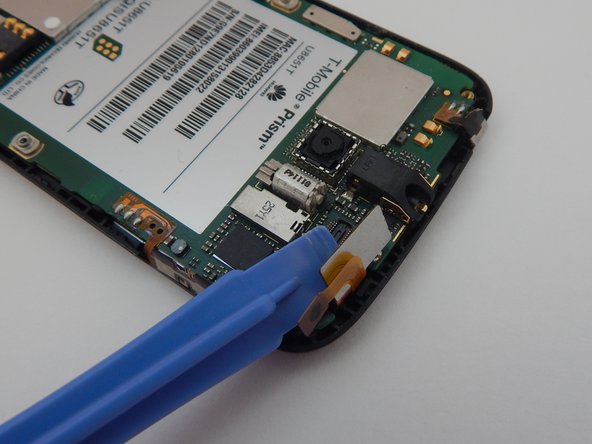
    • Locate the volume button sensor strip.

    • Place the plastic opening tool under the sensor strip.

    • Pry the sensor strip up.

  8. T-Mobile Huawei Prism U8651T Teardown, Remove Outer Screen Connector: шаг 8, изображение 1 из 3 T-Mobile Huawei Prism U8651T Teardown, Remove Outer Screen Connector: шаг 8, изображение 2 из 3 T-Mobile Huawei Prism U8651T Teardown, Remove Outer Screen Connector: шаг 8, изображение 3 из 3
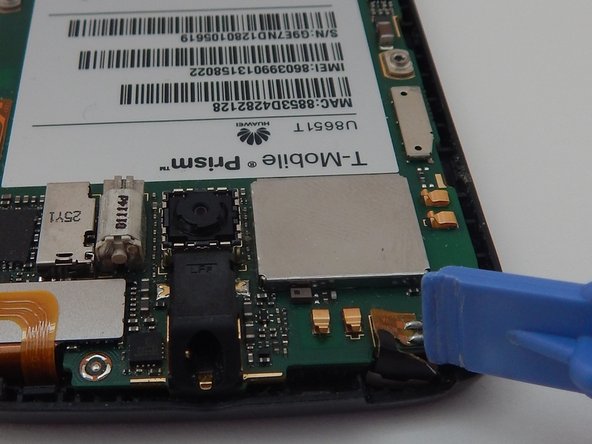
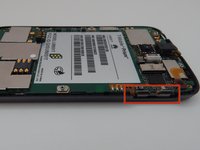
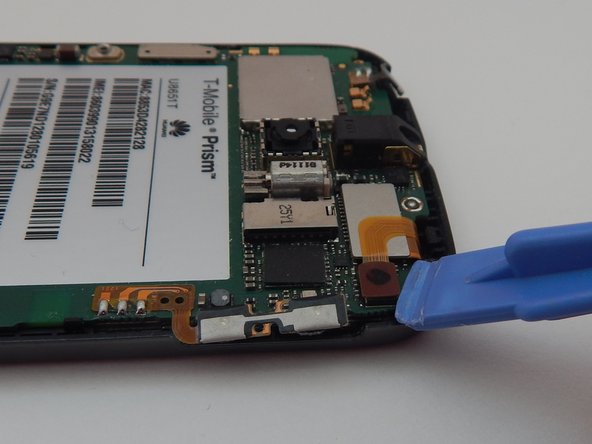
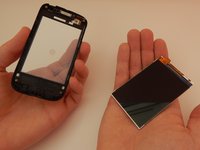
    • Locate the outer screen connector.

    • Place the plastic opening tool under the screen connector.

    • Pry the screen connector up.

  9. T-Mobile Huawei Prism U8651T Teardown, Remove Inner Screen Connector: шаг 9, изображение 1 из 3 T-Mobile Huawei Prism U8651T Teardown, Remove Inner Screen Connector: шаг 9, изображение 2 из 3 T-Mobile Huawei Prism U8651T Teardown, Remove Inner Screen Connector: шаг 9, изображение 3 из 3
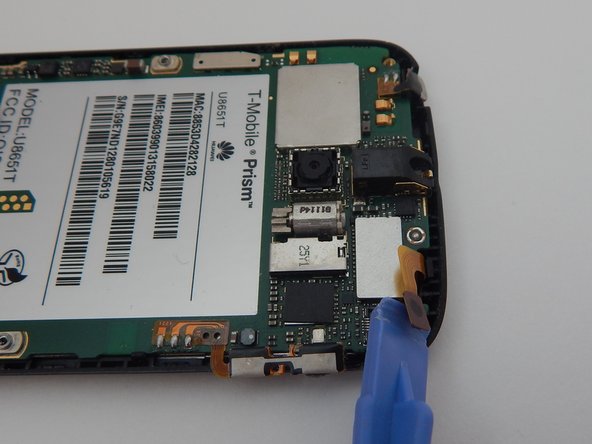
    • Locate the inner screen connector.

    • Place the plastic opening tool under the screen connector.

    • Pry the screen connector up.

  10. T-Mobile Huawei Prism U8651T Teardown, Remove Motherboard: шаг 10, изображение 1 из 3 T-Mobile Huawei Prism U8651T Teardown, Remove Motherboard: шаг 10, изображение 2 из 3 T-Mobile Huawei Prism U8651T Teardown, Remove Motherboard: шаг 10, изображение 3 из 3
    • Place the plastic opening tool in the charger port.

    • Pry the motherboard up.

    • Remove the motherboard.

  11. T-Mobile Huawei Prism U8651T Teardown, Remove Screen: шаг 11, изображение 1 из 3 T-Mobile Huawei Prism U8651T Teardown, Remove Screen: шаг 11, изображение 2 из 3 T-Mobile Huawei Prism U8651T Teardown, Remove Screen: шаг 11, изображение 3 из 3
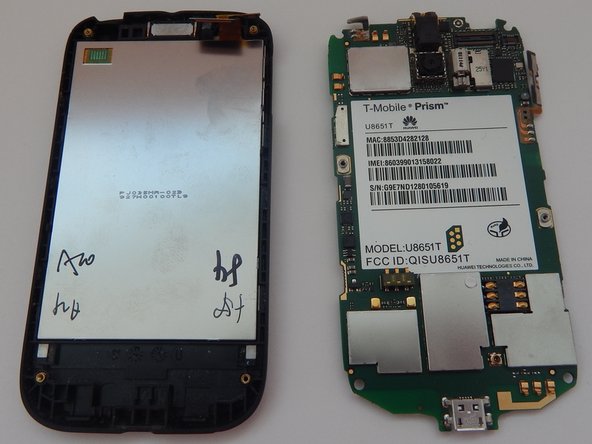
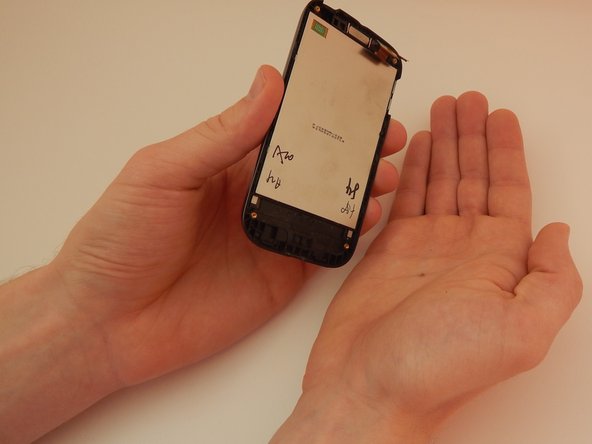
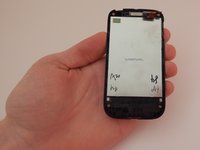
    • Pick up the front half of your phone with your left hand.

    • Slowly rotate the phone so the screen falls into your right hand.

    • Be extremely careful not to drop the screen.

  12. T-Mobile Huawei Prism U8651T Teardown: шаг 12, изображение 1 из 1
    • Teardown complete

Dillon

Участник с: 10/23/14

578 Репутация

Автор 5 руководств

Команда

Michigan Tech, Team 1-7, Lauer Fall 2014 Участник Michigan Tech, Team 1-7, Lauer Fall 2014

MTU-LAUER-F14S1G7

3 членов

Автор 10 руководств

0 Комментариев

Добавить комментарий

Просмотр статистики:

За последние 24часов: 0

За последние 7 дней: 5

За последние 30 дней: 9

За всё время: 2,342