Выберете то, что вам нужно


-
-
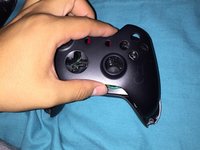
Start with removing the battery pack and exposing the T8 security screw. The screw should be hidden behind a warranty sticker.
-
-
-
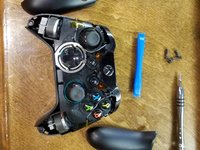
Remove the side panels exposing the second T8 security screw using a spudger, an IFixit Opening Tool, or your nails, each choice is fun.
-
-
-
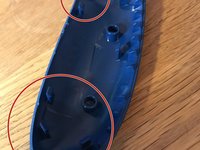
By removing all side panels all 5 TR8 security screws have appeared!
-
-
-
Once you removed the T8 security screws remove the front face plate.
-
-
-
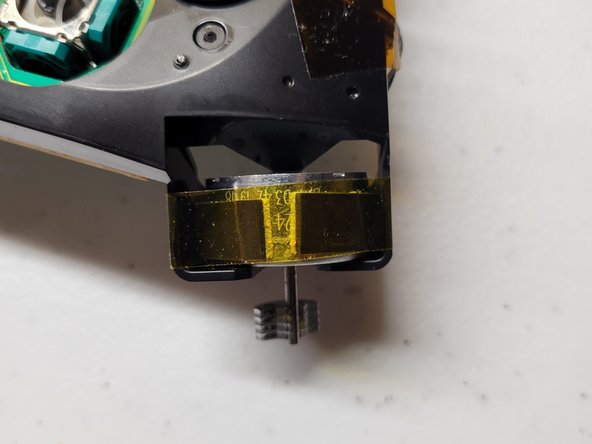
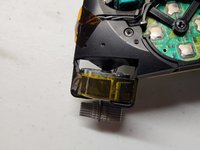
Tape down the rumbler motors to prevent them from falling out.
-
-
-
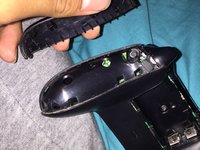
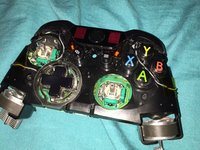
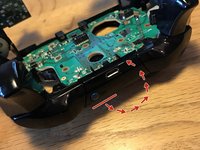
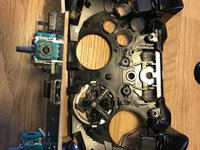
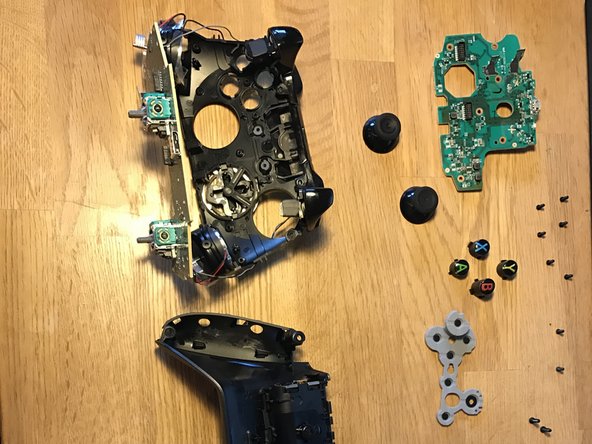
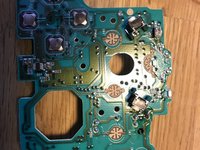
Remove the T6 screws to remove the PCB's.
-
It takes a pull to seperate the connectors.
-
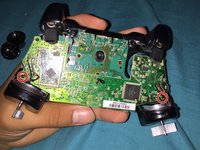
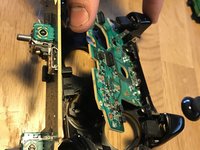
Watch the wires! You can not fully remove the circuit board without removing the wires and it requires soldering.
-
-
-
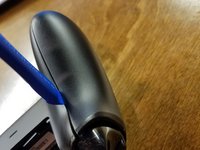
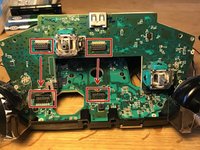
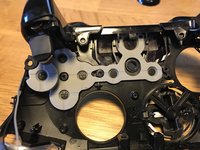
Remove the top cover, it folds over.
-
There are 6 T6 screws to remove.
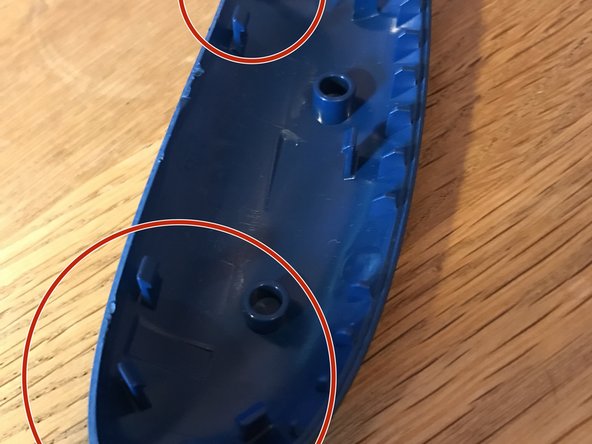
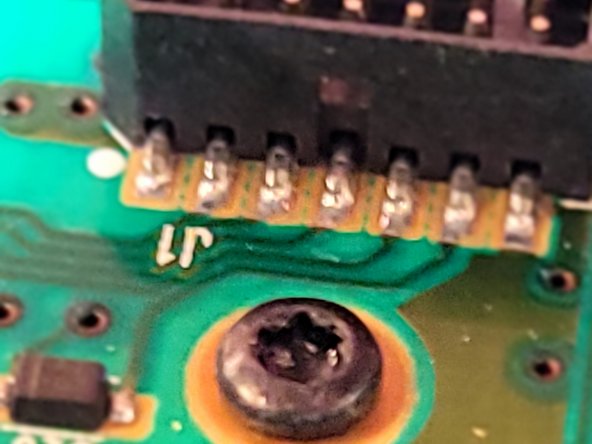
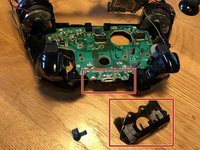
I an attempting to reassemble the controller now but getting stuck at this step, i cant figure out how the sync button fits back in, everything i’ve tried seems to cause it to either turn once the cover is back on or lose it’s ‘spring’ so it stays pressed in.
I was having trouble with this too, I think i figured it out. The sync button itself has two tabs, the really long tab should fit into a slot next to the Xbox button that keeps it in place.
https://i.imgur.com/NGU6oUl.jpg
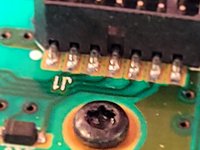
there's also a cross shaped protrusion underneath that should make contact with a white button on the pcb, as well as an adhesive strip that goes over the sync button once it's in. (The shiny gray thing in the pic)
legonro -
-
-
-
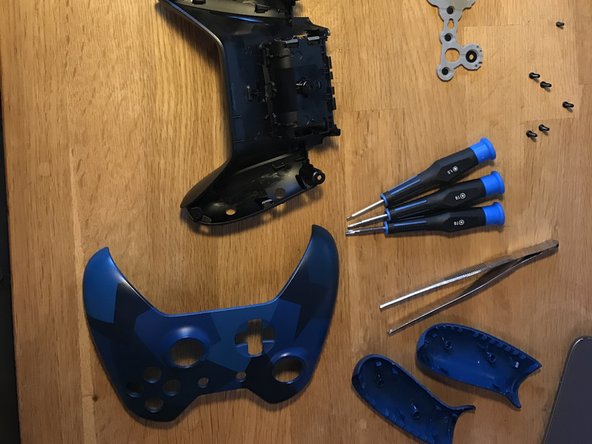
Follow the instructions in reverse to get everything together again. :D
do you know were the wireless chip is located?
-


16 Комментариев
Very good instructions...
Do you think that you can label the internals of the controller.
How do you put the sync buttom back in? Which way does it face?
The little tab on the sync button faces inward (Facing the Xbox Home button)
thanks a lot for the kick guide, help me a lot.
i did this and my batteries don’t fit anymore l
i did this and now the batteries don’t fit in the thing lol
xbox 360 was the best + ez bec rumble motor was two pins just like GPU fan u can remove it and work on ur controller without soldering
Excellent instructions. I was able to fix my analog sticks not returning to center because of too much pressure.
How is the placement of the small button on top for syncing the controller placed for reassembly?
This guide did not appear to show this.
The two wide "legs" of the X are down, and the smallest gap is up.
My son spilled soda all over his controller, and this guide helped me pull it apart, clean it up and got it non-sticky-buttony again with my excellent Essential Electronics Toolkit! Thanks, excellent guide! :)
Never mentions removing the backplate...which seems pretty stuck on and im scared to destroy something...is an important step, no?
Edit:
i just did it, scary, but slipped off eventually