
Black and Decker PS1800 Switch Replacement
Введение
Перейти к шагу 1This guide describes how to replace the Black and Decker PS1800 switch. A soldering gun is necessary to replace the switch. Personal protective equipment is suggested.
Выберете то, что вам нужно
Инструменты

-
-
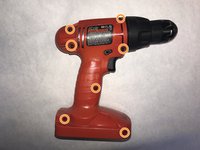
Lay the drill on its side, assuring that the screw holes are facing upwards.
-
Remove seven 12 mm screws using a Phillips #00 screwdriver.
-
-
-
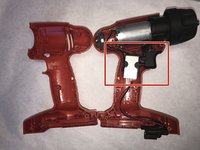
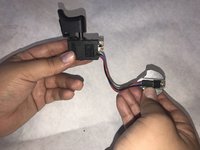
Identify the switch in center of the drill.
-
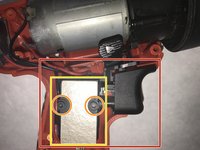
Remove the screws from the switch.
-
Remove the switch cover.
-


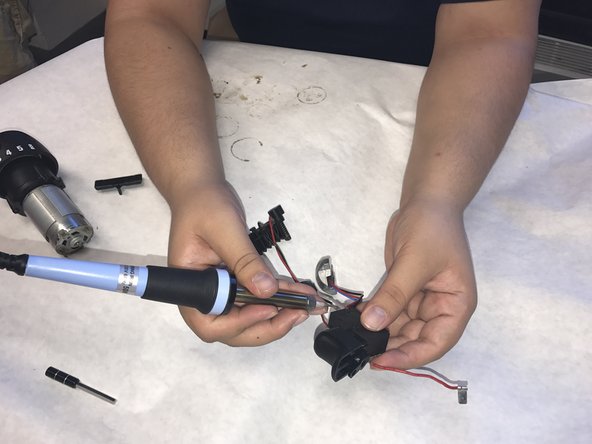

To reassemble your device, follow these instructions in reverse order.
To reassemble your device, follow these instructions in reverse order.
Отменить: Я не выполнил это руководство.
Еще один человек закончил это руководство.
Команду

IUPUI, Team 2-3, Baechle Fall 2016 Участник IUPUI, Team 2-3, Baechle Fall 2016
IUPUI-BAECHLE-F16S2G3
5 членов
Автор 6 руководств