Введение
This repair guide was authored by the iFixit staff and hasn’t been endorsed by Google. Learn more about our repair guides here.
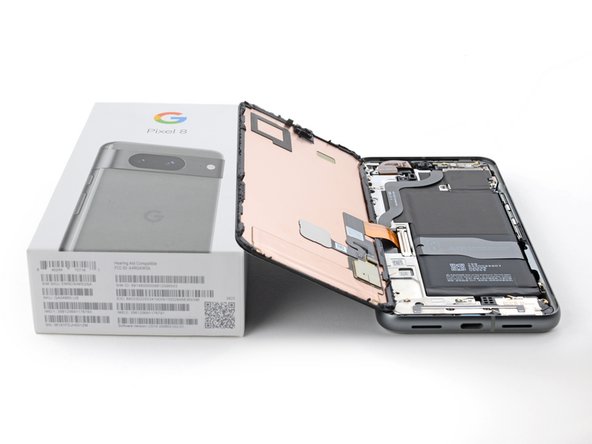
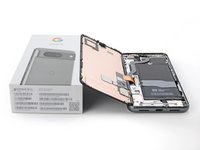
Follow this guide to replace a broken or malfunctioning screen on your Google Pixel 8.
You'll need replacement screen adhesive to complete this repair.
Note: This guide was made with the 5G mmWave antenna model of the Pixel 8. If you have the non-mmWave version, you can still use this guide—just skip the steps that mention the 5G mmWave antenna.
Выберете то, что вам нужно
Видео обзор
-
-
Unplug all cables from your phone.
-
Completely power off your phone.
-
-
-
Measure 3 mm from the tip and mark the opening pick with a permanent marker.
-
-
-
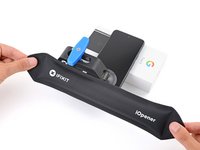
Heat an iOpener and lay it on the bottom edge of the screen for two minutes to soften the adhesive.
Ich habe gerade sehr gute Erfahrungen mit einer schlichten "nackten" Wärmflasche mit fast kochendem Wasser gemacht. Handy mit dem Display drauf, ein Handtuch drüber, 1-2 Minuten warten, und los geht's. Es wird gleichmäßig erwärmt und keine Gefahr der Überhitzung.
-
-
Инструмент, используемый на этом этапе:Clampy - Anti-Clamp$24.95
-
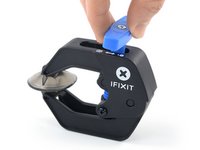
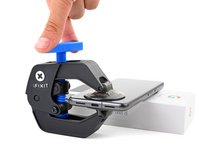
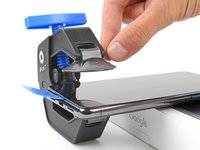
Pull the blue handle backwards to unlock the Anti-Clamp's arms.
-
Place your phone screen side up on an object so it will rest level between the Anti-Clamp's arms—the bottom edge should be hanging off.
-
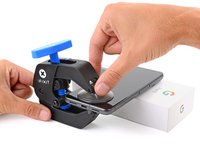
Slide the arms over the left edge of your phone, so you have access to the bottom edge.
-
Position the suction cups as close to the center of the bottom edge as possible.
-
Squeeze the cups together to create suction.
-
-
-
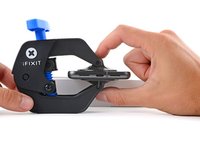
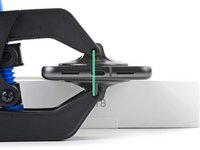
Pull the handle forward to lock the arms.
-
Turn the handle clockwise one full turn (360 degrees), or until the suction cups begin to stretch.
-
As the cups stretch, make sure they stay aligned with each other. If they keep slipping, remove the Anti-Clamp and apply tape for the cups to stick to.
-
-
-
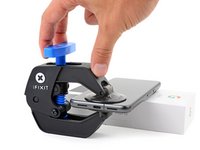
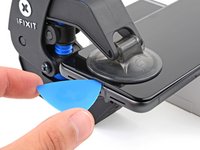
Wait one minute for a gap to form between the screen and frame.
-
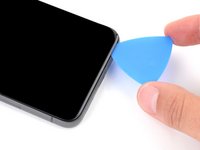
Insert an opening pick into the gap.
-
Pull the blue handle backwards to unlock the arms and remove the Anti-Clamp using the pull tabs on the suction cups.
-
Skip the next two steps
-
-
-
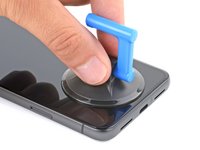
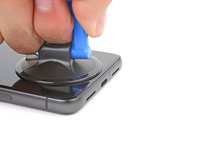
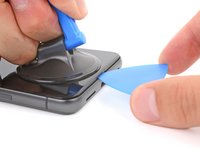
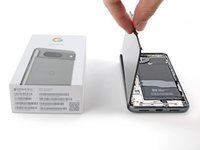
Apply a suction handle to the center of the screen's bottom edge.
-
-
-
-
Pull up on the suction handle with strong, steady force until a gap forms between the screen and frame.
-
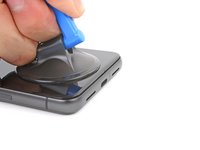
Insert an opening pick into the gap.
-
-
-
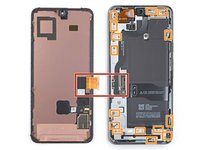
The screen cable is a little less than halfway up the left edge of the phone. Be very careful here to avoid tearing the cable.
-
There are many spring contacts around the perimeter of the phone. Be very careful in these areas to avoid bending the contacts.
I've had 2 devices from Google, both make a creaking snapping noise on the left side of the display above the sim. Clearly it's a design issue and wonder if it could be fixed.
-
-
-
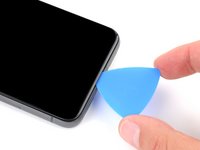
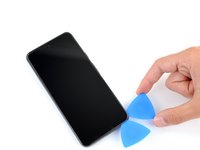
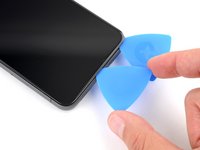
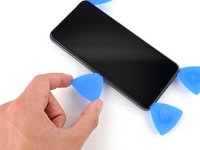
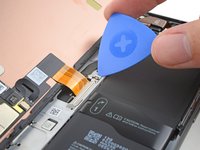
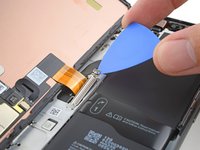
Slide the opening pick along the bottom edge to separate the adhesive securing it.
-
Leave the pick in the bottom right corner to prevent the adhesive from resealing.
-
-
-
Apply a heated iOpener to the right edge of the screen for two minutes.
-
-
-
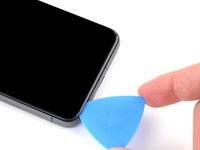
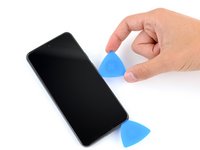
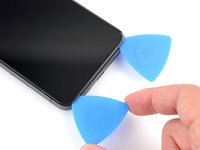
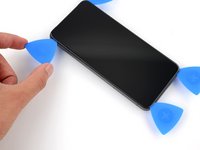
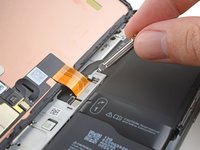
Insert a second opening pick under the bottom right corner of the screen.
-
Slide the new pick to the top right corner to separate the adhesive securing the screen's right edge.
-
Leave the pick in the top right corner to prevent the adhesive from resealing.
-
-
-
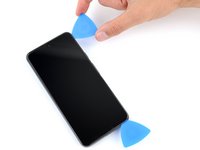
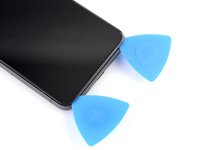
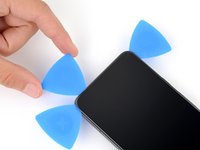
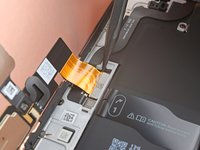
Insert a third opening pick under the bottom edge of the screen.
-
Slide the new pick to the bottom left corner.
-
Leave the pick in the bottom left corner to prevent the adhesive from resealing.
-
-
-
Apply a heated iOpener to the left edge of the screen for two minutes.
-
-
-
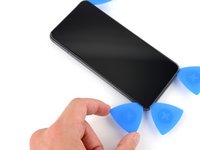
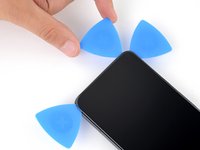
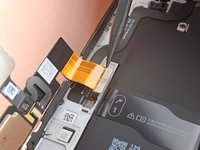
Insert a fourth opening pick under the bottom left corner of the screen.
-
Slide the new pick to the top left corner to separate the adhesive securing the screen's left edge.
-
Leave the pick in the top left corner to prevent the adhesive from resealing.
-
-
-
Apply a heated iOpener to the top edge of the screen for two minutes.
-
-
-
Insert a fifth opening pick under the top edge of the screen, near the left corner.
-
Slide the opening pick to the top right corner to separate the adhesive securing the screen's top edge.
-
-
-
Place a small box or stack of books to the left of your phone so you can prop up the screen while disconnecting its cable.
-
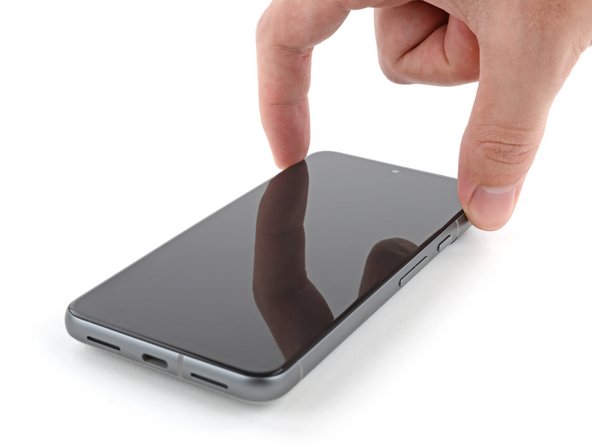
Swing up the right edge of the screen like the front cover of a book.
-
Prop up the screen so you can access the screen cable.
-
-
-
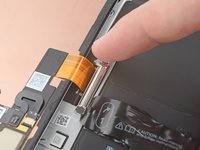
Use an opening pick to pry up the upper edge of the screen cable cover.
-
Remove the cover.
-
-
-
Insert the point of a spudger under the top left corner of the screen's press connector.
-
Gently pry up and disconnect the cable.
-
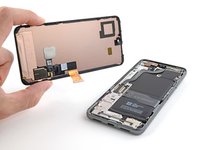
Remove the screen.
-
-
-
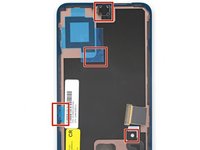
Use the pull tabs to remove the liners covering the front camera cutout, the rear camera pad, the back of the screen, and the perimeter adhesive.
-
Reconnect the screen cable and reinstall its cover.
-
This is a good point to test your phone before sealing it up. Temporarily power on your phone and make sure it works as expected. Power it down before continuing.
-
Firmly press the screen into place on the frame. You should feel the clips "pop" into place.
-
Press firmly around the perimeter of the screen to secure it with the new adhesive.
-
Follow this guide to calibrate the fingerprint sensor.
Please explicitly mention that if your replacement screen has the small blue tabs, that indicates it came with pre-installed adhesive. In retrospect and knowing what to look for it's obvious, but it wasn't at first.
-


To reassemble your device, follow these instructions in reverse order.
To run a diagnostics test with the built-in Pixel Diagnostic tool, click here.
Take your e-waste to an R2 or e-Stewards certified recycler.
Repair didn’t go as planned? Try some basic troubleshooting, or ask our Google Pixel 8 Answers Community for help.
Отменить: Я не выполнил это руководство.
13 человек успешно провели ремонт по этому руководству.


13 Комментариев
Simple, but fiddly repair. Replacement screen seemed to come with a thin adhesive border already applied. I'm not sure if I was supposed to use the separate replacement adhesive, but the new screen seems to sit flush with both. Good guide, managed to finish the repair in under an hour. Thanks, ifixit.
you failed to mention anything regarding the fingerprint sensor, and the images of the genuine replacement screen appear to have it included, which is not the case on any other non-genuine replacement screens ive seen.
So to be clear, does the genuine screen replacement come with a new fingerprint sensor pre-installed, and if you were to buy a non-genuine replacement which requires you to install the original sensor from the original screen, how would one go about positioning the sensor on the screen and etc
Hi Ryley,
The genuine screen replacement does come with a new fingerprint sensor pre-installed. I'm not certain with non-genuine screens. I assume there will be a pretty precise cutout in the copper foil on the screen. You'd need to carefully attach the sensor with some double-sided tape.
Replacement screen was working well for me till I put the screen back on fully, now screen wont turn on. Checked connections as well, think I damaged the cable by putting to much pressure on it closing. Word on caution dont use force when reclosing phone
After fitting the replacement screen my proximity sensor is no longer working. Has anyone seen this issue before?
I ran into this too, and just fixed it -- for anyone else running into this issue proximity sensor and lux sensor not working -- in 'step 21' the little red box showing the black tab in the lower right -- you are meant to REMOVE the black adhesive/sticker with the barcodes and serials on it. The back side of the screen will be a solid copper color once done correctly, and there will be a little cut-out window just below the front camera to allow those sensors to see the world. I guess it's a good thing they gave me a screen with pre-applied adhesive, as well as another spare, because I had to pull the 4 day-old applied screen back off to remove the black sticker and have a fix!
darkwind -
3 things - First I had already installed the "extra" adhesive before I realized that there was pre-installed adhesive on the new screen. Yes, the instructions hint at this, but I still screwed up. Second, putting the screen cable back in place is by far the hardest part of this. It will take time to get it lined up and you have to be really patient. Finally, don't expose the adhesive until after the screen cable is in place. I let the screen fold back onto the phone by accident, and then it was a mess to get the screen back up without destroying the adhesive. I still have no confidence it's water resistant now. Oh well, it works!
всі власники пікселя 8 рекомендую відкрити екран і прибрати вусики заземлення що давлять на шлейф матриці,поки не пізно. в мене пізно,замовляю новий дисплей
Hat gut geklappt. Der alte Bildschirm ist zwar bei der Reparatur dann komplett zerbröselt aber der war ja sowieso schon kaputt, wenn man mit etwas mehr Fingerspritzengefühl dran geht als ich dann bleibt der vermutlich auch heile. Werkzeug tut was es soll, ich habe zusätzlich noch eine spitzere Pinzette genutzt für die Klebereste, das ist aber nicht unbedingt nötig.
Gab noch ein extra Klebestreifen was hilfreich ist wenn das erste mal kleben nicht klappt, war bei mir aber nicht nötig.
Guide doesn't mention what to do with the old adhesive. I cleaned it out best I could because it seems like a good idea, but later saw I was supposed to use alcohol in another guide. Would be nice if the guide is explicit in what to do, without the need to jump or reference other guides that are easy to miss.
Hello All,
I've just received my Pixel 8 replacement screen. I followed the videos and instructions and completed the replacement. But now my new screen is showing this blue pixelated screen.
Any ideas or thoughts would be greatly appreciated.
iFixit, please mention that the Pixel 8 replacement screens you sell come with replacement adhesive which is exposed by removing the small blue tabs, I also didn't find out until installing the (extra) adhesive included in the repair kit. Looks like my phone will be doubly-adhered like some others' here.