
HP Compaq nc8430 Fan Replacement
Введение
Перейти к шагу 1The maintaining of a clean fan promotes the smoothly functioning of the computer.
Выберете то, что вам нужно
Инструменты

-
-
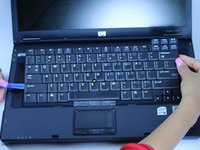
Carefully flip the device over so that the bottom is facing up.
-
Slide both of the latches to the left.
-
-
-
Use a J1 screwdriver to remove each screw on the bottom of the computer. This will allow for the opening of the laptop to gain access to the fan.
-
-
-
Now that you have unscrewed most of the bottom of the laptop, carefully flip it back over.
-
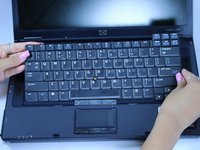
Press down firmly on the four latches shown in the photo to detach the key board. This will unlock the latches holding the keyboard down, doing this will grant you access to the inside of the computer.
-
-
-
Remove the keyboard carefully now that it is detached, and use the pry tool to assist you in the removal of the keyboard.
-
-
-
Now your laptop should have no screws and no keyboard.
-
You should now be able to open up the base of the laptop. With a bit of force, detach the sides latches of the base by pulling them open carefully.
-
Your computer should now look like the provided photo, where you can see where the fan is located.
-
-
-
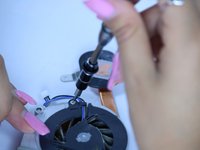
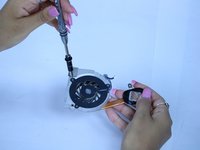
Continue to unscrew all screws to completely disassemble to gain complete access to the computer's fan.
-
-
-
As an extra precaution, please check for any dirt or debris that are preventing the fans complete functionality.
-


To reassemble your device, follow these instructions in reverse order.
To reassemble your device, follow these instructions in reverse order.
Отменить: Я не выполнил это руководство.
Еще один человек закончил это руководство.
Команду

Texas Tech, Team S13-G4, Bennett Spring 2017 Участник Texas Tech, Team S13-G4, Bennett Spring 2017
TTU-BENNETT-S17S13G4
5 членов
Автор 5 руководств