Этот перевод был сделан машиной и пока не проверен человеком. Знаешь этот язык? Оцени его.
Введение
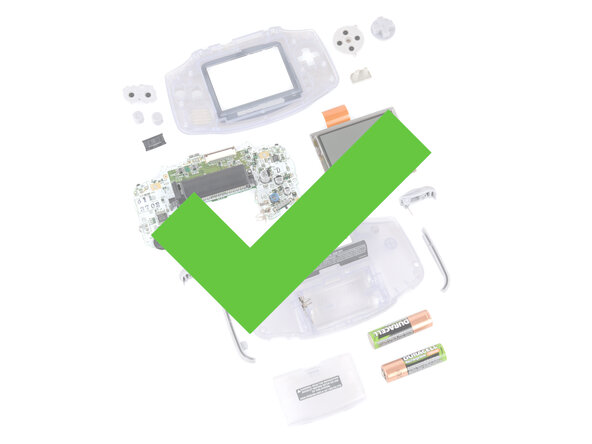
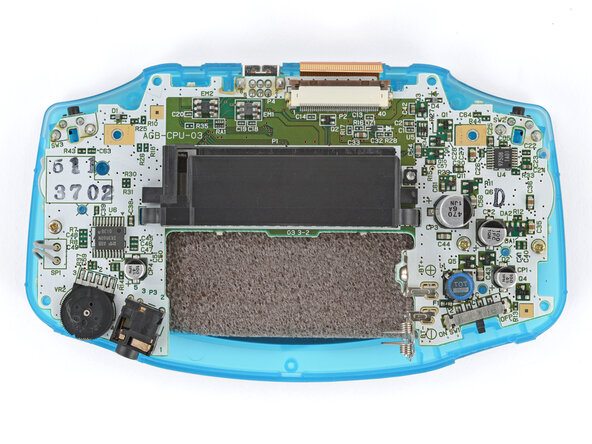
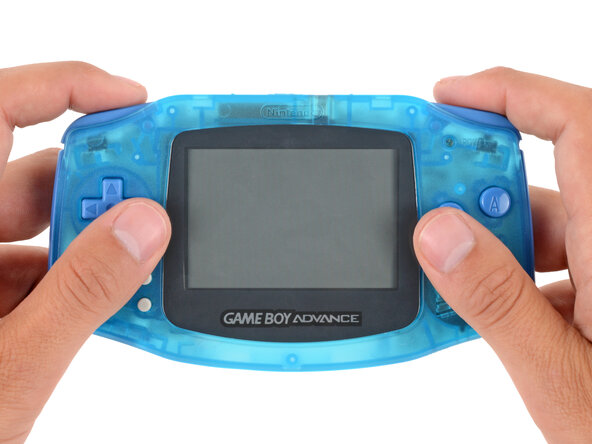
Следуйте этому руководству, чтобы полностью заменить корпус вашего Game Boy Advance.
Замена корпуса Game Boy Advance подразумевает снятие внешнего пластикового корпуса и перенос всех внутренних компонентов, что чаще всего делается для персонализации устройства.
В процессе замены меняются обе части корпуса, а также могут быть установлены новые кнопки, мембраны и защитное стекло экрана. Вы также можете заменить или обновить экран и материнскую плату. Однако в этом руководстве не рассматриваются паяльные работы, которые обычно требуются для апгрейда экрана и материнской платы.
В Game Boy Advance используются винты стандарта JIS. Если вы используете отвертку Phillips стороннего производителя (не iFixit) для винтов JIS, вы рискуете сорвать шлицы. Биты Phillips от iFixit разработаны с учетом совместимости с винтами стандарта JIS.
Выберете то, что вам нужно
-
-
-
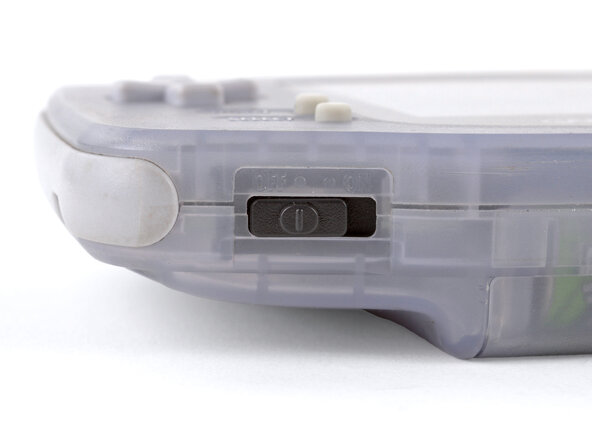
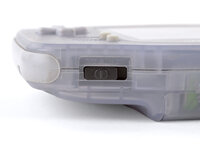
Перед началом работы с Game Boy переведите выключатель питания в положение OFF (ВЫКЛ) и отсоедините все кабели.
-
Если вставлен игровой картридж, извлеките его.
 Спросите у FixBot
-
-
-
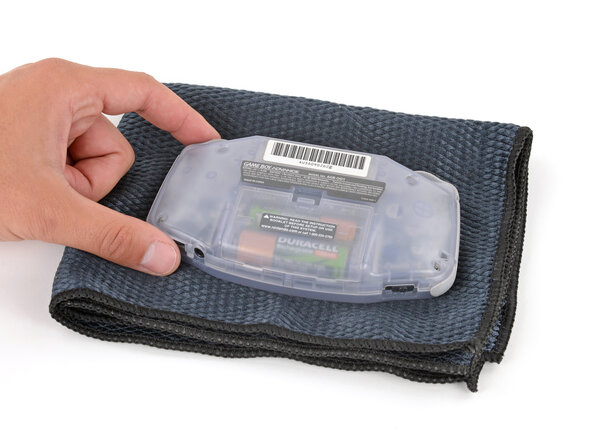
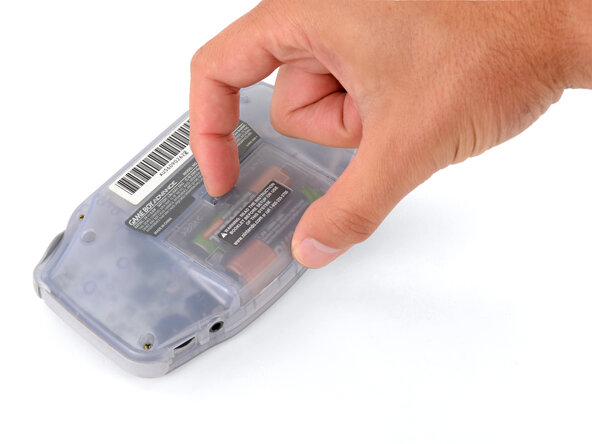
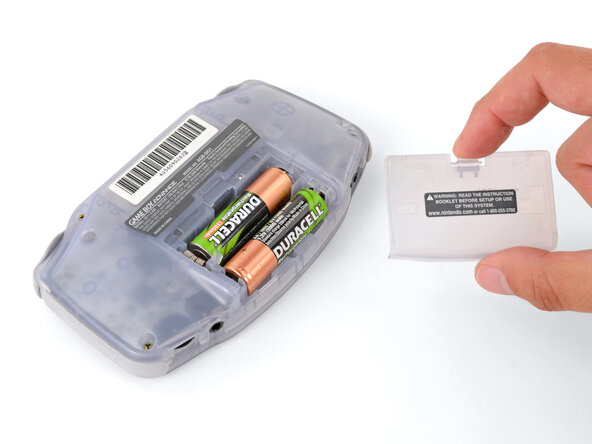
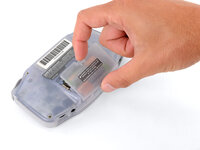
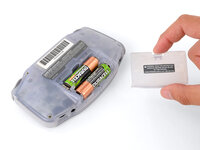
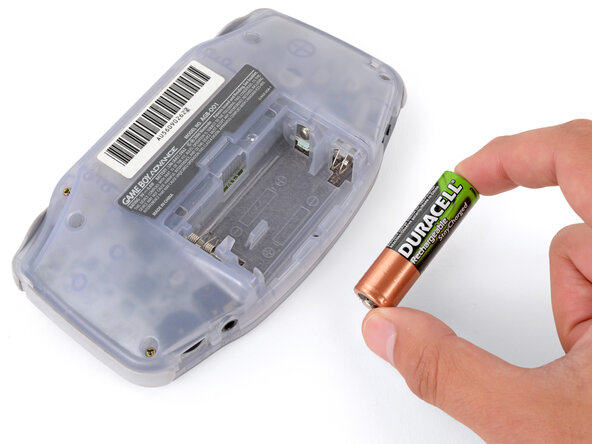
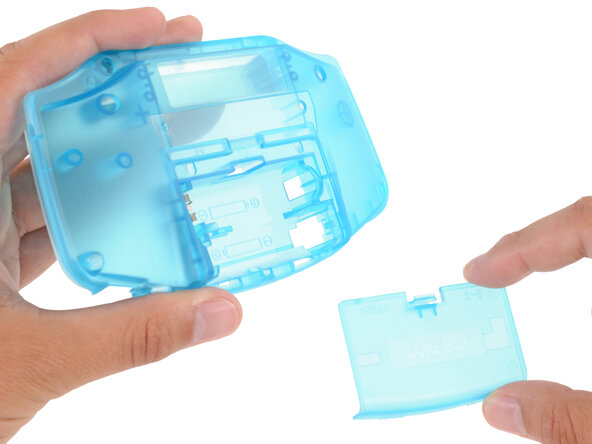
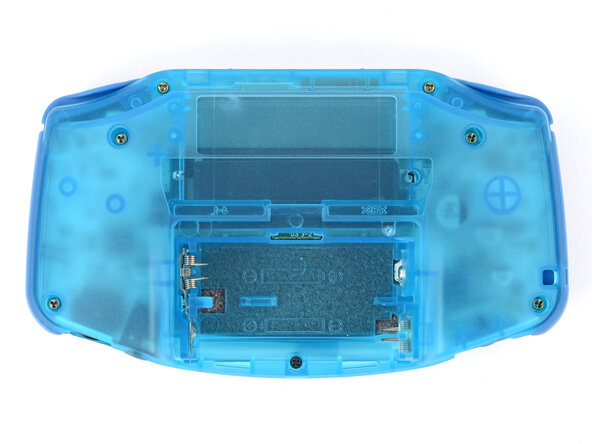
Отведите фиксатор крышки батарейного отсека пальцем и откиньте крышку от корпуса Game Boy, чтобы снять её.
-
-
-
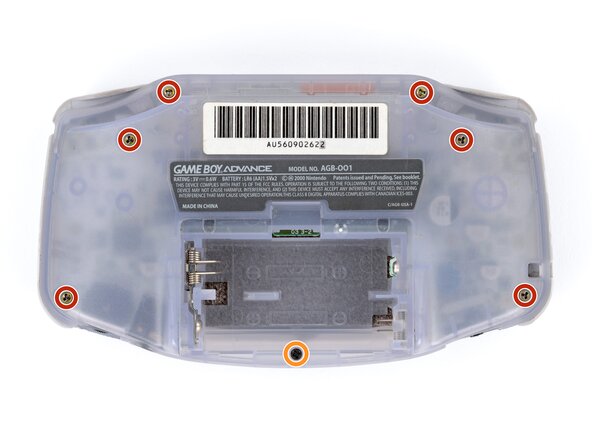
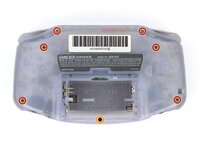
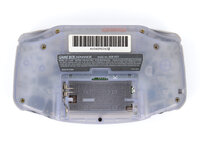
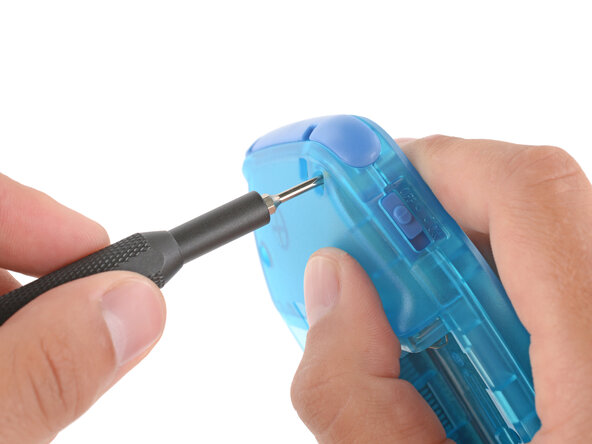
Выкрутите семь винтов, удерживающих заднюю крышку:
-
Шесть трехлопастных винтов Y0 длиной 9,4 мм
-
Один винт JIS 1 длиной 8,5 мм
-
-
-
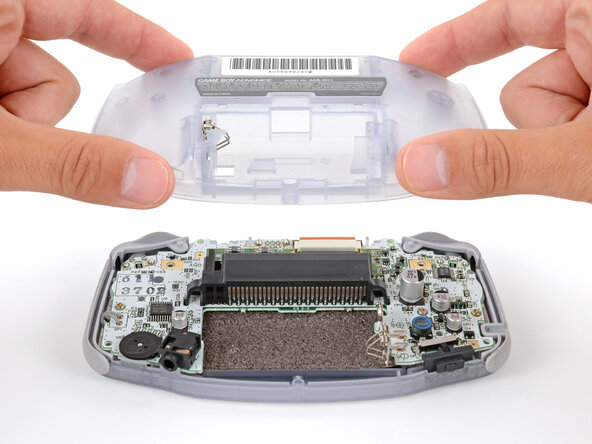
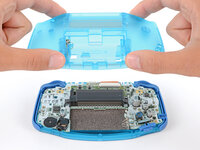
Поднимите заднюю крышку строго вверх и снимите её.
-
-
-
Поднимите плечевые кнопки (также известные как кнопки L и R) вертикально вверх, чтобы снять их.
-
-
-
Приподнимите и снимите боковые бамперы.
-
-
-
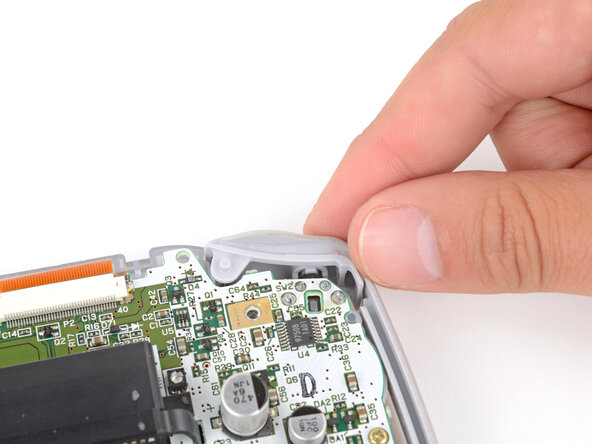
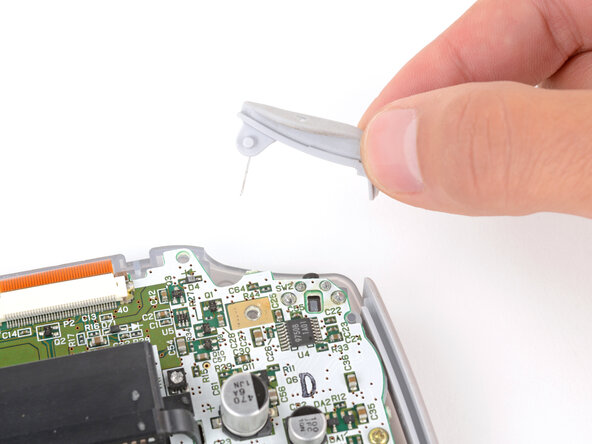
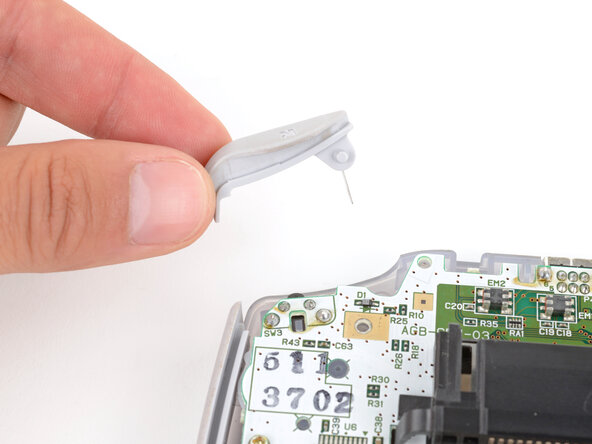
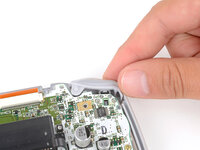
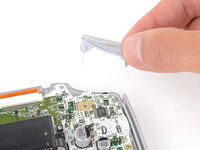
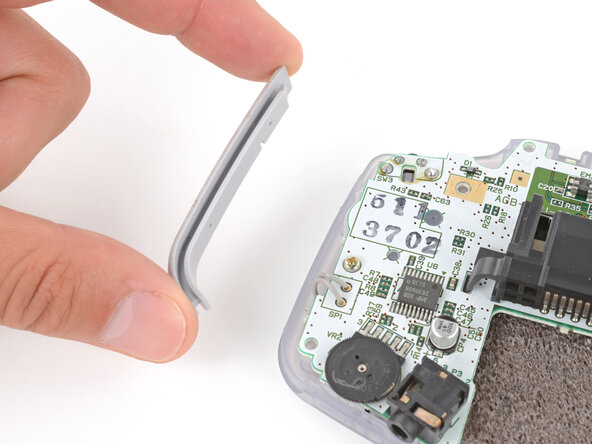
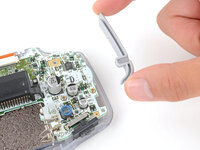
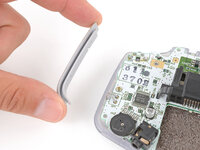
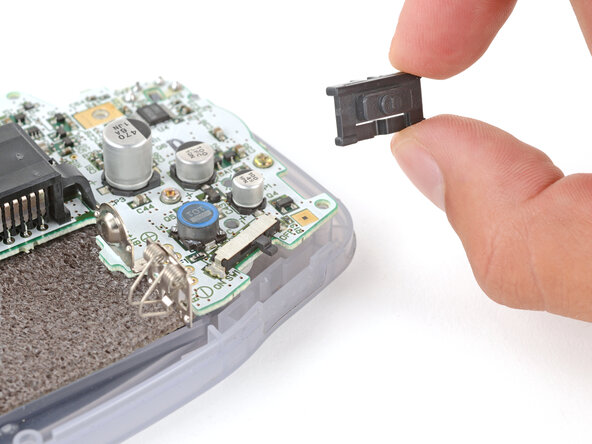
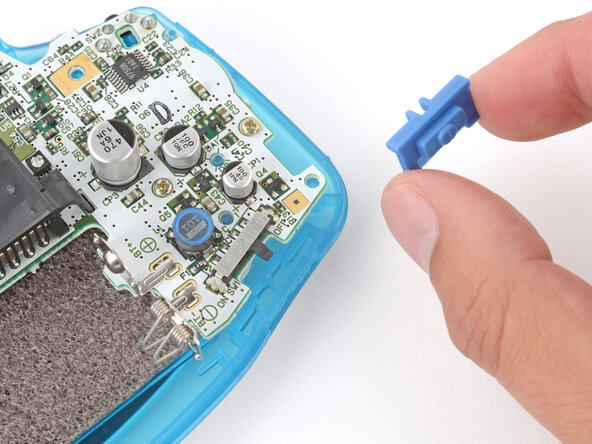
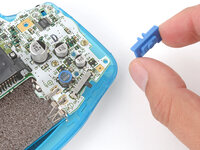
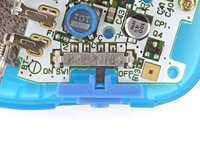
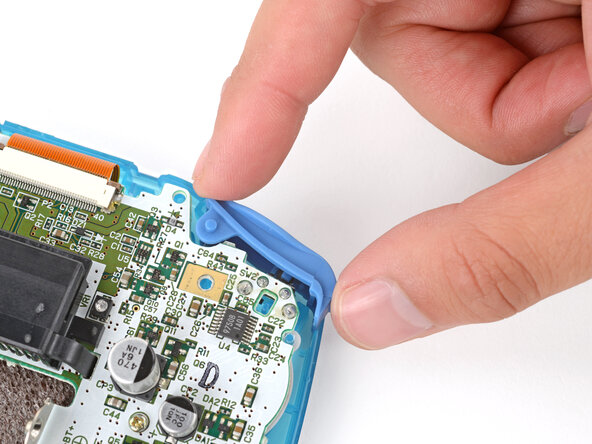
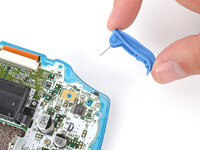
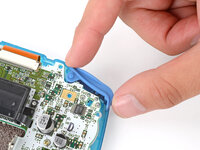
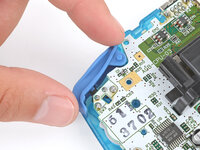
Подденьте и снимите крышку кнопки питания.
-
-
-
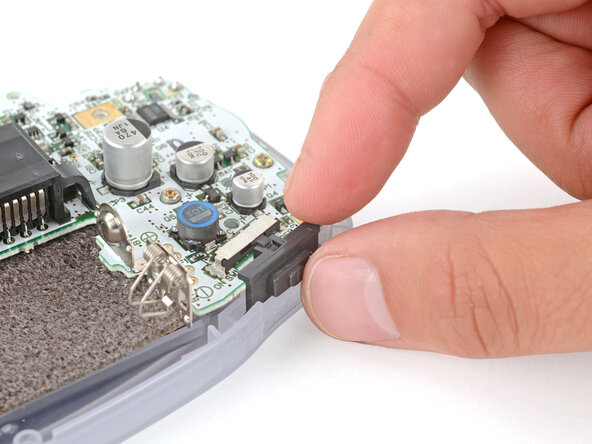
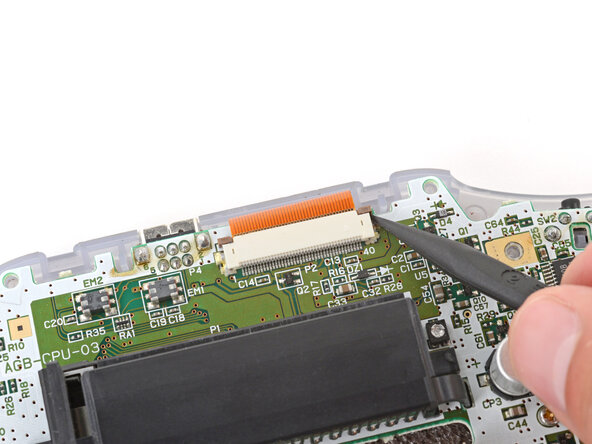
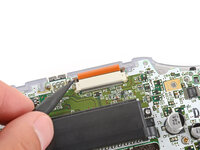
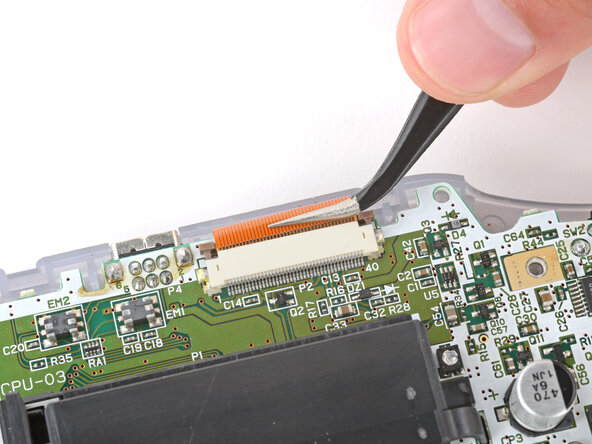
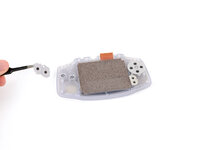
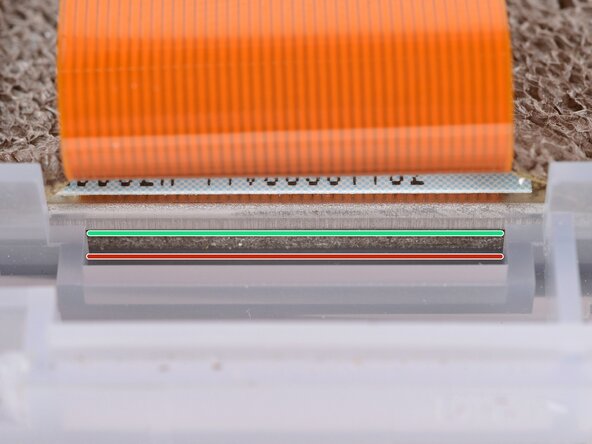
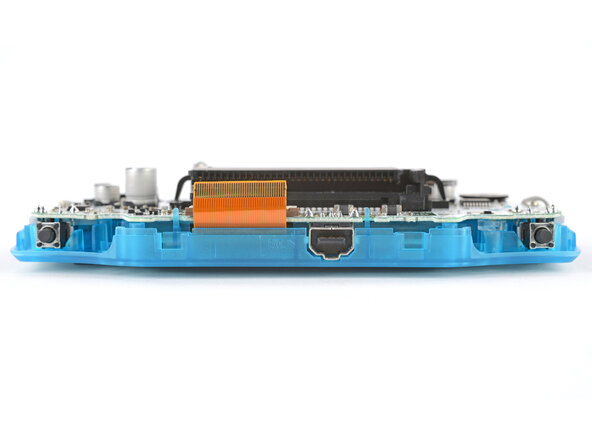
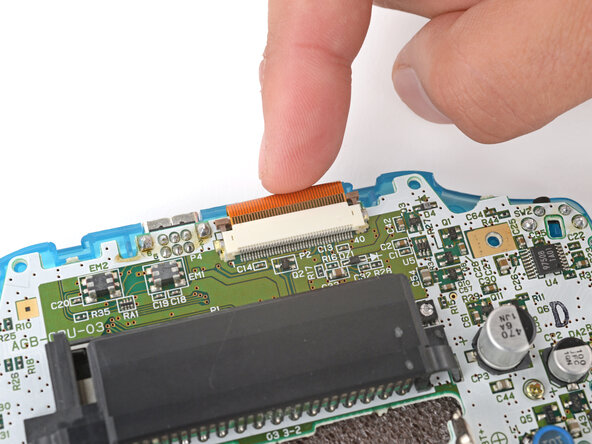
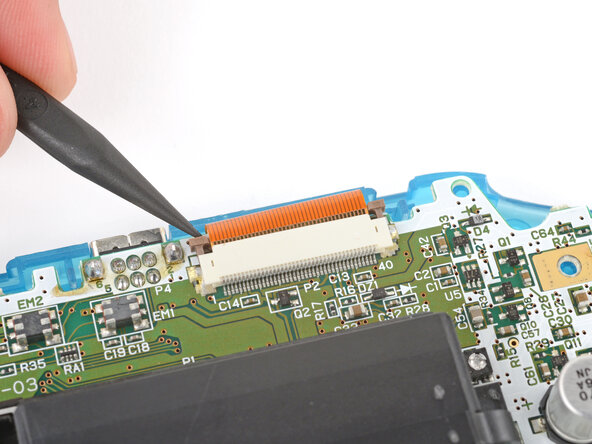
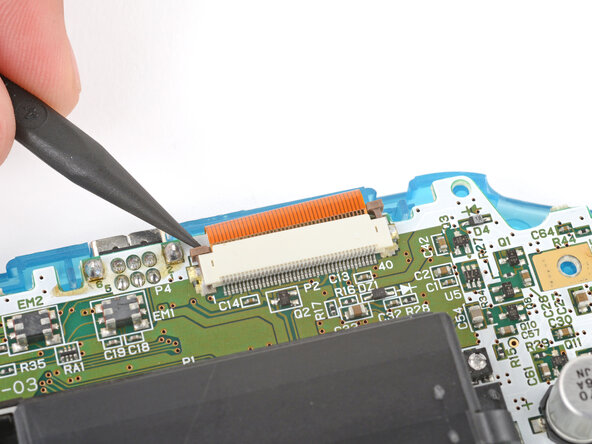
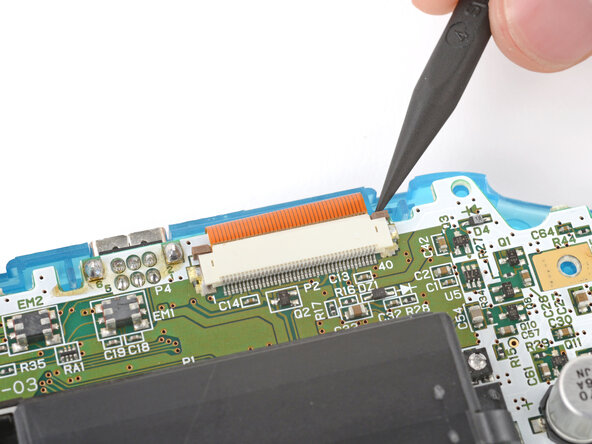
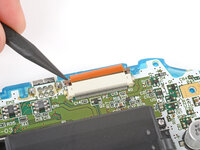
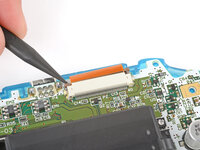
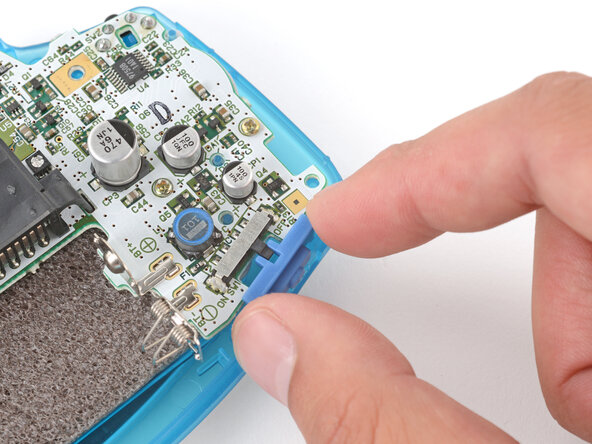
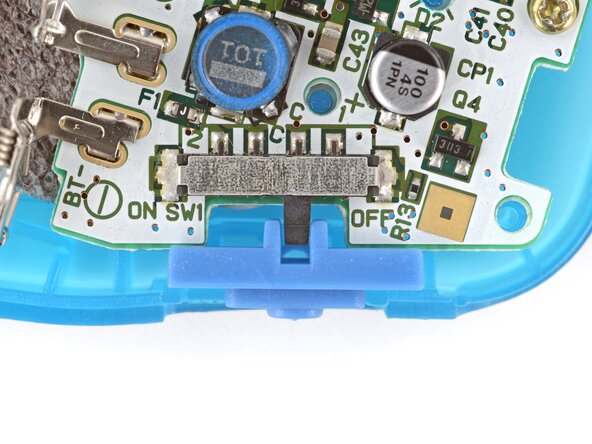
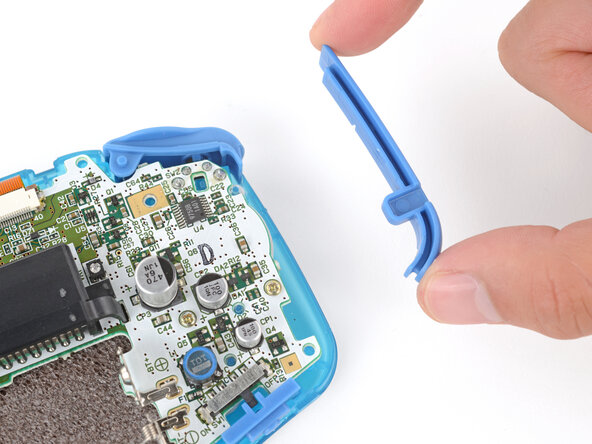
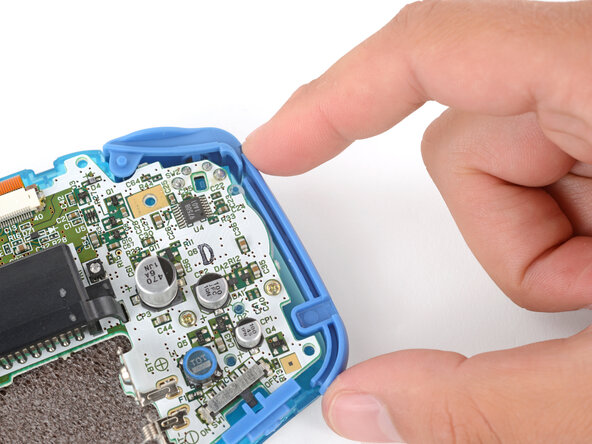
Используйте кончик пластиковой лопатки (spudger), чтобы полностью поднять оба фиксатора по бокам разъема шлейфа дисплея.
-
-
-
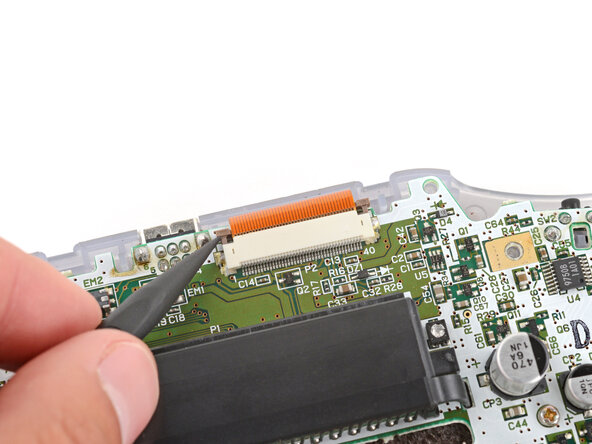
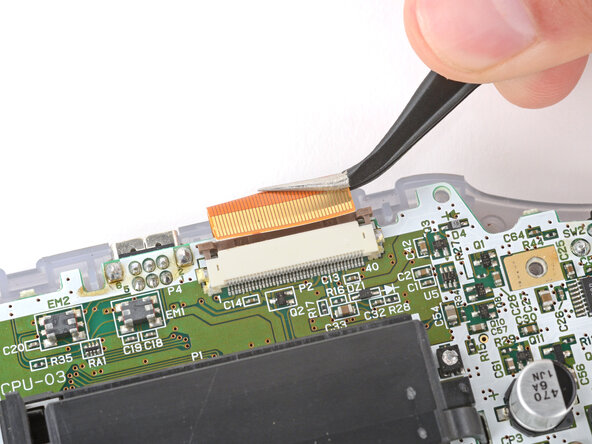
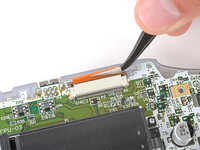
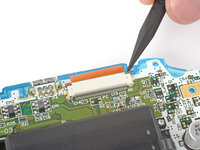
Используйте пинцет, чтобы аккуратно вытянуть шлейф из разъема.
-
-
-
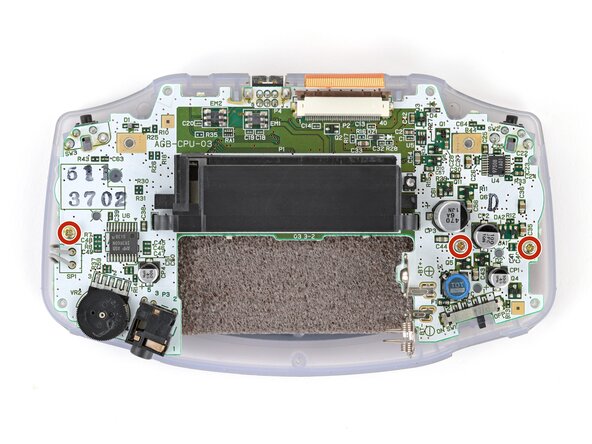
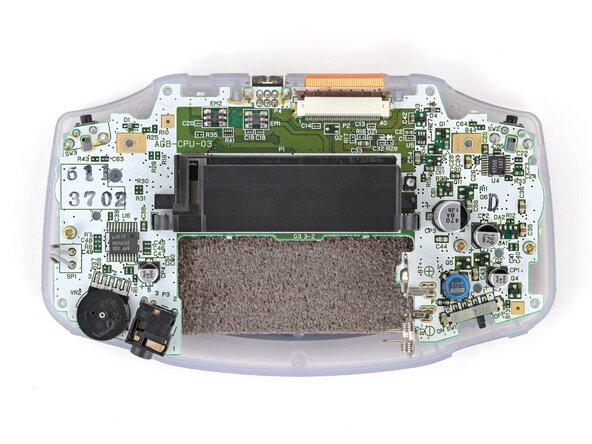
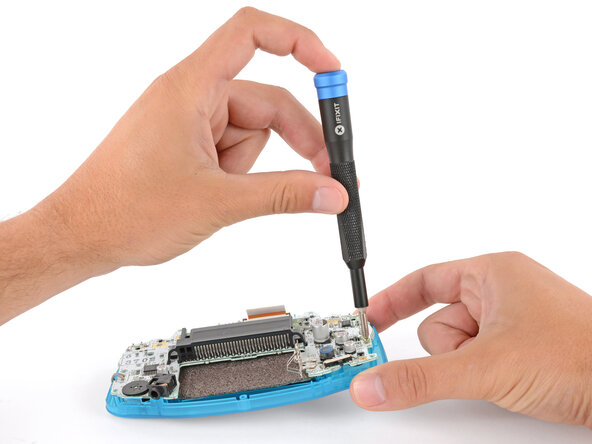
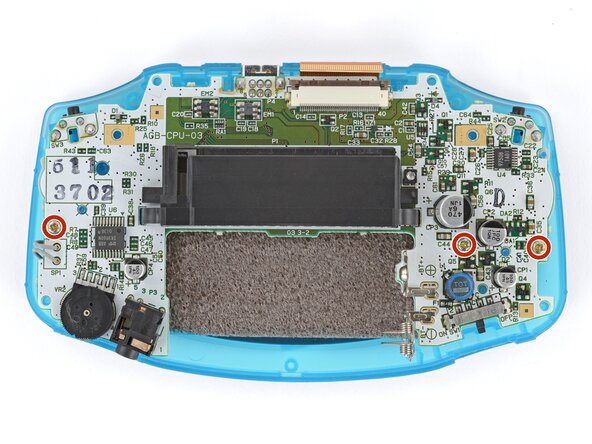
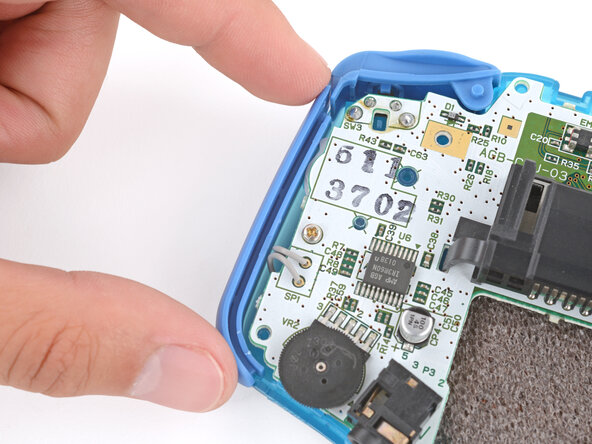
Используйте отвертку JIS 1, чтобы открутить три винта длиной 7 мм, удерживающие материнскую плату.
-
-
-
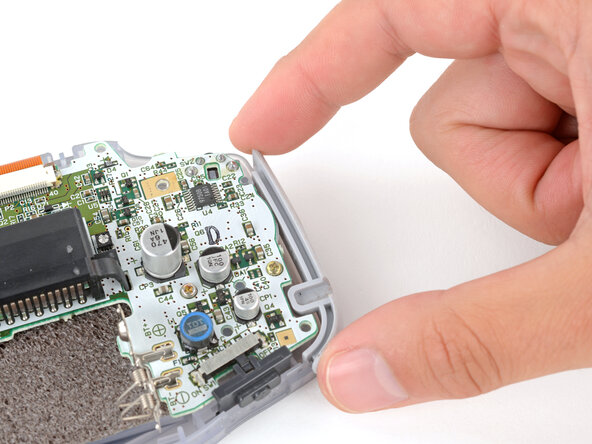
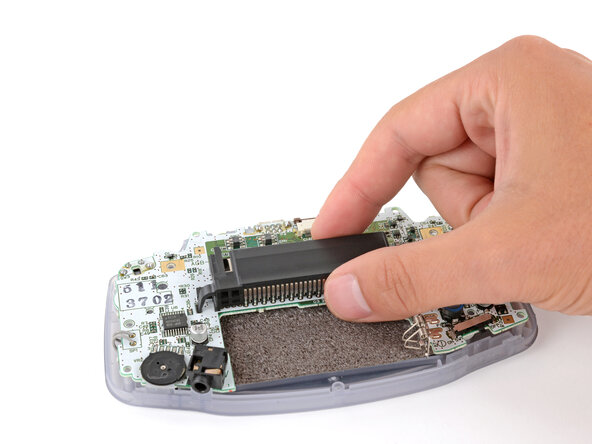
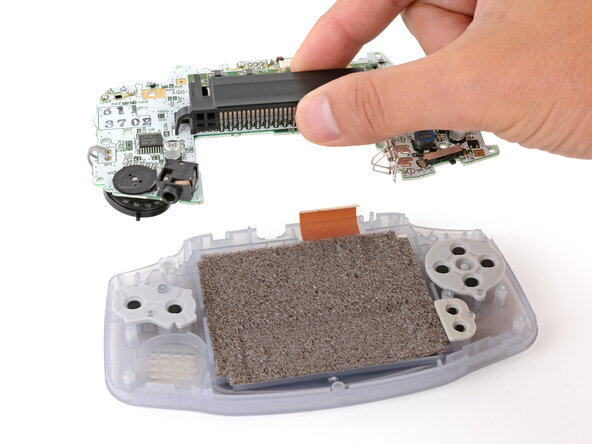
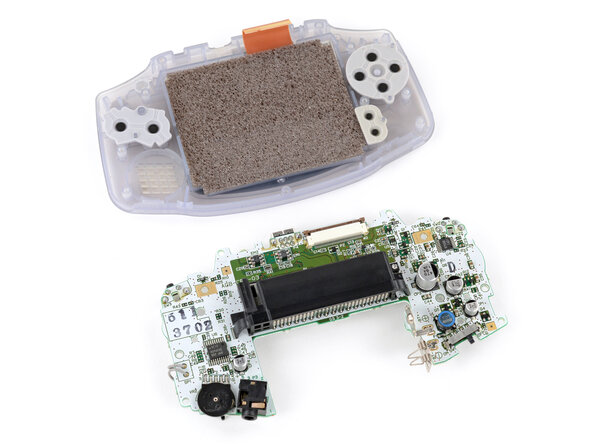
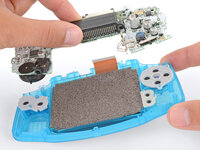
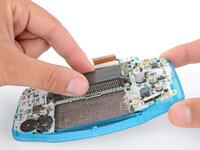
Возьмитесь пальцами за картридер и поднимите материнскую плату прямо вверх, чтобы извлечь её.
-
-
-
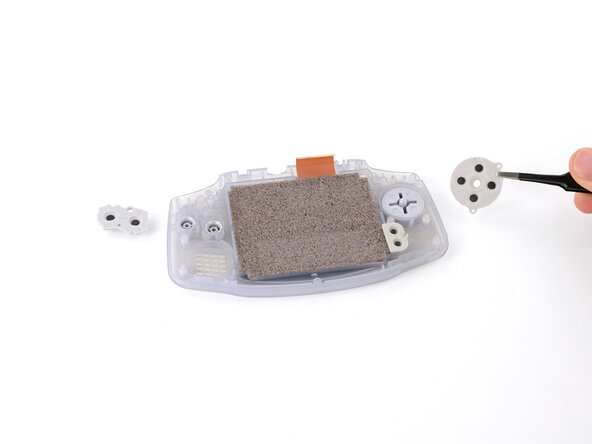
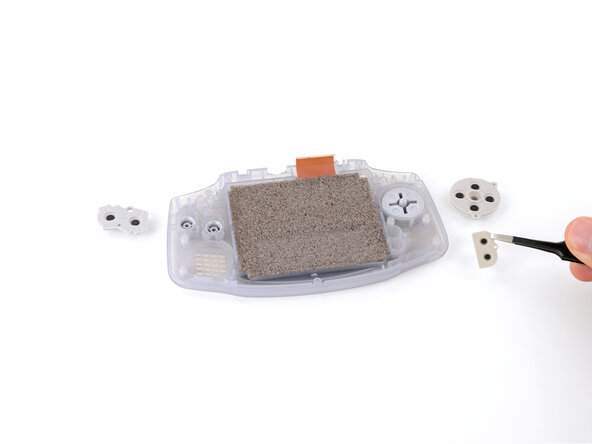
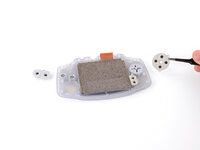
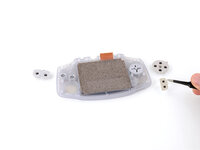
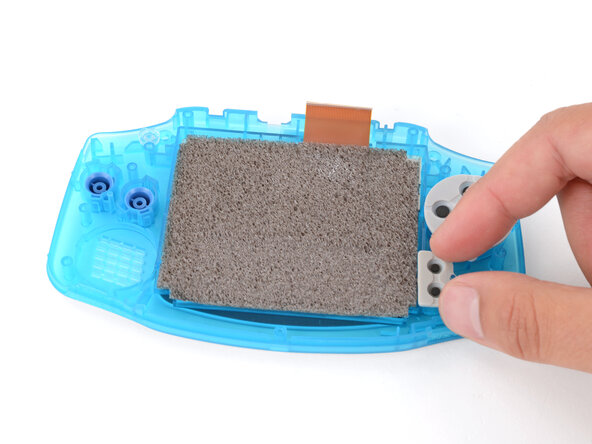
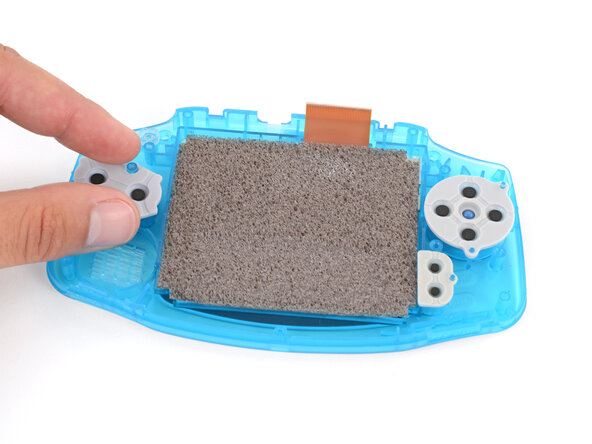
С помощью пинцета или пальцев снимите силиконовые прокладки, закрывающие кнопки действий (A и B), D-pad, а также кнопки Start и Select.
-
-
-
-
С помощью пинцета или пальцев извлеките кнопки действий (A + B) и D-pad.
-
-
-
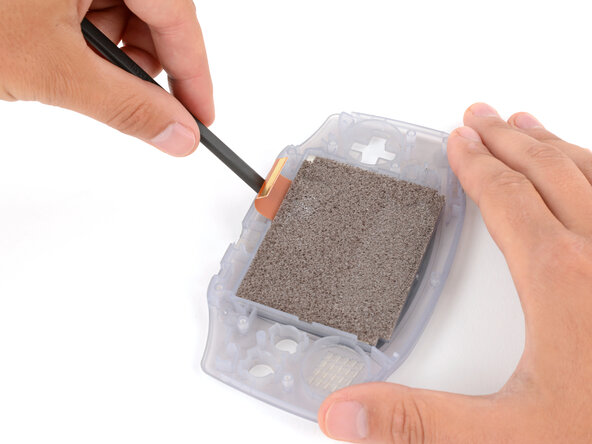
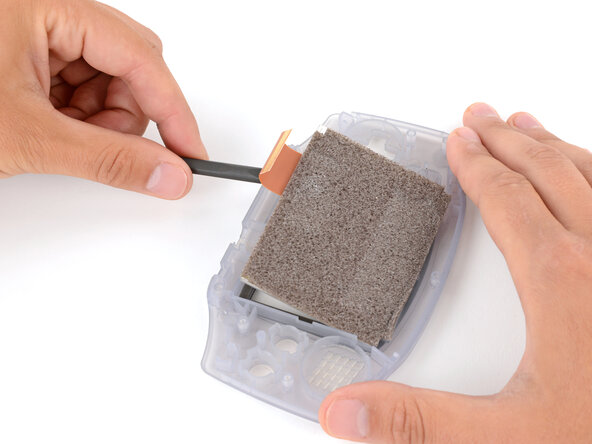
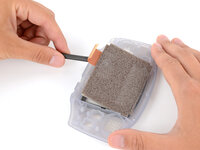
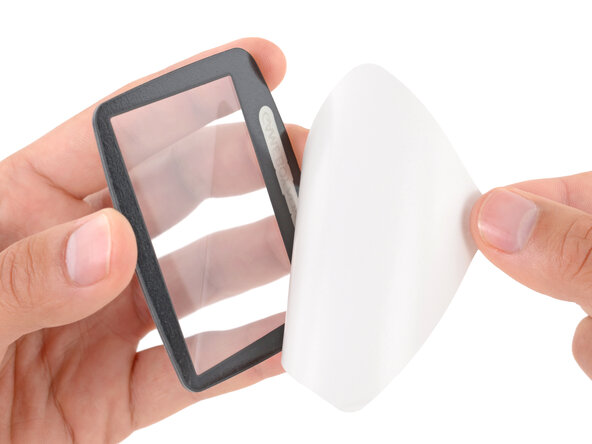
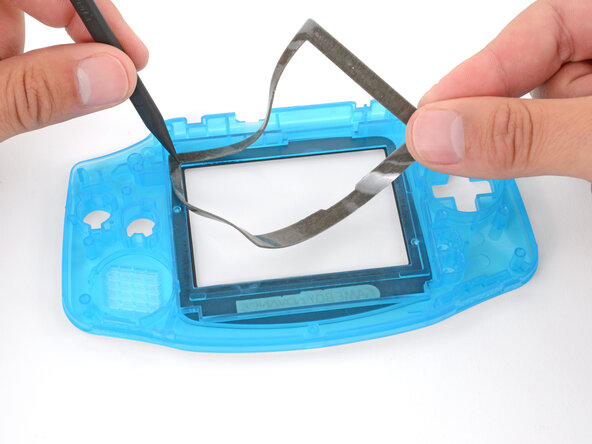
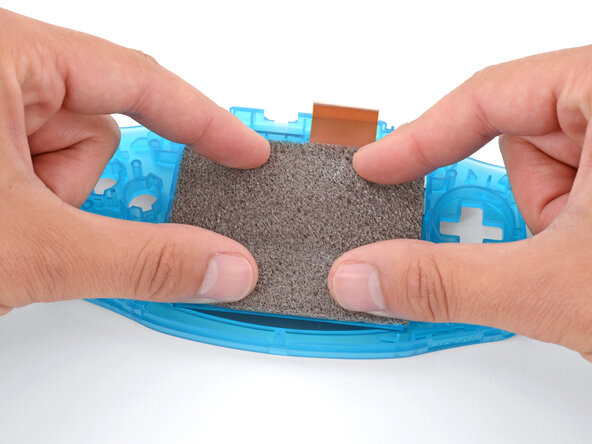
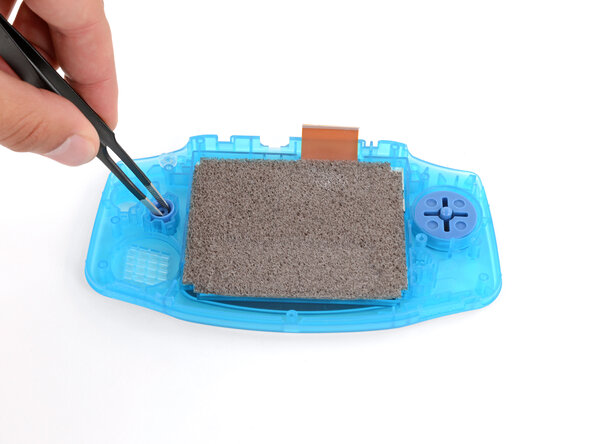
Между экраном и уплотнителем есть зазор. Вставляйте инструмент сюда (под экран), чтобы с наибольшей вероятностью сохранить уплотнитель в целости.
-
Между уплотнителем и корпусом также есть зазор. Не вставляйте инструмент сюда, иначе вы можете повредить уплотнитель.
-
-
-
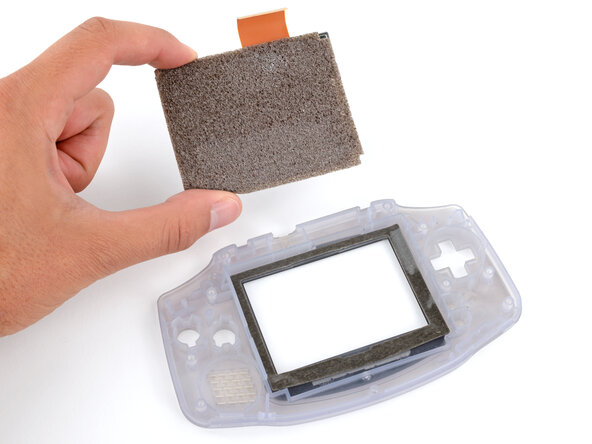
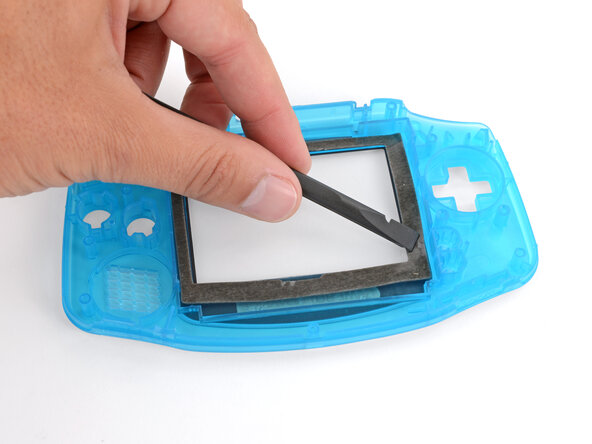
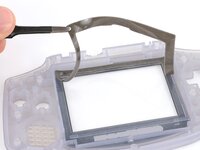
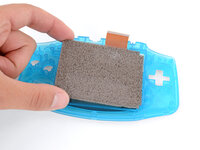
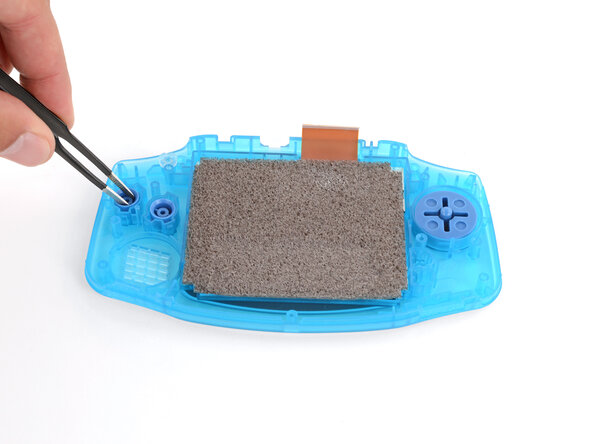
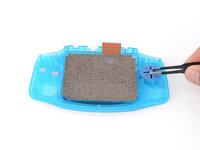
Вставьте плоский конец лопатки (spudger) под экран и подденьте его. Прикладывайте постоянное, равномерное усилие, чтобы клей экрана начал отделяться.
-
-
-
-
Инструмент, используемый на этом этапе:Maxi-Cure Glue$6.99
-
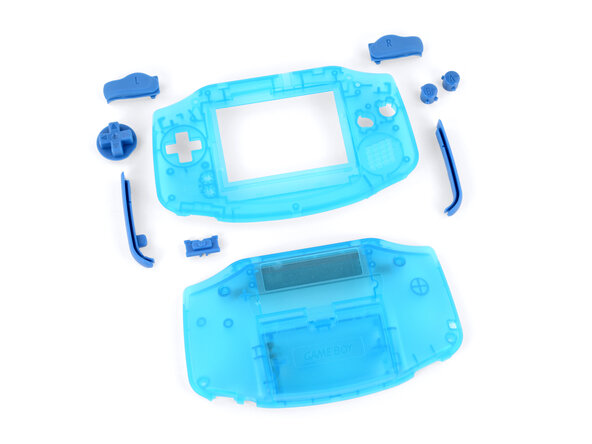
Перед началом сборки подготовьте новые корпуса и кнопки. Сравните их с оригинальными деталями — возможно, вам потребуется снять или переставить некоторые элементы:
-
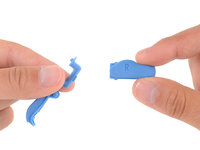
Новые кнопки могут быть соединены вместе небольшими пластиковыми литниками. Если это так, отломите их и выбросьте лишний пластик.
-
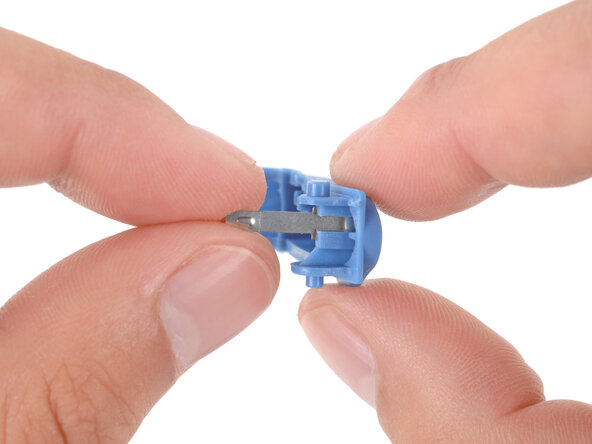
Для плавной работы новых плечевых кнопок требуются небольшие металлические рычажки. Возможно, они идут в комплекте с новыми деталями или же вам придется переставить их с оригинальных кнопок.
-
Подготовив новые детали к сборке, отложите их отдельно от старых — чтобы случайно не установить детали от старого корпуса!
-
-
-
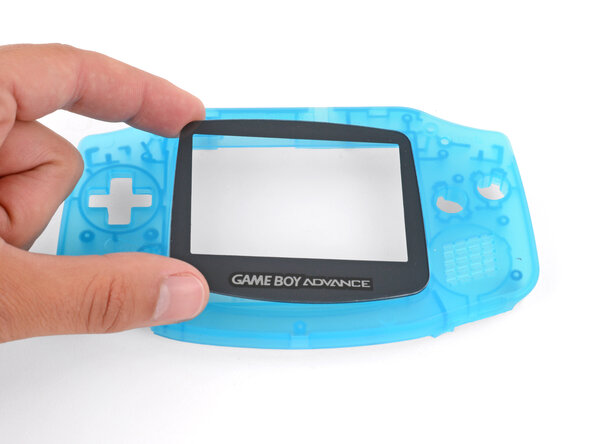
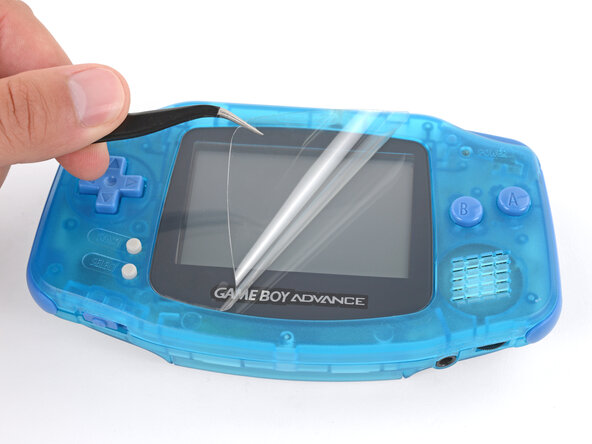
Снимите защитный слой с клейкой основы новой линзы экрана и плотно прижмите её к новому переднему корпусу.
-
-
-
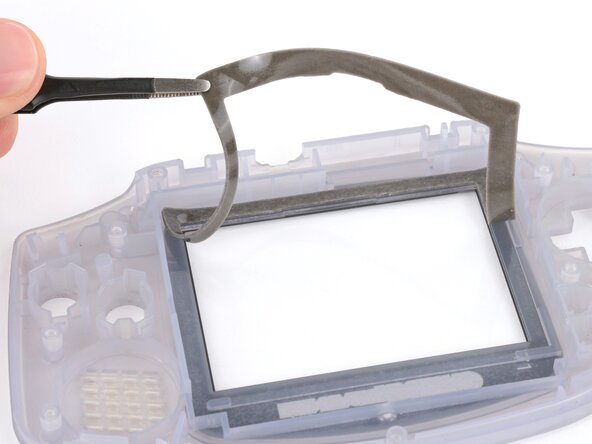
Если в вашем наборе нет сменного уплотнителя, «аккуратно» снимите старый с оригинального корпуса (или экрана, если он прилип к его нижней части). Если в комплект входит новый уплотнитель, снимите с него защитную пленку.
-
Аккуратно выровняйте и установите уплотнитель в новый корпус пальцами, при необходимости используя пластиковую лопатку, чтобы придержать и зафиксировать его.
-
-
-
Если вы устанавливаете оригинальный экран, самое время аккуратно очистить его чистой безворсовой тканью.
-
Если вы устанавливаете новый экран, проверьте наличие защитных пленок и удалите их.
-
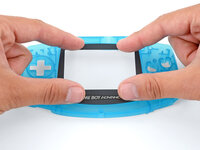
Уложите экран в углубление и с усилием прижмите его по периметру, чтобы зафиксировать на клейкой прокладке.
-
-
-
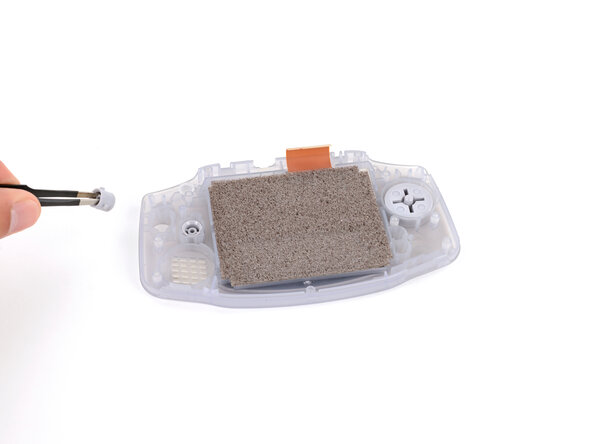
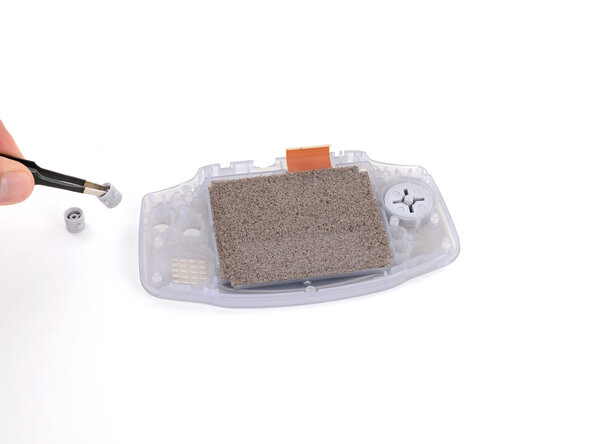
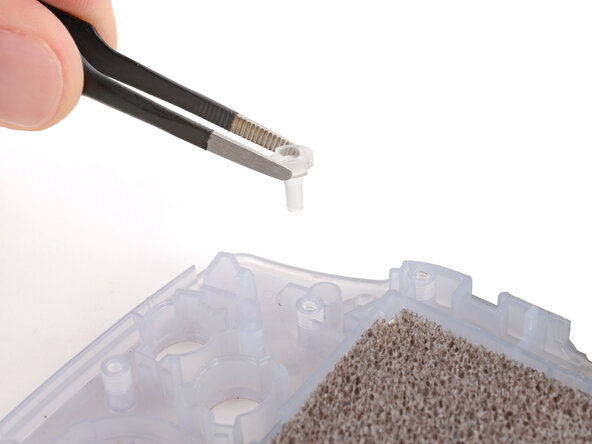
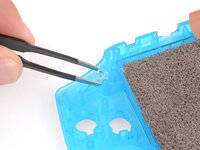
Если в вашем комплекте нет маленького полупрозрачного рассеивателя индикатора питания в форме штифта, извлеките его из оригинального корпуса (расположен над кнопками действий) с помощью пинцета.
-
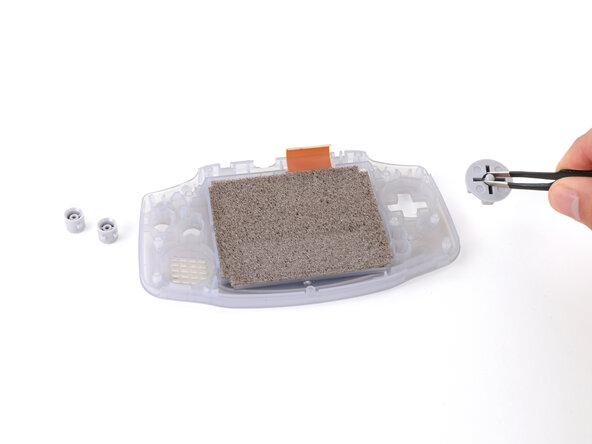
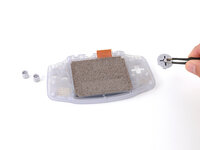
Используйте пинцет, чтобы установить рассеиватель индикатора в новый корпус.
-
-
-
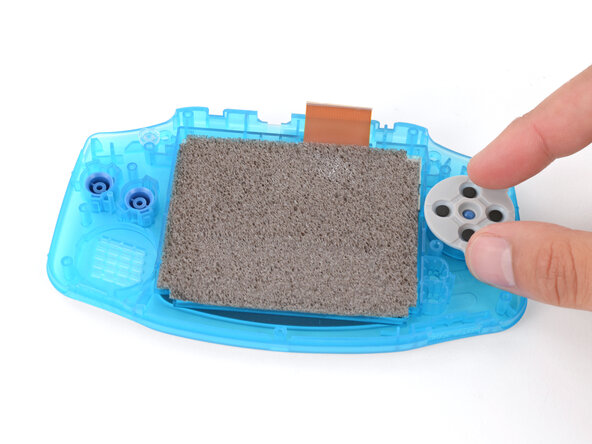
Установите кнопки действий (A + B) и крестовину (D-pad) с помощью пинцета или пальцев.
-
-
-
Пальцами плотно прижмите три силиконовые накладки на их места — по одной для кнопок действий (A и B), крестовины (D‑pad) и кнопок Start (Старт)/Select (Выбор).
-
-
-
Одной рукой удерживайте переднюю часть корпуса немного приподнятой над рабочей поверхностью — старайтесь держать ее в таком положении, пока не установите винты материнской платы.
-
Свободной рукой возьмитесь за материнскую плату в области разъема картриджа.
-
Установите материнскую плату в корпус, убедившись, что динамик правильно попал в круглый вырез (включая небольшой выступ в нижней части).
-
Проверьте периметр платы, чтобы убедиться, что она полностью установлена и между ней и корпусом нет больших зазоров. Если они есть, аккуратно пошевелите плату и прижмите ее до нужного положения.
-
-
-
Приподняв одну сторону корпуса, используйте отвертку JIS 1, чтобы закрутить три винта длиной 7 мм, фиксирующие материнскую плату.
-
Проверьте ход кнопок управления, D-pad и кнопок Start/Select.
-
Проверьте периметр платы, чтобы убедиться в отсутствии больших зазоров между платой и корпусом.
-
Если кнопки нажимаются неправильно или есть заметные зазоры, ослабьте винты, переустановите плату, затяните винты и проверьте снова.
-
-
-
Перед подключением шлейфа дисплея на верхнем краю убедитесь, что оба фиксатора подняты в открытое положение.
-
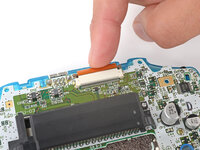
Аккуратно вставьте шлейф дисплея пальцем в разъем на материнской плате.
-
-
-
Кончиком лопатки (spudger) нажмите на оба фиксатора разъема шлейфа дисплея, чтобы перевести их в заблокированное положение.
-
-
-
Установите кнопку питания пальцами, убедившись, что она правильно вошла в пазы на рычаге механизма переключателя.
-
-
-
Установите плечевые кнопки на место, убедившись, что штырек на кнопке входит в круглое отверстие, а кожух кнопки находится над механизмом самой кнопки.
-
Аккуратно протестируйте кнопки, чтобы убедиться, что они работают как положено. Если это не так, установите их заново и убедитесь, что металлические рычажки не застряли в неправильном положении под платой.
-
-
-
Установите боковые бамперы пальцами, убедившись, что их верхние края находятся снаружи плечевых кнопок.
-
-
-
Если на новой задней панели уже установлена крышка аккумуляторного отсека, снимите ее на время.
-
Установите заднюю панель на переднюю часть корпуса.
-
-
-
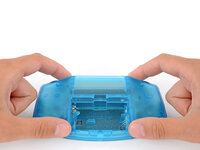
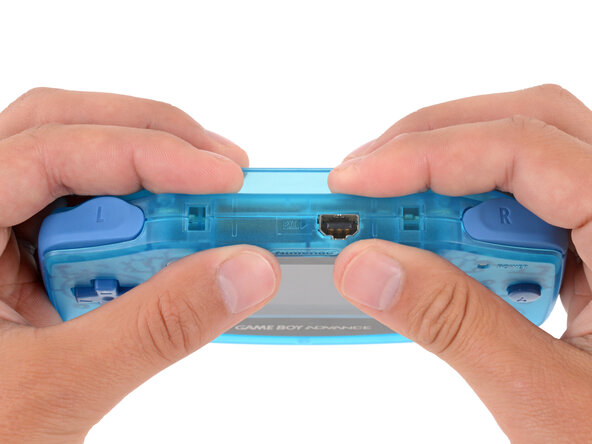
Плотно сожмите корпус по краям и убедитесь, что плечевые кнопки и бамперы установлены правильно, без больших зазоров.
-
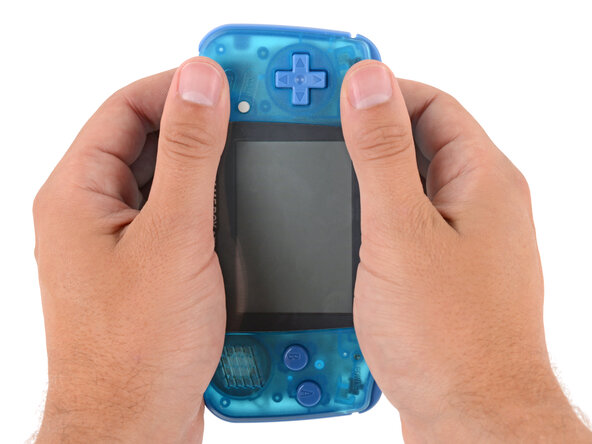
Аккуратно проверьте кнопки, чтобы убедиться, что всё нажимается как положено.
-
-
-
Установите семь винтов, фиксирующих заднюю крышку:
-
Шесть трехлучевых винтов Y0 длиной 9,4 мм
-
Один винт JIS 1 длиной 8,5 мм
-
-
-
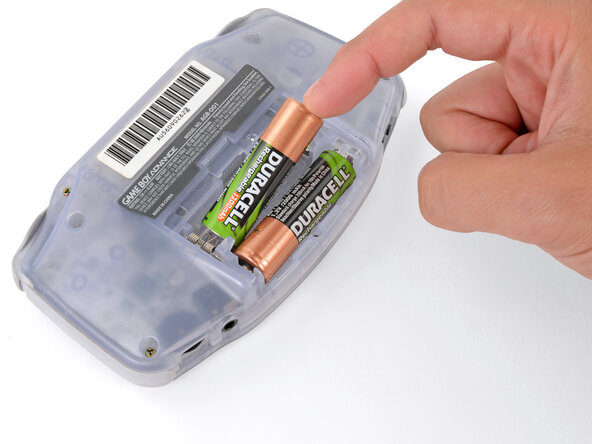
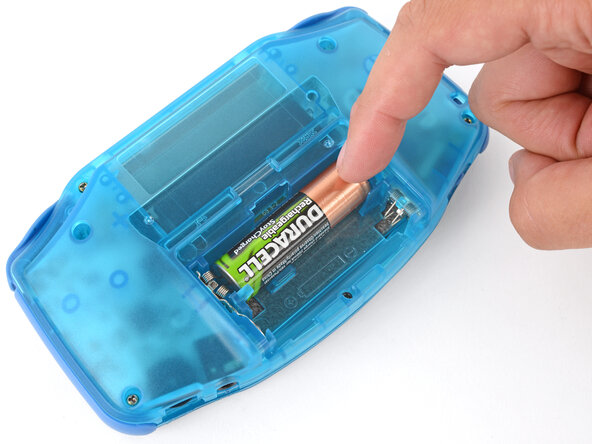
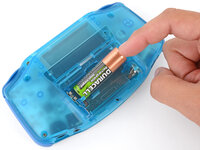
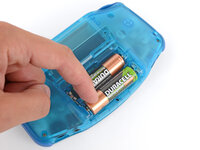
Установите аккумуляторы пальцами, ориентируясь на схему в отсеке для аккумуляторов, чтобы правильно их расположить.
-
-
-
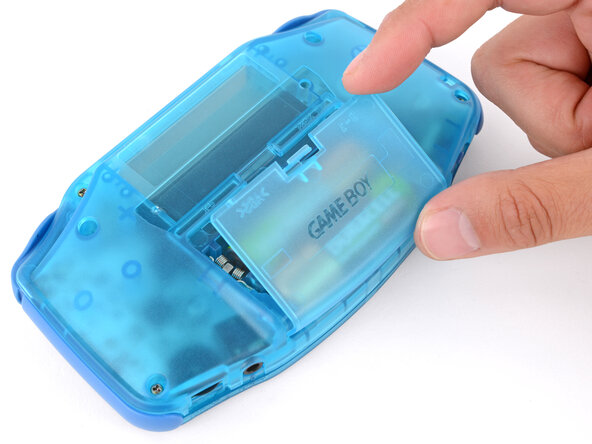
Вставьте выступы на нижнем крае крышки аккумулятора в соответствующие пазы и защелкните крышку на месте.
-
-
-
Если на объективе экрана есть защитная пленка, снимите ее.
-
-
-
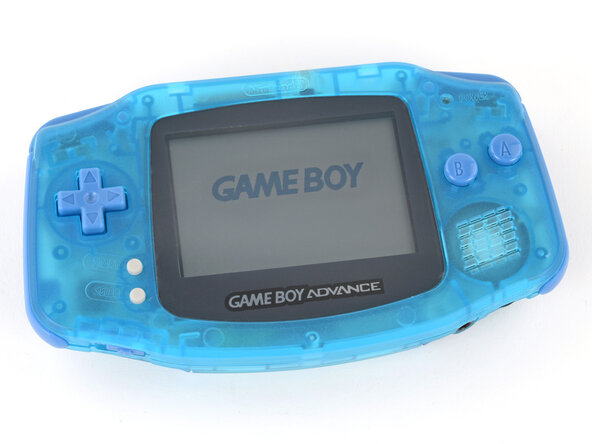
Переведите выключатель питания в положение On и возвращайтесь к игре!
-


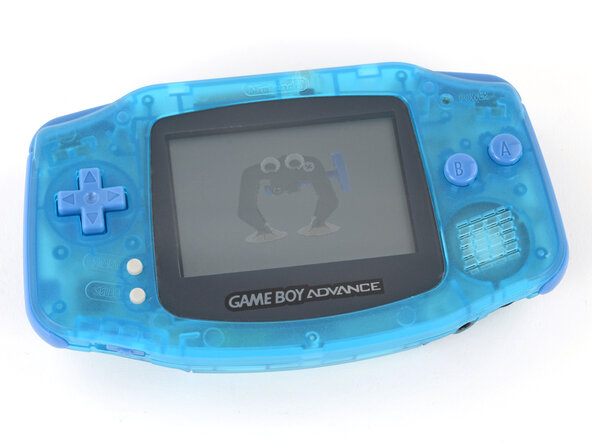


Поздравляем с заменой корпуса вашего Game Boy Advance!
Сдайте электронные отходы в пункт переработки с сертификацией R2 или e-Stewards.
Ремонт пошел не по плану? Попробуйте выполнить базовую диагностику или обратитесь за помощью к нашему сообществу Answers.
Отменить: Я не выполнил это руководство.
2 человек успешно провели ремонт по этому руководству.
Особая благодарность этим переводчикам:
100%

Translation Bot помогает нам починить мир! Хотите внести свой вклад?
Начните переводить ›
