
Motorola Moto Z Force Droid Digitizer Replacement
Введение
Перейти к шагу 1Use this guide to replace your digitizer.
Before you begin, download the Rescue and Smart Assistant app to backup your device and diagnose whether your problem is software or hardware related.
Выберете то, что вам нужно


-
-
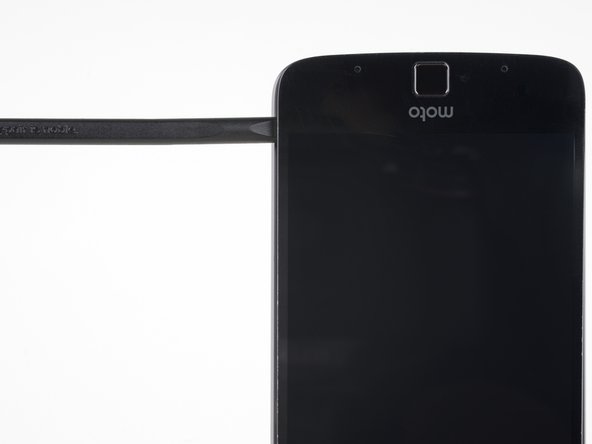
Apply a heated iOpener to the lower glass panel on the back of the phone for five minutes.
-
-
-
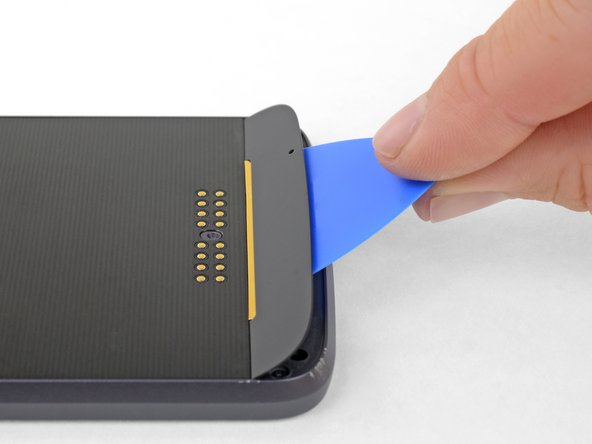
Insert an opening pick into the small gap between the rear case and the glass panel.
-
With tip of the pick under the glass panel, carefully pry upward to slightly separate the rear case and the panel.
-
-
-
Slide the pick in between the panel and the rear case.
-
Slide the pick across the length of the panel to slice the adhesive holding it to the rear case.
-
-
-
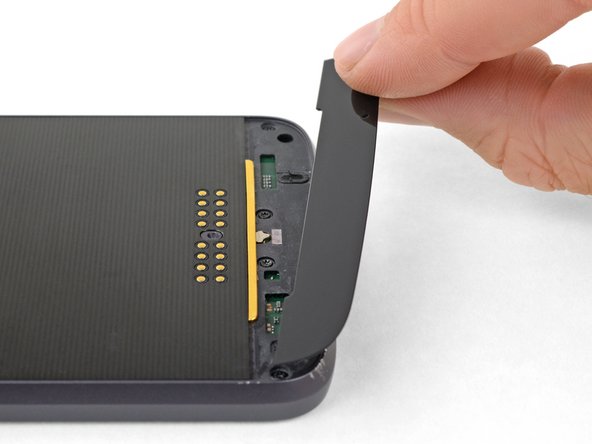
Use the opening pick to carefully pry up the glass panel.
-
Remove the glass panel.
-
-
Инструмент, используемый на этом этапе:Tesa 61395 Tape$5.99
-
Repeat the previous four heating and removal steps for the upper glass panel.
-
-
-
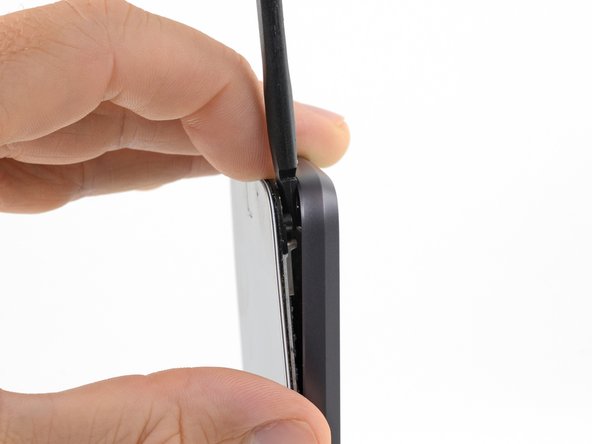
Insert the point of a spudger into the hole in the bottom right corner of the rear case.
-
Press the spudger into the hole to separate the display from the rear case.
-
-
-
Use a finger to maintain separation between the display assembly and the rear case while you remove the spudger.
-
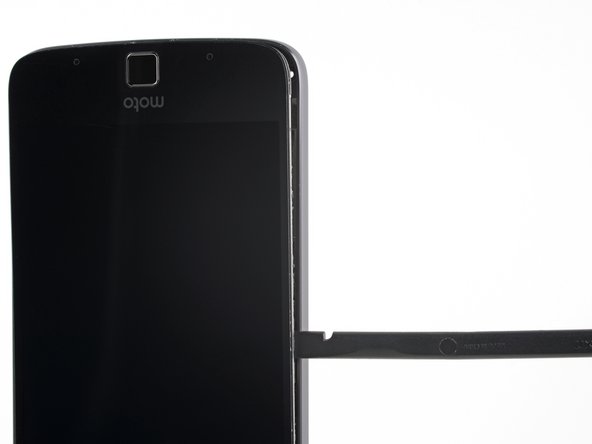
Reinsert the flat end of the spudger in the gap between the display assembly and the rear case.
-
-
-
Slide the spudger along the side of the phone until you get to the clip securing the display to the rear case.
-
With the spudger right next to the clip, carefully twist the spudger to pry the display away from the rear case and release the clip.
-
-
-
Tilt the top right corner of the display down to disengage one of the tabs that secure the top of the display.
-
Tilt the other corner down next, to disengage the other tab.
-
-
-
Lift the right edge of the display to hinge the phone open like a book, no more than 45°.
-
Gently lift the display enough to clear the clip from the edge of the rear case, maintaining the 45º angle.
-
Rest the display on the table behind the phone and open to 90º to allow access to the display cable.
-
-
-
Use the flat end of a spudger to lift the display cable connector up out of its socket.
-
-
Инструмент, используемый на этом этапе:Tesa 61395 Tape$5.99
-
Remove the display.
-
If you're installing a new display assembly, note where the adhesive is on the original assembly and apply adhesive in the same places on the new assembly.
-
-
Инструмент, используемый на этом этапе:Tweezers$4.99
-
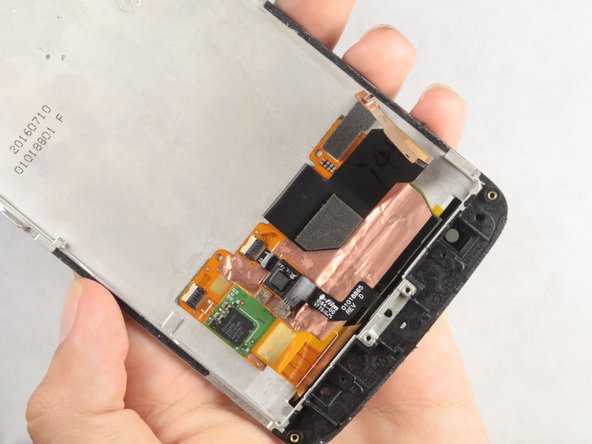
Take the front assembly.
-
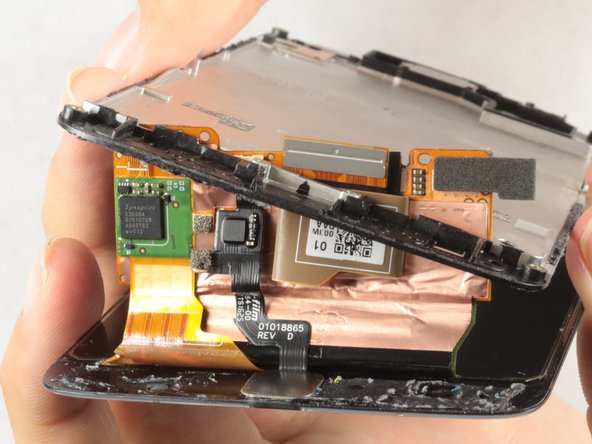
Remove the copper tape with a pair of tweezers.
-
-
-
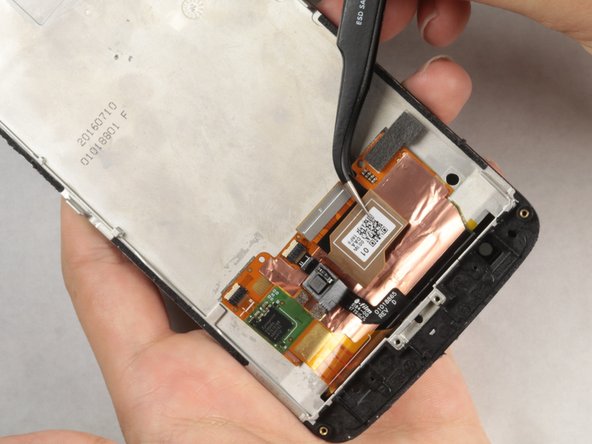
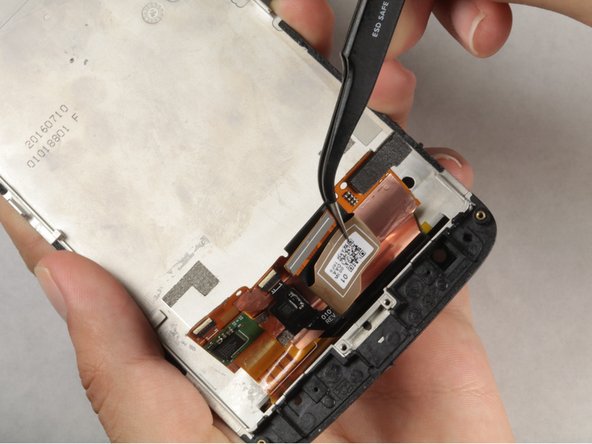
Lift the digitizer wiring with a pair of tweezers but do not pull out the wiring.
-
-
-
Begin to separate the front screen from the metal plate with the plastic opening tool.
-
-
-
Carefully fold the digitizer such that it ends up in the middle of the wiring plate.
-
Gently pull the metal plate off of the digitizer in a slight counterclockwise manner as to not damage the wiring plate.
-


To reassemble your device, follow these instructions in reverse order.
To reassemble your device, follow these instructions in reverse order.
Отменить: Я не выполнил это руководство.
2 человек успешно провели ремонт по этому руководству.
Команду

Cal Poly, Team S1-G1, Livingston Winter 2018 Участник Cal Poly, Team S1-G1, Livingston Winter 2018
CPSU-LIVINGSTON-W18S1G1
4 членов
Автор 4 руководств