
Nintendo Switch Heat Sink Replacement

40 мин. - 1 час
Средне
Архивированное руководство
Это руководство сохранено для исторических целей. Используйте его обновлённую версию, чтобы выполнить ремонт.
Введение
Перейти к шагу 1Follow this guide to replace the heat sink on a Nintendo Switch gaming console.
Installation will require the thermal paste to be cleaned off and replaced with new.
Выберете то, что вам нужно
Запчасти

Инструменты


Показать больше…
iFixit получает комиссию, когда вы совершаете покупку по этим ссылкам.
-
-
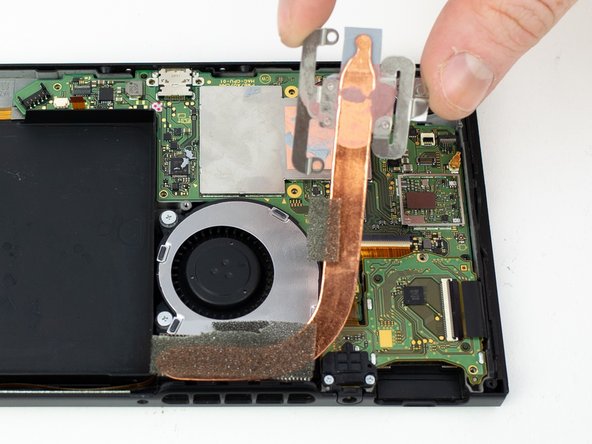
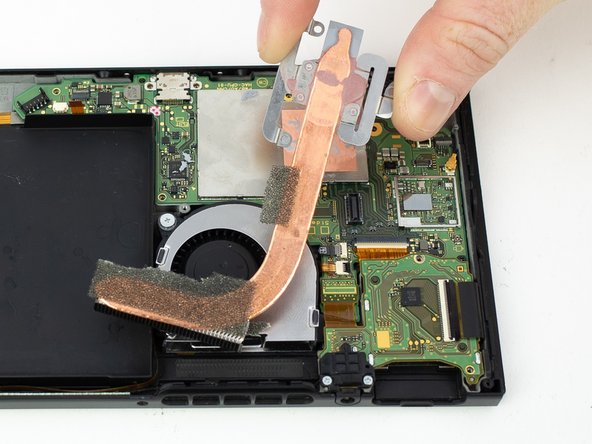
Pull the heatsink up 45 degrees and rotate it to the right to remove.
-
Clean all the thermal paste off the underside of the heat sink using isopropyl alcohol (>90%) or Artic Silver ArctiClean.
-
Clean and replace the thermal paste on the processor cover.
-


Почти готово!
To reassemble your device, follow these instructions in reverse order.
Заключение
To reassemble your device, follow these instructions in reverse order.
