
Samsung Galaxy S6 Rear Glass Adhesive Replacement

Введение
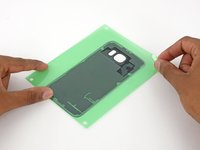
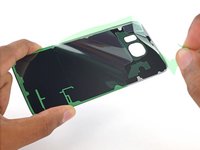
Перейти к шагу 1Removing the rear glass panel from your Galaxy S6 destroys the adhesive holding it in place. Follow this guide to replace the adhesive tape on your Galaxy S6's rear glass. Most adhesive strips will come packaged as shown, although the film dimensions and color may vary.
Before beginning, we recommend you remove any residual adhesive from the glass panel using a lint-free cloth and solvent such as high concentration isopropyl alcohol (at least 90%).
Be sure to turn on your phone and test your repair before installing new adhesive and resealing the phone.
Выберете то, что вам нужно
Запчасти

Инструменты


Показать больше…
-
-
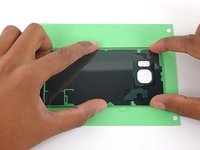
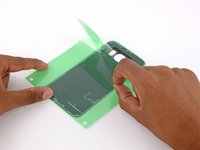
Grasp the adhesive from both sides and align the tape over the rear glass.
-
Lay the adhesive on top of the glass.
-
-
-
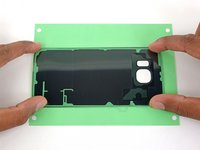
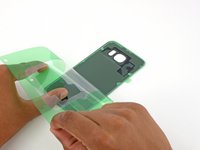
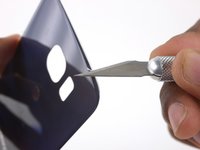
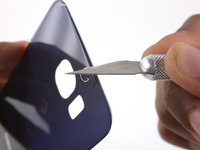
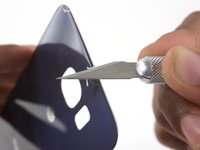
If you didn't perfectly align the adhesive with the panel, use an X-Acto knife to trim away the edges.
-
-
Инструмент, используемый на этом этапе:Tweezers$4.99
-
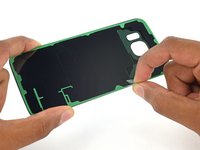
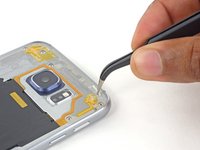
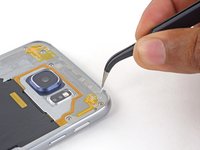
Use a pair of tweezers to remove any adhesive still on the midframe.
-
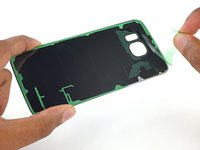
Clean the adhesion areas with high concentration isopropyl alcohol (at least 90%) and a lint-free cloth.
-
-
-
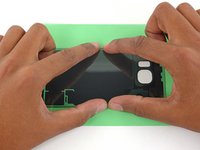
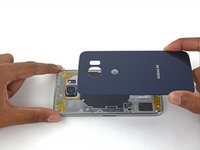
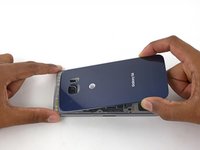
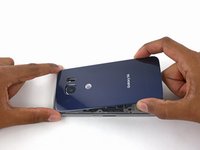
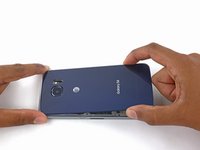
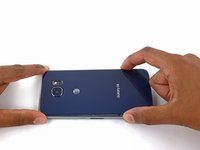
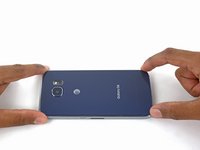
Align the top of the rear glass with the top of the phone.
-
Press the top edge of the glass into the midframe so that there's no gap at the top.
-


Отменить: Я не выполнил это руководство.
141 человек успешно провели ремонт по этому руководству.

8 Комментариев
It would be handy to tell us a reliable place to obtain the adhesive from as iFixit doesn't appear to stock it
Will the adhesive for a galaxy s6 work on the back cover of an s6 edge?
It won't work. Size is different. One for S6 is larger
Jimmy -
Couldn't you just cut it to size? If it's just a pad of adhesive, you should be able to just cut it to the smaller backing size. I'd assume it's non conductive, but make sure it's not blocking anything important.
Ampera -
amazon has the S6 film