
iPad mini 4 Wi-Fi Volume Control Buttons Replacement

Введение
Перейти к шагу 1Use this guide to replace the volume control buttons in an iPad mini 4 Wi-Fi.
Выберете то, что вам нужно


-
-
Heat an iOpener and apply it to the left edge for two minutes.
-
-
-
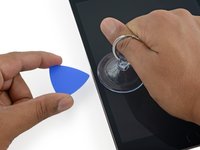
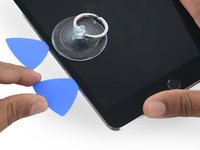
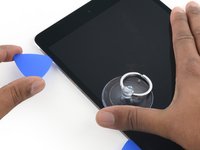
Apply a suction cup halfway up the heated side.
-
Be sure the cup is completely flat on the screen to get a tight seal.
-
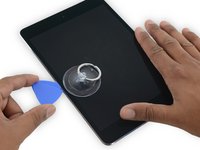
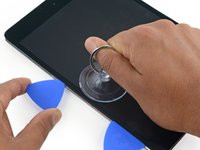
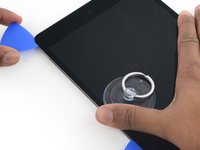
While holding the iPad down with one hand, pull up on the suction cup with strong, steady force to create a gap.
-
-
-
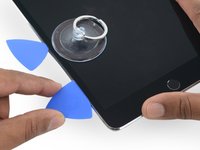
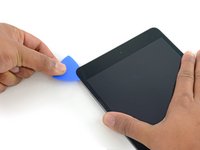
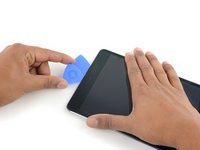
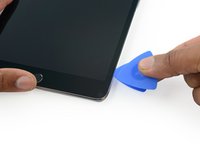
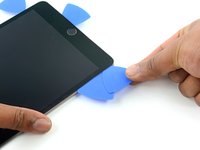
While holding the glass up with the suction cup, insert the point of an opening pick into the gap between the glass and body of the iPad.
-
-
-
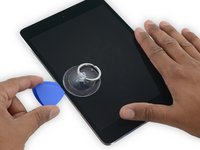
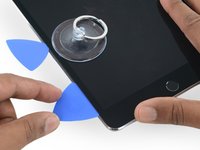
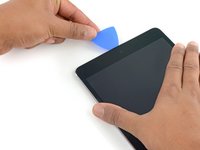
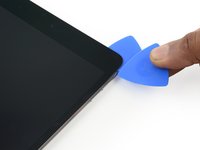
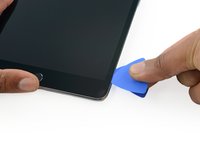
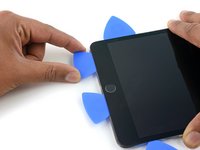
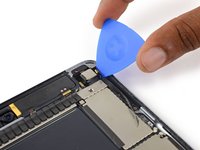
Insert a second opening pick alongside the first and slide the pick down along the edge of the iPad, releasing the adhesive as you go.
-
-
-
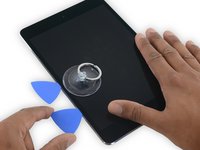
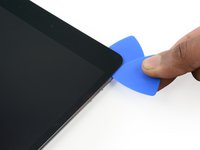
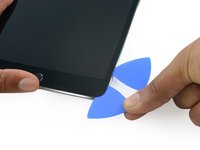
Continue moving the opening pick down the side of the display to release the adhesive.
-
If the opening pick gets stuck in the adhesive, "roll" the pick along the side of the iPad, continuing to release the adhesive.
-
-
-
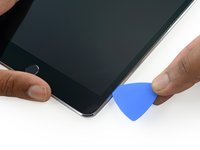
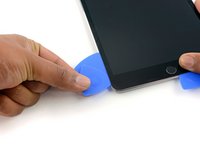
Take the first pick you inserted and slide it up toward the top corner of the iPad.
-
-
-
Reheat the iOpener and place it on the top edge of the iPad, over the front-facing camera.
-
If you have a flexible iOpener, you can bend it to heat both the upper left corner and the upper edge at the same time.
-
-
-
Slide the opening pick around the top left corner of the iPad to separate the adhesive.
-
-
-
Slide the opening pick along the top edge of the iPad, stopping just before you reach the camera.
-
As you reach the front-facing camera, pull the pick out slightly and continue sliding it across the top edge.
-
-
-
Leave the opening pick in the iPad slightly past the front-facing camera.
-
Take a second pick and insert it to the left of the camera, where the first pick just was. Slide it back to the corner to completely cut any remaining adhesive.
-
Leave the second pick in place to prevent the corner adhesive from re-sealing as it cools.
-
-
-
Insert the previous pick deeper into the iPad and slide it away from the camera toward the corner.
-
-
-
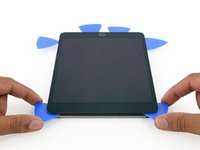
Leave the three picks in the corners of the iPad to prevent re-adhering of the front panel adhesive.
-
Reheat the iOpener and place it on the remaining long side of the iPad—along the volume and lock buttons.
-
-
-
Insert a new opening pick and slide it down the right edge of the iPad, releasing the adhesive as you go.
-
-
-
Continue sliding the opening pick down the right edge of the iPad, reheating the edge using an iOpener if necessary.
-
-
-
Leave the opening picks in place and reheat the iOpener.
-
Set the reheated iOpener on the home button end of the iPad and let it rest for a few minutes to soften the adhesive beneath the glass.
-
-
-
Insert a new opening pick at the bottom right corner of the display, below the last opening pick you used to slice down the right edge.
-
Rotate the new pick around the lower right corner of the device.
-
-
-
Slide the pick from the bottom right corner along the lower edge of the device. Stop about half an inch shy of the home button.
-
-
-
Insert a final opening pick at the lower left corner of the iPad, directly below the existing one.
-
-
-
Continue sliding the pick at the lower left edge of the display toward the center of the iPad, until it is roughly half an inch from the home button.
-
-
-
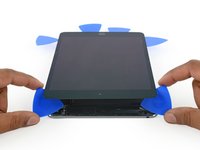
Twist the two picks at the top edge of the iPad to break up the last of the adhesive holding the display assembly in place.
-
Lift the display from the top edge to open the device.
-
-
-
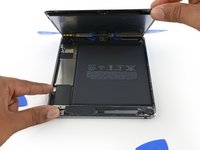
Remove the four 1.2 mm Phillips screws over the battery/display connector bracket.
-
-
-
Use the flat tip of a spudger to disconnect the battery connector from its socket on the logic board.
-
-
-
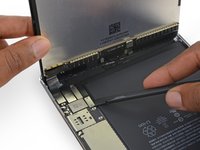
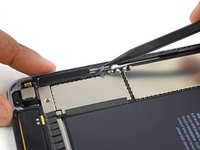
Remove the single 1.2 mm Phillips screw securing the volume control cable bracket.
-
-
-
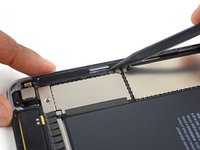
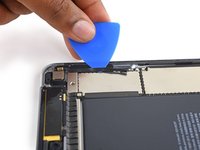
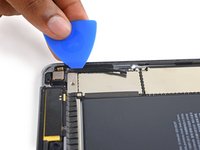
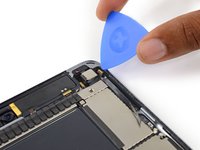
Slide an opening pick underneath the volume control buttons' ribbon cable to peel it away from the adhesive below.
-
-
-
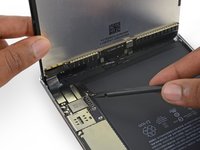
Remove the three 1.8 mm Phillips screws securing the volume control assembly to the rear case.
-
-
-
Pull the bracket, with attached volume control buttons and microphone out of the iPad.
-


To reassemble your device, follow these instructions in reverse order.
To reassemble your device, follow these instructions in reverse order.
Отменить: Я не выполнил это руководство.
3 человек успешно провели ремонт по этому руководству.
