Введение
Перейти к шагу 1Выберете то, что вам нужно
Инструменты


Показать больше…
-
-
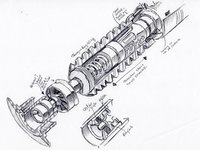
Listen up, nerfherders: We've got a lightsaber on the teardown table. Before we dive in, let's take a look at the specs:
-
Manufacturer: Obi-Wan Kenobi
-
Crystal: single blue Adegan crystal
-
Production date: 22 BBY (Before Battle of Yavin)
-
Length: 15.8 cm
-
-
-
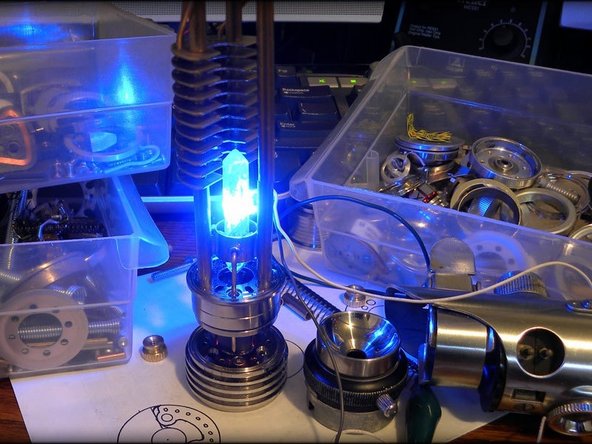
Do you have the death sentence on twelve systems? Do you frequent wretched hives of scum and villainy? Then you probably don't want to see this saber firing up.
-
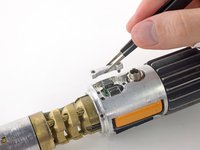
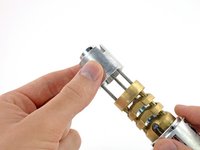
If only we were Force adepts, we could release this interior clasp with a simple wave of the hand. Instead, we nudge it free with the tip of a spudger, revealing the crystal chamber.
-
-
-
We'll get back to that crystal chamber a bit later. For now, we set out to open the saber itself.
-
Let's start by unscrewing this clamp pin that secures the switch housing cover.
-
With the pin removed, we're able to lift the clamp brackets out with no trouble.
-
Unscrewing this small retaining ring loosens the port from the housing cover.
-
-
-
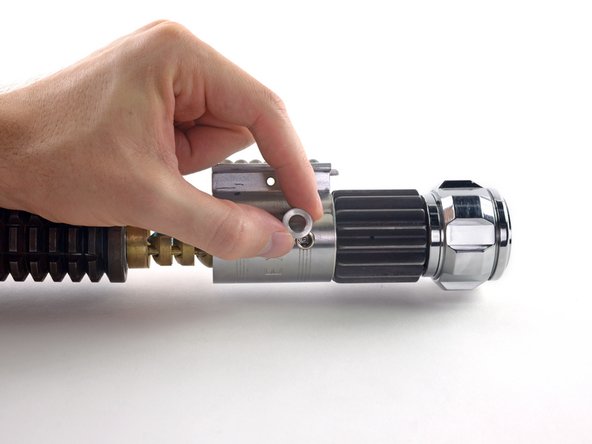
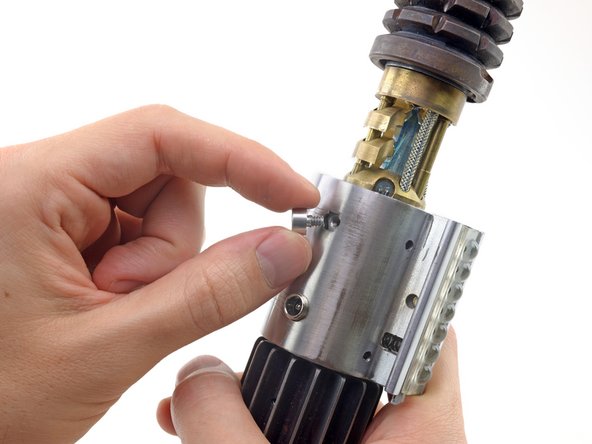
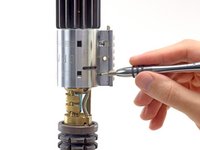
We quickly dispatch a few tiny set screws securing the clamp to the body of the lightsaber.
-
With the set screws removed, we extract the activation stud.
-
-
-
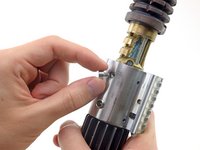
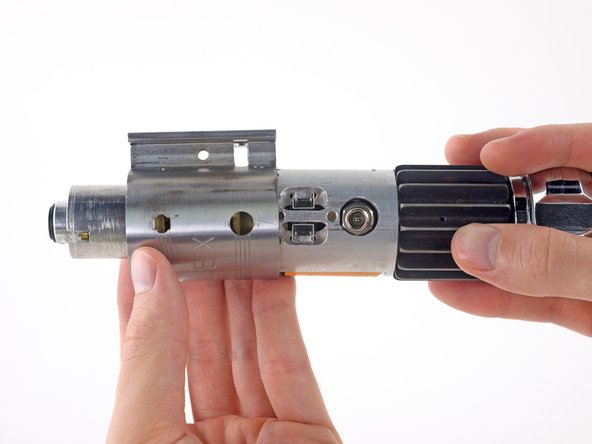
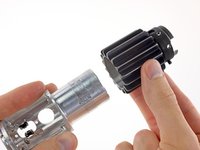
Turning our attention to the top of the saber, we release the emitter shroud for inspection.
-
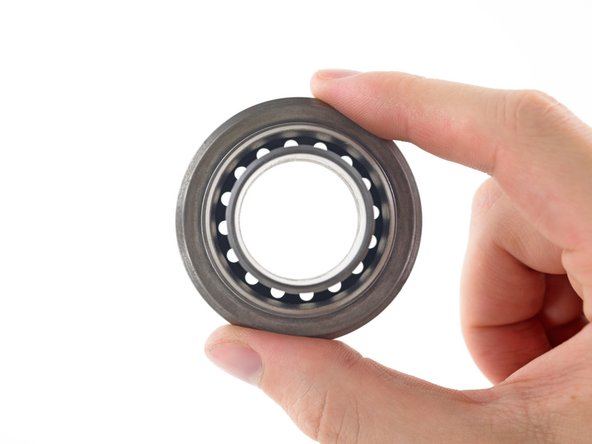
The shroud appears to contain some sort of magnetic stabilizing ring.
-
-
-
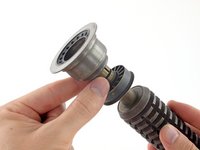
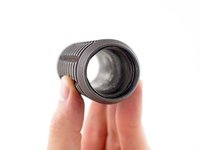
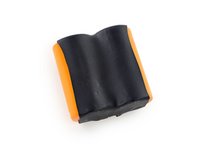
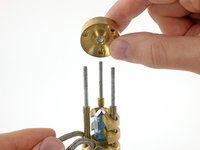
At first, we're a bit stumped by the crystal chamber cover. Turns out it's quite easy to remove with a half-twist and some well-targeted pressure.
-
We subject the cover to a small battery of tests; it's made of an unknown material that is both nonmagnetic and nonconducting.
-
With its smooth inner surface and segmented exterior, this looks designed to protect the wielder from the saber's extreme energy output, while possibly providing a small measure of cooling for the internals.
-
-
-
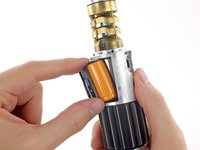
With the shroud removed, the blade emitter comes into full view.
-
Some say this ancient weapon is no match for a good blaster at your side. Whichever view you take, you have to respect this kind of craftsmanship.
-
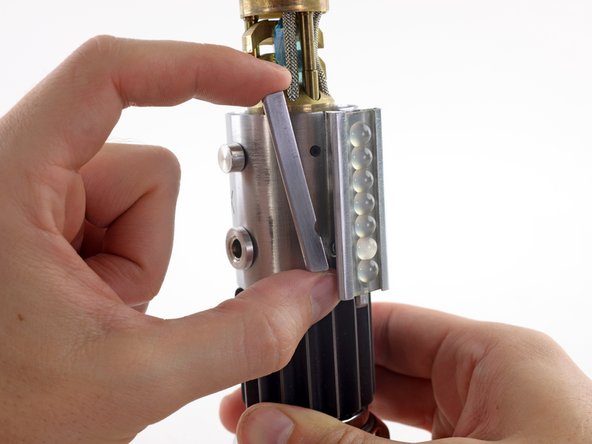
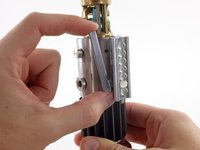
At this point, we've cleared the way to slide the clamp free and expose the switch housing.
-
-
Инструмент, используемый на этом этапе:Tweezers$4.99
-
We carefully remove the activation stud control bar.
-
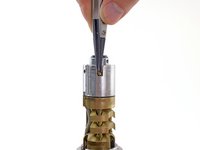
Stay on target...stay on target... We use our tweezers to make a trench run and take out a few nuts, loosening the next stage of the cylinder.
-
-
-
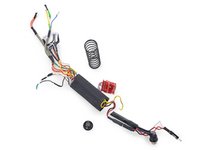
You won't find any regular old lithium ion batteries here! This lightsaber features a diatium power cell.
-
The Force is strong with this one—the recharge port seems a tad redundant, as a properly-maintained diatium power cell will last indefinitely.
-
-
-
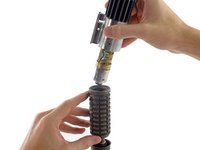
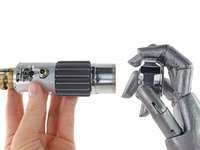
In case of any more surprises, we get a hand from a friend.
-
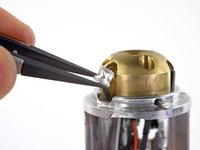
Next we unscrew the pommel cap, hoping to find a backup power cell.
-
No luck—we're able to remove an intermediary collar, but we don't find a reserve power cell.
-
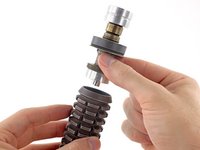
Time to get a closer look at that crystal chamber.
-
-
-
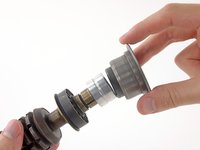
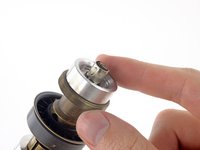
That's no moon—it's the focusing crystal.
-
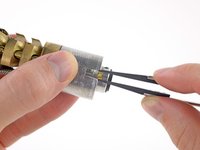
We gingerly remove both the cycling field energizer and the focusing crystal activator from atop the crystal chamber.
-
Excited to get an unobstructed view of the primary crystal, we pull back the energy modulation circuits—and lift away the crystal chamber cooling fins.
-
-
-
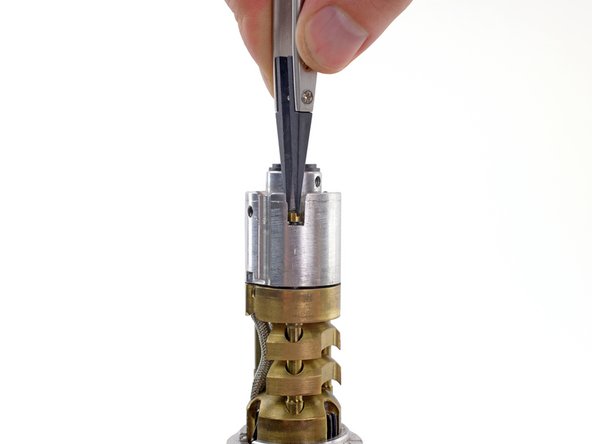
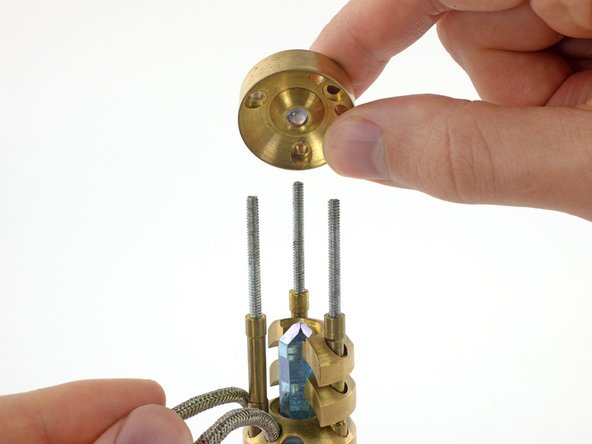
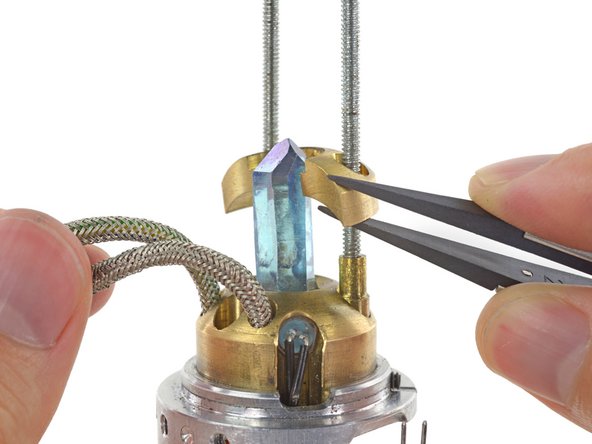
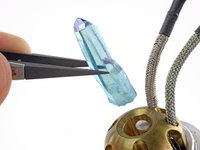
We finally arrive at the heart of the lightsaber, the primary crystal.
-
This particular lightsaber uses a blue Adegan crystal, typical of a Jedi. Sith lightsabers are commonly made with synthetic red crystals.
-
We peel away the three neatly packed crystal energizers from the primary crystal housing.
-
-
-
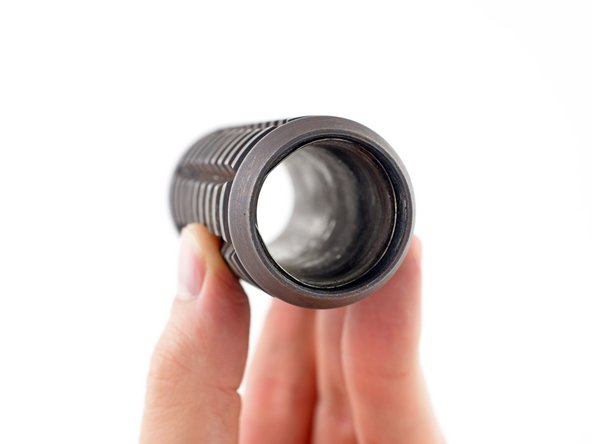
We slide the rear grip and inert power insulator from the hilt.
-
Though the rear grip resembles a heat sink, this design avoids the dramatic overheating problems seen in early lightsabers.
-
Looks like the extra space down here might be for upgrades, or possibly for the expert balance Obi-Wan surely requires of his saber.
-
-
-
Lightsaber Repairability Score: 10 out of 10 (10 is easiest to repair)
-
Extremely durable components make the need for repair unlikely outside of severe combat damage.
-
Robust diatium power cell lasts the life of the device.
-
Recharge port allows for topping up the power cell in extreme circumstances.
-
No adhesive anywhere; all components are removable with basic tools.
-
Replacing the rare Adegan crystal requires a trip to remote star systems, or paying a hefty fee to an enterprising smuggler.
-
Lack of published repair documentation means you'll have to rely on your Jedi abilities to figure all this out. (But the Force has a strong influence on our weak minds, so we're still giving it a 10/10.)
-
-
-
And now for the bits we didn't show you—because while lightsabers exist in a galaxy far, far away, this particular piece of Jedi kit was built by a true sabersmith here on Earth.
-
Many thanks to the amazingly talented Brad Lewis, who generously loaned us one of his hand-crafted, better-than-movie-accurate lightsaber replicas for this teardown. You can see his complete build log for this lightsaber, and many others, at SlothFurnace.com—or, check him out on Facebook or Twitter!
-
Thanks Brad! And may the Force be with you—always.
-


20 Комментариев
Nice Teardown. Have the tools but no Lightsaber :(