Перейти к основному содержанию

Meta Quest 2 Heat Sink Replacement

Выберете то, что вам нужно

  1. Meta Quest 2 Heat Sink Replacement, Power off your Meta Quest 2: шаг 1, изображение 1 из 1
    • Hold the power button for three seconds to fully turn off your headset.

    • You'll hear a power down chime, and the LED next to the power button will turn off.

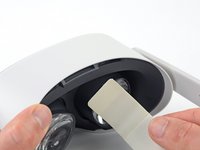
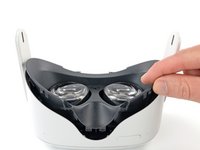
  2. Meta Quest 2 Heat Sink Replacement, Remove the facial interface: шаг 2, изображение 1 из 2 Meta Quest 2 Heat Sink Replacement, Remove the facial interface: шаг 2, изображение 2 из 2
    • Grasp and pull on the nose section of the facial interface to unclip it from the headset.

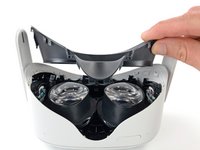
  3. Meta Quest 2 Heat Sink Replacement: шаг 3, изображение 1 из 2 Meta Quest 2 Heat Sink Replacement: шаг 3, изображение 2 из 2
    • Grasp and pull on the top section of the facial interface to unclip it from the headset.

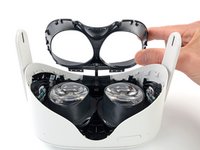
  4. Meta Quest 2 Heat Sink Replacement: шаг 4, изображение 1 из 1
    • Remove the facial interface.

    • During reassembly, align the facial interface to the headset and use your fingers to press along the perimeter to clip it back in.

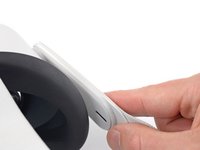
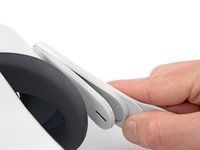
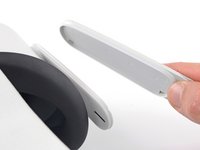
  5. Meta Quest 2 Heat Sink Replacement, Unclip the side straps: шаг 5, изображение 1 из 3 Meta Quest 2 Heat Sink Replacement, Unclip the side straps: шаг 5, изображение 2 из 3 Meta Quest 2 Heat Sink Replacement, Unclip the side straps: шаг 5, изображение 3 из 3
    • Use your fingers to grasp the right strap near the headset.

    • Peel the right strap away from the headset arm to unclip it.

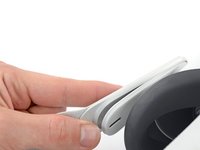
  6. Meta Quest 2 Heat Sink Replacement: шаг 6, изображение 1 из 2 Meta Quest 2 Heat Sink Replacement: шаг 6, изображение 2 из 2
    • Repeat the procedure to peel the left strap away from the arm to unclip it.

  7. Meta Quest 2 Heat Sink Replacement, Remove the top strap: шаг 7, изображение 1 из 2 Meta Quest 2 Heat Sink Replacement, Remove the top strap: шаг 7, изображение 2 из 2
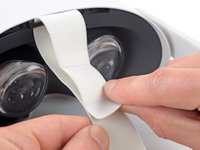
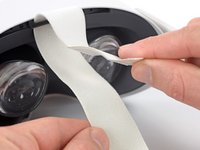
    • Separate the hook and loop strip on the top strap.

  8. Meta Quest 2 Heat Sink Replacement, Remove the head strap: шаг 8, изображение 1 из 2 Meta Quest 2 Heat Sink Replacement, Remove the head strap: шаг 8, изображение 2 из 2
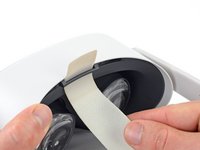
    • Unthread the top strap from its bracket.

    • Remove the head strap.

  9. Meta Quest 2 Heat Sink Replacement, Remove the eyepiece trim screws: шаг 9, изображение 1 из 2 Meta Quest 2 Heat Sink Replacement, Remove the eyepiece trim screws: шаг 9, изображение 2 из 2
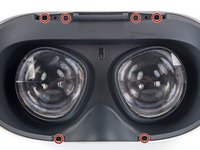
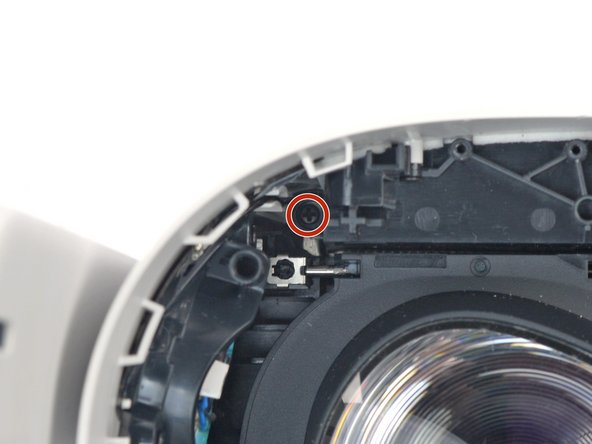
    • Use a Torx T2 driver to remove the six 3.5 mm‑long screws securing the eyepiece trim.

  10. Meta Quest 2 Heat Sink Replacement, Release the eyepiece trim clips: шаг 10, изображение 1 из 2 Meta Quest 2 Heat Sink Replacement, Release the eyepiece trim clips: шаг 10, изображение 2 из 2
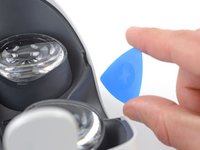
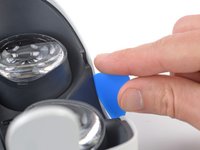
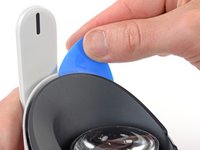
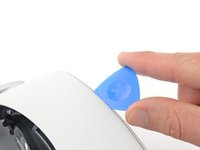
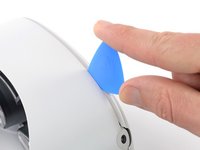
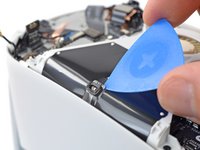
    • Insert an opening pick into the seam between the eyepiece trim and white outer shell, near the nose cutout.

  11. Meta Quest 2 Heat Sink Replacement: шаг 11, изображение 1 из 3 Meta Quest 2 Heat Sink Replacement: шаг 11, изображение 2 из 3 Meta Quest 2 Heat Sink Replacement: шаг 11, изображение 3 из 3
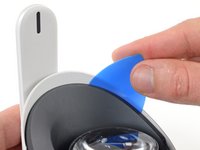
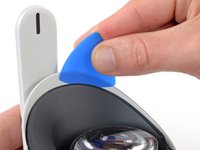
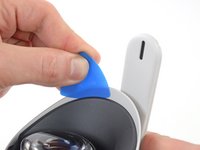
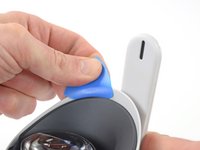
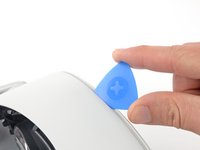
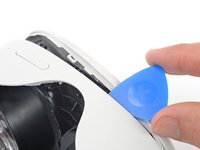
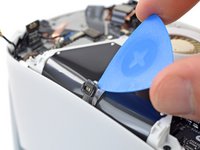
    • Slide the opening pick to the right along the seam to release the clips securing the eyepiece trim.

    • Pry with the opening pick to release the clips securing the right side of the eyepiece trim.

    • Leave the opening pick in the seam to prevent the clips from reengaging.

  12. Meta Quest 2 Heat Sink Replacement: шаг 12, изображение 1 из 3 Meta Quest 2 Heat Sink Replacement: шаг 12, изображение 2 из 3 Meta Quest 2 Heat Sink Replacement: шаг 12, изображение 3 из 3
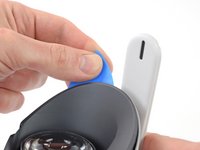
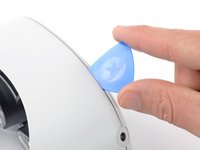
    • Repeat the prying procedure along the left edge to release the clips securing the eyepiece trim.

    • During reassembly, press your fingers along the perimeter of the eyepiece trim to clip it back in place.

  13. Meta Quest 2 Heat Sink Replacement, Reposition the eyepiece trim: шаг 13, изображение 1 из 3 Meta Quest 2 Heat Sink Replacement, Reposition the eyepiece trim: шаг 13, изображение 2 из 3 Meta Quest 2 Heat Sink Replacement, Reposition the eyepiece trim: шаг 13, изображение 3 из 3
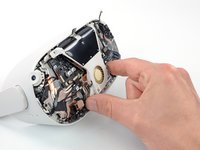
    • Don’t try to fully remove the eyepiece trim in this step. It’s still connected to the headset by a short cable.

    • Lift the eyepiece trim slightly and tilt it towards the top edge of the headset.

    • Set the trim down on your work surface, making sure not to strain the cable.

  14. Meta Quest 2 Heat Sink Replacement, Disconnect the face sensor: шаг 14, изображение 1 из 3 Meta Quest 2 Heat Sink Replacement, Disconnect the face sensor: шаг 14, изображение 2 из 3 Meta Quest 2 Heat Sink Replacement, Disconnect the face sensor: шаг 14, изображение 3 из 3
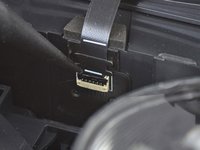
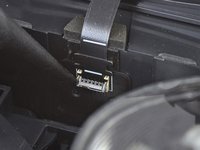
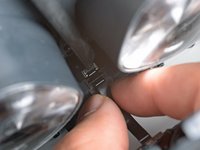
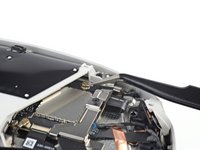
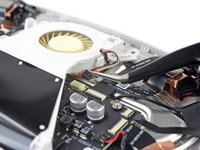
    • Use the point of a spudger to flip open the black lock tab on the ZIF connector securing the face sensor cable.

  15. Meta Quest 2 Heat Sink Replacement: шаг 15, изображение 1 из 2 Meta Quest 2 Heat Sink Replacement: шаг 15, изображение 2 из 2
    Инструмент, используемый на этом этапе:
    Tweezers
    $4.99
    Купить
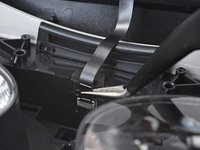
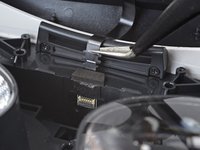
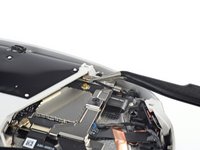
    • Use tweezers to pull the face sensor cable out of the ZIF connector.

  16. Meta Quest 2 Heat Sink Replacement, Remove the eyepiece trim: шаг 16, изображение 1 из 1
    • Remove the eyepiece trim.

  17. Meta Quest 2 Heat Sink Replacement, Reassembly note: шаг 17, изображение 1 из 2 Meta Quest 2 Heat Sink Replacement, Reassembly note: шаг 17, изображение 2 из 2
    • During reassembly:

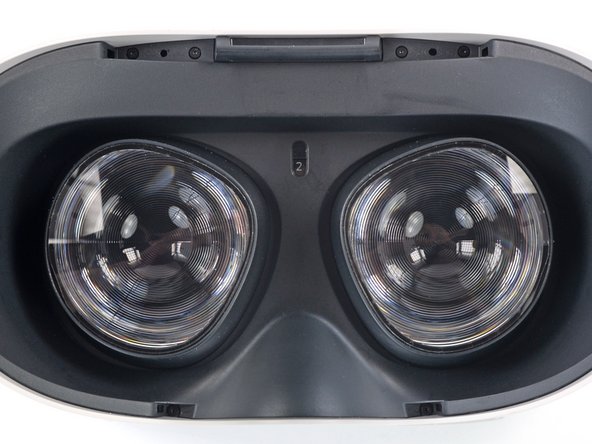
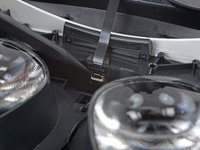
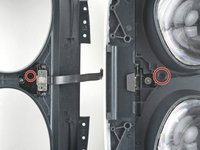
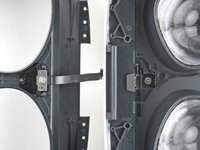
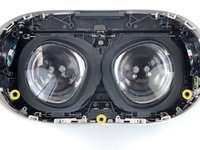
    • Make sure the lens spacing matches the spacing indicator. This allows the indicator peg to sit correctly in its notch.

    • If the lens spacing doesn't match the indicator, manually adjust the lens with your fingers.

  18. Meta Quest 2 Heat Sink Replacement, Reassembly note: шаг 18, изображение 1 из 3 Meta Quest 2 Heat Sink Replacement, Reassembly note: шаг 18, изображение 2 из 3 Meta Quest 2 Heat Sink Replacement, Reassembly note: шаг 18, изображение 3 из 3
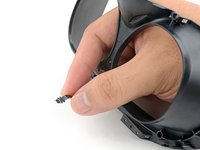
    • During reassembly, the face sensor cable can be tricky to connect. Follow these tips to connect the cable:

    • Thread your fingers through the eyepiece trim’s eyeholes and grasp the edges of the sensor cable.

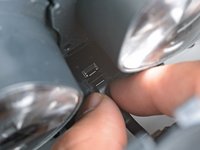
    • Slide the sensor cable into the socket until the first set of tabs rests in the socket. This should flip the lock tab down partially.

    • Use a spudger to press the lock tab down towards the cable to lock it in place.

  19. Meta Quest 2 Heat Sink Replacement, Remove the front cover screws: шаг 19, изображение 1 из 3 Meta Quest 2 Heat Sink Replacement, Remove the front cover screws: шаг 19, изображение 2 из 3 Meta Quest 2 Heat Sink Replacement, Remove the front cover screws: шаг 19, изображение 3 из 3
    • Use a Phillips screwdriver to remove the five 7.7 mm‑long screws securing the front cover to the headset:

    • One recessed in the top-left corner

    • One recessed in the top-right corner

    • Three along the lower edge

  20. Meta Quest 2 Heat Sink Replacement, Release the front cover clips: шаг 20, изображение 1 из 2 Meta Quest 2 Heat Sink Replacement, Release the front cover clips: шаг 20, изображение 2 из 2
    • The front cover is still held in place by clips along the bottom and side edges.

    • Insert an opening pick into the seam between the bottom edge of the front cover and the headset.

    • Pry with the opening pick to release the front cover clips.

  21. Meta Quest 2 Heat Sink Replacement: шаг 21, изображение 1 из 3 Meta Quest 2 Heat Sink Replacement: шаг 21, изображение 2 из 3 Meta Quest 2 Heat Sink Replacement: шаг 21, изображение 3 из 3
    • Slide the opening clip along the seam and pry to release all the clips securing the front cover.

  22. Meta Quest 2 Heat Sink Replacement, Remove the front cover: шаг 22, изображение 1 из 1
    • Remove the front cover.

  23. Meta Quest 2 Heat Sink Replacement, Disconnect the top right antenna: шаг 23, изображение 1 из 3 Meta Quest 2 Heat Sink Replacement, Disconnect the top right antenna: шаг 23, изображение 2 из 3 Meta Quest 2 Heat Sink Replacement, Disconnect the top right antenna: шаг 23, изображение 3 из 3
    Инструмент, используемый на этом этапе:
    Tweezers
    $4.99
    Купить
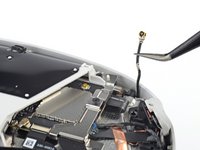
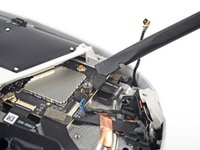
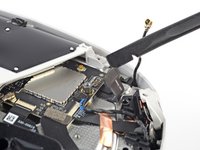
    • Use a pair of tweezers to grasp the metal neck of the top-right antenna cable.

    • Lift the antenna connector straight up to disconnect it.

    • Guide the antenna cable out of its metal clip holding it in place.

  24. Meta Quest 2 Heat Sink Replacement, Remove the battery cable bracket: шаг 24, изображение 1 из 1
    • Use a Phillips screwdriver to remove the three screws securing the battery cable bracket:

    • One 4.4 mm‑long screw

    • Two 2.3 mm‑long screws

  25. Meta Quest 2 Heat Sink Replacement: шаг 25, изображение 1 из 3 Meta Quest 2 Heat Sink Replacement: шаг 25, изображение 2 из 3 Meta Quest 2 Heat Sink Replacement: шаг 25, изображение 3 из 3
    • Use tweezers or your fingers to grasp the battery cable bracket.

    • Twist the cable bracket slightly so that its bottom left corner unclips from the motherboard.

    • Remove the battery cable bracket.

  26. Meta Quest 2 Heat Sink Replacement, Disconnect the battery: шаг 26, изображение 1 из 2 Meta Quest 2 Heat Sink Replacement, Disconnect the battery: шаг 26, изображение 2 из 2
    • Use a spudger to pry up and disconnect the battery press connector from the motherboard.

    • The battery press connector can disconnect accidentally during reassembly. Check this connector before you attach the bracket.

  27. Meta Quest 2 Heat Sink Replacement, Disconnect the antenna: шаг 27, изображение 1 из 3 Meta Quest 2 Heat Sink Replacement, Disconnect the antenna: шаг 27, изображение 2 из 3 Meta Quest 2 Heat Sink Replacement, Disconnect the antenna: шаг 27, изображение 3 из 3
    Инструмент, используемый на этом этапе:
    Tweezers
    $4.99
    Купить
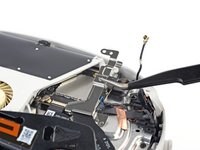
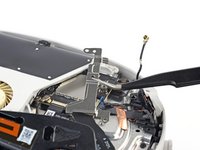
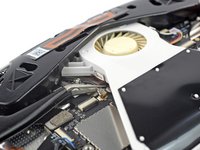
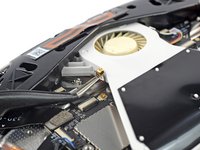
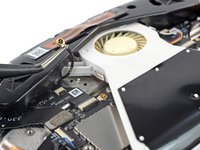
    • Insert one arm of a pair of tweezers under the metal neck of the black antenna cable near the fan assembly.

    • Lift the antenna connector straight up to disconnect it.

    • Guide the antenna cable out of its metal clip holding it in place.

  28. Meta Quest 2 Heat Sink Replacement, Loosen the front antenna assembly: шаг 28, изображение 1 из 2 Meta Quest 2 Heat Sink Replacement, Loosen the front antenna assembly: шаг 28, изображение 2 из 2
    • Use a Phillips screwdriver to remove the eight screws securing the antenna assembly to the headset:

    • Four 4.4 mm‑long screws

    • Two 4.8 mm‑long screws

    • Two 10.7 mm‑long screws

  29. Meta Quest 2 Heat Sink Replacement: шаг 29, изображение 1 из 2 Meta Quest 2 Heat Sink Replacement: шаг 29, изображение 2 из 2
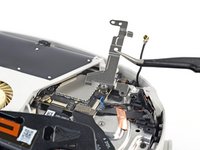
    • Use your fingers to flip up the antenna assembly enough to access the cable underneath it.

  30. Meta Quest 2 Heat Sink Replacement: шаг 30, изображение 1 из 2 Meta Quest 2 Heat Sink Replacement: шаг 30, изображение 2 из 2
    • Use tweezers to unclip the antenna cable from its metal clip.

  31. Meta Quest 2 Heat Sink Replacement, Remove the front antenna assembly: шаг 31, изображение 1 из 1
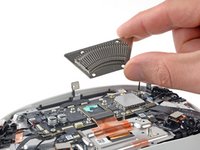
    • Remove the front antenna assembly.

  32. Meta Quest 2 Heat Sink Replacement, Disconnect the fan: шаг 32, изображение 1 из 2 Meta Quest 2 Heat Sink Replacement, Disconnect the fan: шаг 32, изображение 2 из 2
    Инструмент, используемый на этом этапе:
    Tweezers
    $4.99
    Купить
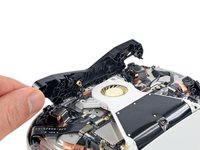
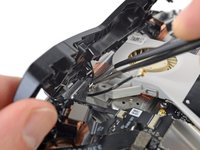
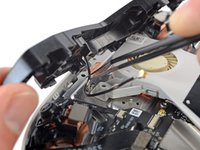
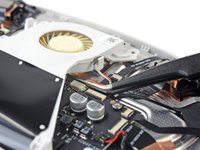
    • Use tweezers to grab the fan connector and carefully slide it out of its socket.

  33. Meta Quest 2 Heat Sink Replacement, Loosen the LED flex cable: шаг 33, изображение 1 из 2 Meta Quest 2 Heat Sink Replacement, Loosen the LED flex cable: шаг 33, изображение 2 из 2
    • Use the point of an opening pick to loosen the adhesive securing the LED flex cable from the top of the fan assembly.

  34. Meta Quest 2 Heat Sink Replacement, Remove the fan assembly: шаг 34, изображение 1 из 1
    • Remove the two screws securing the fan assembly to the headset:

    • One 4.4 mm‑long Phillips screw

    • One 3.6 mm‑long Torx T2 screw

  35. Meta Quest 2 Heat Sink Replacement: шаг 35, изображение 1 из 3 Meta Quest 2 Heat Sink Replacement: шаг 35, изображение 2 из 3 Meta Quest 2 Heat Sink Replacement: шаг 35, изображение 3 из 3
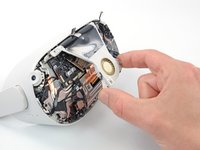
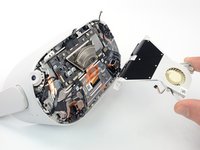
    • Lift the fan assembly and remove it.

  36. Meta Quest 2 Heat Sink Replacement, Remove the heat sink: шаг 36, изображение 1 из 1
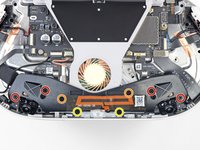
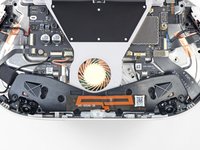
    • Use a Phillips screwdriver to remove the four 2.3 mm‑long screws securing the heat sink to the motherboard.

  37. Meta Quest 2 Heat Sink Replacement: шаг 37, изображение 1 из 2 Meta Quest 2 Heat Sink Replacement: шаг 37, изображение 2 из 2
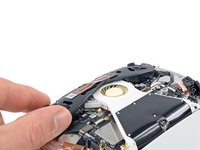
    • Use your fingers to lift the heat sink and remove it.

    • You may feel a bit of resistance. This is normal since the midframe is slightly bonded to the heat sink with thermal paste.

    • You can reuse the thermal paste if you keep it clean. Otherwise, use a spudger to scrape off the old paste and apply a small amount of viscous thermal compound (such as K5 Pro) to the processor.

Заключение

To reassemble your device, follow these instructions in reverse order.

Repair didn’t go as planned? Try some basic troubleshooting, or ask our Answers community for help.

Arthur Shi

Участник с: 01/03/18

254 106 Репутация

Автор 529 руководств

Команда

iFixit Участник iFixit

Staff

136 членов

Автор 17 299 руководств

0 Комментариев

Добавить комментарий

Просмотр статистики:

За последние 24часов: 1

За последние 7 дней: 9

За последние 30 дней: 26

За всё время: 162