Перейти к основному содержанию
Присоединяйся к сообществу ремонтников - Создай аккаунт

Nintendo Switch Lite Motherboard Replacement

Выберете то, что вам нужно

  1. Nintendo Switch Lite Motherboard Replacement, Remove the back panel screws: шаг 1, изображение 1 из 1
    Инструмент, используемый на этом этапе:
    Magnetic Project Mat
    $19.95
    • Before beginning this repair, make sure that the device is completely turned off.

    • Use a Y00 screwdriver to remove the four 6.3 mm-long screws securing the back panel.

    • Throughout this repair, keep track of each screw and make sure it goes back exactly where it came from.

    Спросите у FixBot

    Добавить комментарий

  2. Nintendo Switch Lite Motherboard Replacement, Remove the top and bottom back panel screws: шаг 2, изображение 1 из 2 Nintendo Switch Lite Motherboard Replacement, Remove the top and bottom back panel screws: шаг 2, изображение 2 из 2
    • Use a JIS 000 driver or an iFixit PH 000 driver to remove the following screws securing the back panel:

    • Two 3.6 mm-long screws on the top of the device

    • Two 3.6 mm-long screws on the bottom of the device

    • To prevent these tight screws from stripping, apply firm downward force, work slowly and try a different screwdriver if the screws won't come out.

    Спросите у FixBot

    Добавить комментарий

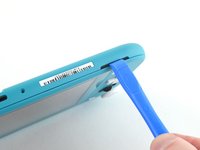
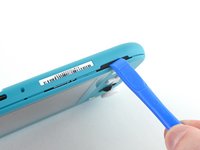
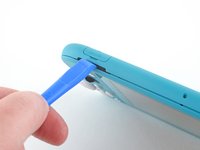
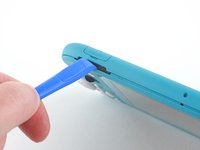
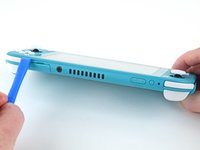
  3. Nintendo Switch Lite Motherboard Replacement, Release the clips securing the back panel: шаг 3, изображение 1 из 2 Nintendo Switch Lite Motherboard Replacement, Release the clips securing the back panel: шаг 3, изображение 2 из 2
    • Insert an opening tool into the left speaker grille on the bottom of the device.

    • Twist the opening tool to release the clips securing the back panel.

    • Avoid inserting the opening tool further than required to prevent damage to the speaker module.

    Спросите у FixBot

    Добавить комментарий

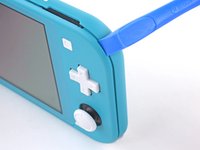
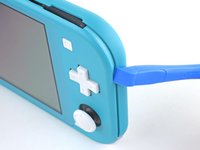
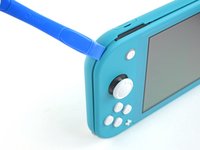
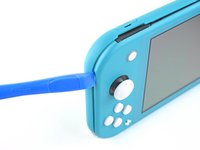
  4. Nintendo Switch Lite Motherboard Replacement, Continue releasing the clips around the device: шаг 4, изображение 1 из 2 Nintendo Switch Lite Motherboard Replacement, Continue releasing the clips around the device: шаг 4, изображение 2 из 2
    • Slide the opening tool around the bottom-left corner to release the clips on the left side of the device.

    Спросите у FixBot

    Добавить комментарий

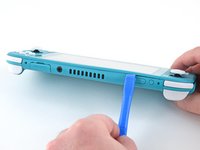
  5. Nintendo Switch Lite Motherboard Replacement, Twist to release the clips: шаг 5, изображение 1 из 2 Nintendo Switch Lite Motherboard Replacement, Twist to release the clips: шаг 5, изображение 2 из 2
    • Insert an opening tool into the right speaker grille on the bottom of the device.

    • Twist the opening tool to release the clips.

    • Avoid inserting the opening tool further than required to prevent damage to the speaker module.

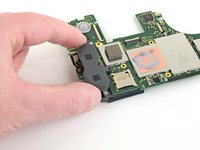
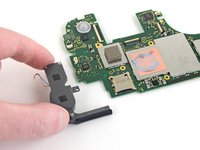
    Спросите у FixBot

    Добавить комментарий

  6. Nintendo Switch Lite Motherboard Replacement, Slide and pry around the corners: шаг 6, изображение 1 из 2 Nintendo Switch Lite Motherboard Replacement, Slide and pry around the corners: шаг 6, изображение 2 из 2
    • Slide and pry the opening tool around the bottom-right corner to release the clips on the right side of the device.

    Спросите у FixBot

    Добавить комментарий

  7. Nintendo Switch Lite Motherboard Replacement: шаг 7, изображение 1 из 2 Nintendo Switch Lite Motherboard Replacement: шаг 7, изображение 2 из 2
    • Continue sliding and prying the opening tool along the gap on the top of the device to release the clips.

    Спросите у FixBot

    Добавить комментарий

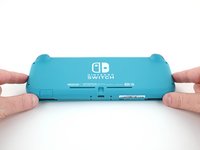
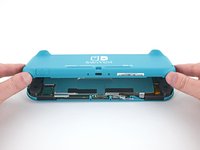
  8. Nintendo Switch Lite Motherboard Replacement, Remove the back panel: шаг 8, изображение 1 из 3 Nintendo Switch Lite Motherboard Replacement, Remove the back panel: шаг 8, изображение 2 из 3 Nintendo Switch Lite Motherboard Replacement, Remove the back panel: шаг 8, изображение 3 из 3
    • Lift the bottom edge of the back panel, opening it like a book.

    • Remove the back panel.

    Спросите у FixBot

    Добавить комментарий

  9. Nintendo Switch Lite Motherboard Replacement, Remove the shield plate: шаг 9, изображение 1 из 1
    • Use a JIS 000 driver or an iFixit PH 000 driver to remove the four screws securing the shield plate:

    • Three 3.1 mm screws

    • One 4.5 mm screw

    Спросите у FixBot

    Добавить комментарий

  10. Nintendo Switch Lite Motherboard Replacement: шаг 10, изображение 1 из 3 Nintendo Switch Lite Motherboard Replacement: шаг 10, изображение 2 из 3 Nintendo Switch Lite Motherboard Replacement: шаг 10, изображение 3 из 3
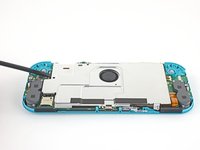
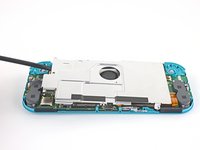
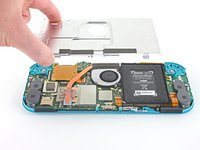
    • Use a spudger or your fingers to lift the shield plate up and out of the device.

    • You may feel a bit of resistance. This is normal, since the shield plate is slightly bonded to the heat sink with thermal paste.

    • Remove the shield plate.

    • Clean off the old thermal paste from the shield plate and heat sink using isopropyl alcohol and a microfiber cloth. Apply new thermal paste to the heat sink before reassembly.

    Спросите у FixBot

    Добавить комментарий

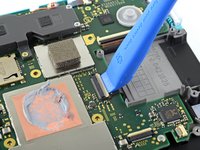
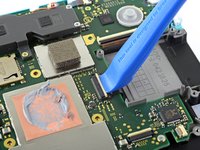
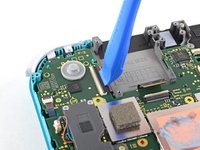
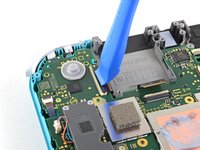
  11. Nintendo Switch Lite Motherboard Replacement, Disconnect the interconnect cable: шаг 11, изображение 1 из 2 Nintendo Switch Lite Motherboard Replacement, Disconnect the interconnect cable: шаг 11, изображение 2 из 2
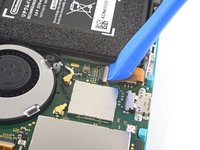
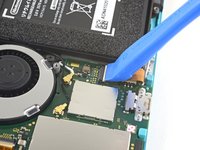
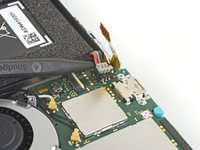
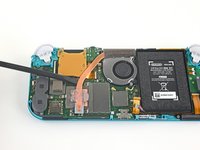
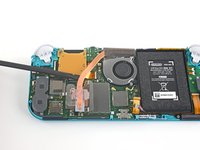
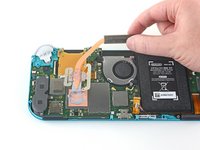
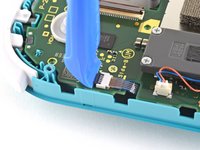
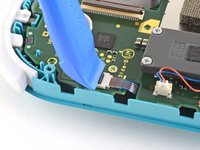
    • Use an opening tool or your fingernail to flip up the small, hinged locking flap on the motherboard interconnect cable's ZIF connector.

    Спросите у FixBot

    Добавить комментарий

  12. Nintendo Switch Lite Motherboard Replacement: шаг 12, изображение 1 из 2 Nintendo Switch Lite Motherboard Replacement: шаг 12, изображение 2 из 2
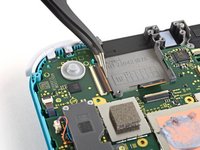
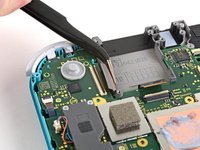
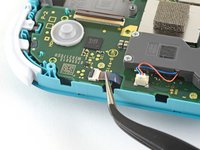
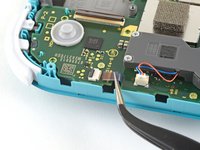
    • Do Not Use Metal Tweezers! Some fixers state that metallic tweezers can short circuit the ribbon cable/connector. It might be safer to just use nylon-tipped or ceramic-tipped tweezers.

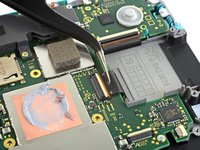
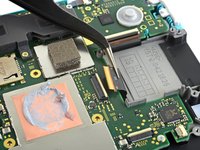
    • Use a pair of tweezers to slide the interconnect cable out of its connector on the motherboard.

    Спросите у FixBot

    Добавить комментарий

  13. Nintendo Switch Lite Motherboard Replacement, Disconnect the battery: шаг 13, изображение 1 из 2 Nintendo Switch Lite Motherboard Replacement, Disconnect the battery: шаг 13, изображение 2 из 2
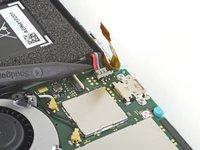
    • Use the point of a spudger to pry the battery connector straight up and out of its socket on the motherboard.

    • During reassembly, wait until after you connect the interconnect cable (above) before connecting the battery.

    Спросите у FixBot

    Добавить комментарий

  14. Nintendo Switch Lite Motherboard Replacement, Remove the heat sink: шаг 14, изображение 1 из 1
    • Use the flat end of a spudger or your fingers to carefully peel up the foam that's lightly adhered to the fan.

    • The foam only needs to be peeled back enough to clear the fan.

    Спросите у FixBot

    Добавить комментарий

  15. Nintendo Switch Lite Motherboard Replacement: шаг 15, изображение 1 из 1
    • Use a JIS 000 driver or an iFixit PH 000 driver to remove the three 3 mm screws securing the heat sink to the motherboard.

    Спросите у FixBot

    Добавить комментарий

  16. Nintendo Switch Lite Motherboard Replacement: шаг 16, изображение 1 из 3 Nintendo Switch Lite Motherboard Replacement: шаг 16, изображение 2 из 3 Nintendo Switch Lite Motherboard Replacement: шаг 16, изображение 3 из 3
    • Use a spudger or your fingers to lift the heatsink up and off of the motherboard to remove it.

    • You may feel a bit of resistance. This is normal, since the heat sink is slightly bonded to the CPU with thermal paste.

    • Clean off the old thermal paste from the heat sink and CPU using isopropyl alcohol and a microfiber cloth. Apply new thermal paste to the CPU before reassembly.

    Спросите у FixBot

    Добавить комментарий

  17. Nintendo Switch Lite Motherboard Replacement, Remove the game card reader and headphone jack: шаг 17, изображение 1 из 2 Nintendo Switch Lite Motherboard Replacement, Remove the game card reader and headphone jack: шаг 17, изображение 2 из 2
    • Use an opening tool or your fingernail to flip up the small, hinged locking flap on the game card reader cable's ZIF connector.

    Спросите у FixBot

    Добавить комментарий

  18. Nintendo Switch Lite Motherboard Replacement: шаг 18, изображение 1 из 1
    • Use a JIS 000 driver or an iFixit PH 000 driver to remove the seven 3.1 mm screws securing the game card reader and headphone jack.

    Спросите у FixBot

    Добавить комментарий

  19. Nintendo Switch Lite Motherboard Replacement: шаг 19, изображение 1 из 3 Nintendo Switch Lite Motherboard Replacement: шаг 19, изображение 2 из 3 Nintendo Switch Lite Motherboard Replacement: шаг 19, изображение 3 из 3
    Инструмент, используемый на этом этапе:
    Tweezers
    $4.99
    • Use a pair of tweezers or your fingers to carefully lift the game card reader and maneuver it to the left to slide the cable out of its connector.

    • Remove the game card reader and headphone jack.

    Спросите у FixBot

    Добавить комментарий

  20. Nintendo Switch Lite Motherboard Replacement, Remove the right trigger button assembly: шаг 20, изображение 1 из 1
    • Use a JIS 000 driver or an iFixit PH 000 driver to remove the two 4.5 mm screws securing the right trigger button assembly to the motherboard.

    Спросите у FixBot

    Добавить комментарий

  21. Nintendo Switch Lite Motherboard Replacement: шаг 21, изображение 1 из 2 Nintendo Switch Lite Motherboard Replacement: шаг 21, изображение 2 из 2
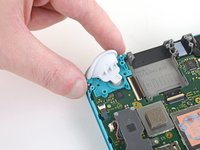
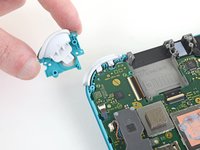
    • Remove the right trigger button assembly.

    Спросите у FixBot

    Добавить комментарий

  22. Nintendo Switch Lite Motherboard Replacement: шаг 22, изображение 1 из 2 Nintendo Switch Lite Motherboard Replacement: шаг 22, изображение 2 из 2
    Инструмент, используемый на этом этапе:
    Tweezers
    $4.99
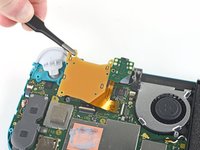
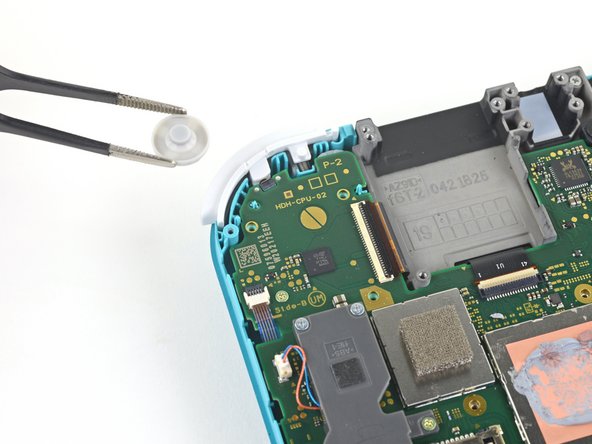
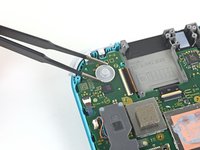
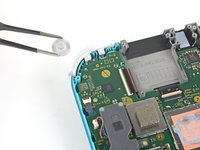
    • Use a pair of tweezers or your fingers to remove the right trigger button assembly's rubber pad if it didn't stay attached to the button assembly.

    Спросите у FixBot

    Добавить комментарий

  23. Nintendo Switch Lite Motherboard Replacement, Disconnect the antenna cables: шаг 23, изображение 1 из 3 Nintendo Switch Lite Motherboard Replacement, Disconnect the antenna cables: шаг 23, изображение 2 из 3 Nintendo Switch Lite Motherboard Replacement, Disconnect the antenna cables: шаг 23, изображение 3 из 3
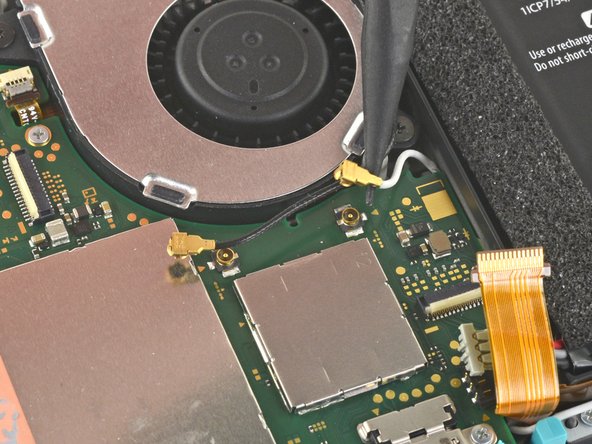
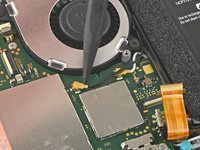
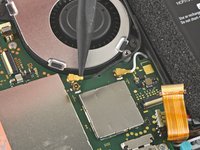
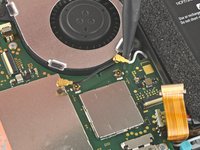
    • Use the point of a spudger to pry the black antenna cable coaxial connector straight up off its socket on the motherboard.

    • Repeat the same process for the white antenna cable.

    Спросите у FixBot

    Добавить комментарий

  24. Nintendo Switch Lite Motherboard Replacement, Disconnect the fan cable: шаг 24, изображение 1 из 1
    • Use an opening tool or your fingernail to flip up the small, hinged locking flap on the fan cable's ZIF connector.

    Спросите у FixBot

    Добавить комментарий

  25. Nintendo Switch Lite Motherboard Replacement: шаг 25, изображение 1 из 2 Nintendo Switch Lite Motherboard Replacement: шаг 25, изображение 2 из 2
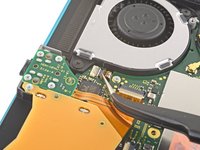
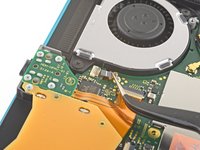
    • Use a pair of tweezers to slide out the fan cable from its connector on the motherboard.

    Спросите у FixBot

    Добавить комментарий

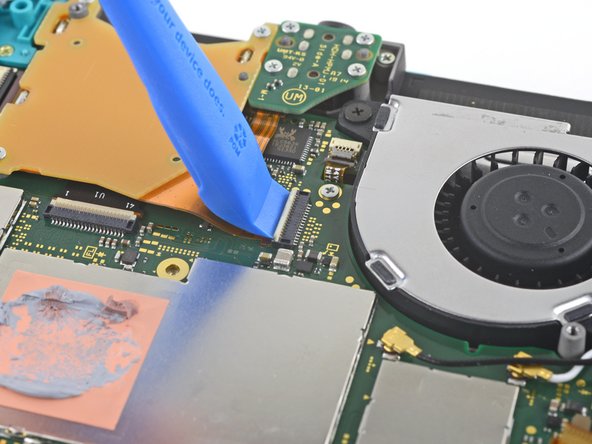
  26. Nintendo Switch Lite Motherboard Replacement, Disconnect the screen cable: шаг 26, изображение 1 из 2 Nintendo Switch Lite Motherboard Replacement, Disconnect the screen cable: шаг 26, изображение 2 из 2
    • Use an opening tool or your fingernail to flip up the small, hinged locking flap on the screen cable's ZIF connector.

    Спросите у FixBot

    Добавить комментарий

  27. Nintendo Switch Lite Motherboard Replacement: шаг 27, изображение 1 из 2 Nintendo Switch Lite Motherboard Replacement: шаг 27, изображение 2 из 2
    • Use a pair of tweezers to slide the screen cable out of its connector on the motherboard.

    Спросите у FixBot

    Добавить комментарий

  28. Nintendo Switch Lite Motherboard Replacement, Disconnect the digitizer cable: шаг 28, изображение 1 из 2 Nintendo Switch Lite Motherboard Replacement, Disconnect the digitizer cable: шаг 28, изображение 2 из 2
    • Use an opening tool or your fingernail to flip up the small, hinged locking flap on the digitizer cable's ZIF connector.

    Спросите у FixBot

    Добавить комментарий

  29. Nintendo Switch Lite Motherboard Replacement: шаг 29, изображение 1 из 2 Nintendo Switch Lite Motherboard Replacement: шаг 29, изображение 2 из 2
    • Use a pair of tweezers to slide the digitizer cable out of its connector on the motherboard.

    Спросите у FixBot

    Добавить комментарий

  30. Nintendo Switch Lite Motherboard Replacement, Disconnect the right joystick cable: шаг 30, изображение 1 из 2 Nintendo Switch Lite Motherboard Replacement, Disconnect the right joystick cable: шаг 30, изображение 2 из 2
    • Use an opening tool or your fingernail to flip up the small, hinged locking flap on the right joystick cable's ZIF connector.

    Спросите у FixBot

    Добавить комментарий

  31. Nintendo Switch Lite Motherboard Replacement: шаг 31, изображение 1 из 2 Nintendo Switch Lite Motherboard Replacement: шаг 31, изображение 2 из 2
    • Use a pair of tweezers to slide the right joystick cable out of its connector on the motherboard.

    Спросите у FixBot

    Добавить комментарий

  32. Nintendo Switch Lite Motherboard Replacement, Remove the motherboard assembly: шаг 32, изображение 1 из 1
    • Use a JIS 000 driver or an iFixit PH 000 driver to remove the following six screws securing the motherboard:

    • Three 3.1 mm screws

    • Three 4.5 mm screws

    Спросите у FixBot

    Добавить комментарий

  33. Nintendo Switch Lite Motherboard Replacement: шаг 33, изображение 1 из 3 Nintendo Switch Lite Motherboard Replacement: шаг 33, изображение 2 из 3 Nintendo Switch Lite Motherboard Replacement: шаг 33, изображение 3 из 3
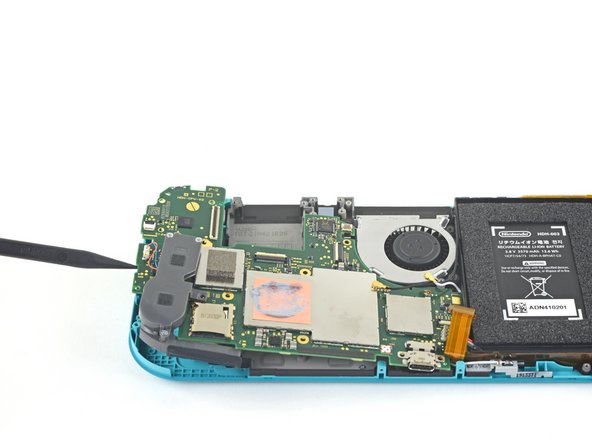
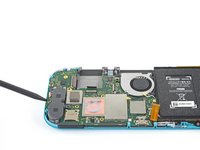
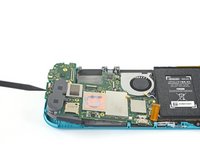
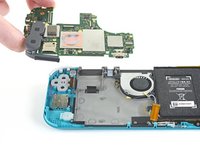
    • Insert a spudger in the gap between the frame and the motherboard and lift the motherboard up and out of its recess.

    • Remove the motherboard assembly.

    Спросите у FixBot

    Добавить комментарий

  34. Nintendo Switch Lite Motherboard Replacement, Remove the right speaker module: шаг 34, изображение 1 из 2 Nintendo Switch Lite Motherboard Replacement, Remove the right speaker module: шаг 34, изображение 2 из 2
    Инструмент, используемый на этом этапе:
    Tweezers
    $4.99
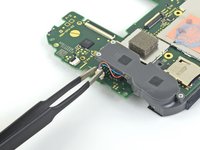
    • Use a pair of tweezers or your fingers to pull the right speaker cable straight up and out of its socket on the motherboard.

    Спросите у FixBot

    Добавить комментарий

  35. Nintendo Switch Lite Motherboard Replacement: шаг 35, изображение 1 из 2 Nintendo Switch Lite Motherboard Replacement: шаг 35, изображение 2 из 2
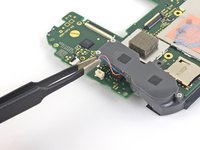
    • Remove the right speaker module from the motherboard.

    Спросите у FixBot

    Добавить комментарий

  36. Nintendo Switch Lite Motherboard Replacement: шаг 36, изображение 1 из 1
    • Only the motherboard remains.

    Спросите у FixBot

    Добавить комментарий

Заключение

To reassemble your device, follow these instructions in reverse order.

Take your e-waste to an R2 or e-Stewards certified recycler.

Repair didn’t go as planned? Try some basic troubleshooting, or ask our Nintendo Switch Lite Answers community for help.

Отменить: Я не выполнил это руководство.

29 человек успешно провели ремонт по этому руководству.

Craig Lloyd

Участник с: 02/10/16

42 887 Репутация

Автор 82 руководств

9 Комментарии к руководству

Great guide, helped me fix charge port replacement, did notice between 16-17 the card reader magically disappeared, but help me tear down and repair and rebuild with a little bit of head scratching.

Sean Topp - Ответить Поделиться
La guida è molto chiara.. ma dove si può acquistare una scheda madre di ricambio ?

Walter - Ответить Поделиться
It stops at motherboard removal, is there a section for replacing the USB charging port on the switch lite?

Christian Knight - Ответить Поделиться
No, you can not replace the port without soldering it. If you aren't good at soldering I would highly advise looking into costs at local repair shops.

Nova - Ответить Поделиться
Where can i get the motherboard from, i cant replace the charging port, cause it is soldered to the motherboard. So if you could please let me know onto where i can get the mother board from. 😊

JoyBoy - Ответить Поделиться

Добавить комментарий

Статистика просмотров:

За последние 24 часов: 36

За последние 7 дней: 245

За последние 30 дней: 1,188

За всё время: 78,203