Перейти к основному содержанию
Присоединяйся к сообществу ремонтников - Создай аккаунт

Nintendo Switch Lite Screen Replacement

Выберете то, что вам нужно

  1. Nintendo Switch Lite Screen Replacement, Remove the back panel screws: шаг 1, изображение 1 из 1
    Инструмент, используемый на этом этапе:
    Magnetic Project Mat
    $19.95
    • Before beginning this repair, make sure that the device is completely turned off.

    • Use a Y00 screwdriver to remove the four 6.3 mm-long screws securing the back panel.

    • Throughout this repair, keep track of each screw and make sure it goes back exactly where it came from.

    Спросите у FixBot
  2. Nintendo Switch Lite Screen Replacement, Remove the top and bottom back panel screws: шаг 2, изображение 1 из 2 Nintendo Switch Lite Screen Replacement, Remove the top and bottom back panel screws: шаг 2, изображение 2 из 2
    • Use a JIS 000 driver or an official iFixit PH 000 driver to remove the following screws securing the back panel:

    • Two 3.6 mm-long screws on the top of the device

    • Two 3.6 mm-long screws on the bottom of the device

    • To prevent these tight screws from stripping, apply firm downward force, work slowly and try a different screwdriver if the screws won't come out.

    Спросите у FixBot
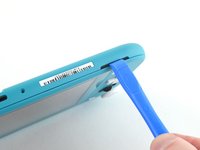
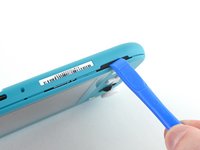
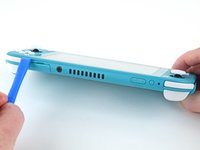
  3. Nintendo Switch Lite Screen Replacement, Release the clips securing the back panel: шаг 3, изображение 1 из 2 Nintendo Switch Lite Screen Replacement, Release the clips securing the back panel: шаг 3, изображение 2 из 2
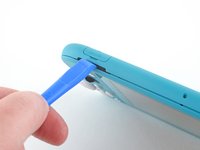
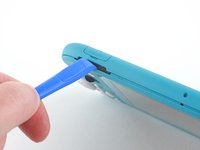
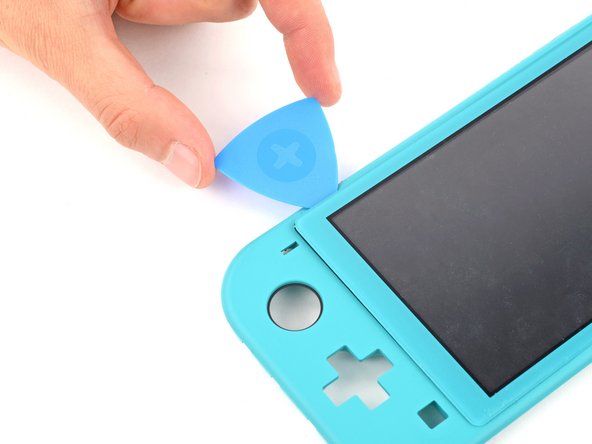
    • Insert an opening tool into the left speaker grille on the bottom of the device.

    • Twist the opening tool to release the clips securing the back panel.

    • Avoid inserting the opening tool further than required to prevent damage to the speaker module.

    Спросите у FixBot
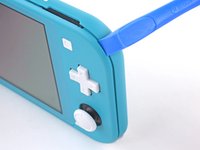
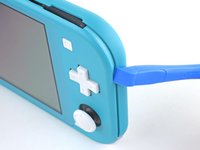
  4. Nintendo Switch Lite Screen Replacement, Continue releasing the clips around the device: шаг 4, изображение 1 из 2 Nintendo Switch Lite Screen Replacement, Continue releasing the clips around the device: шаг 4, изображение 2 из 2
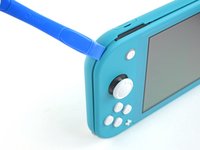
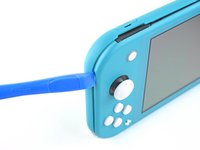
    • Slide the opening tool around the bottom-left corner to release the clips on the left side of the device.

    Спросите у FixBot
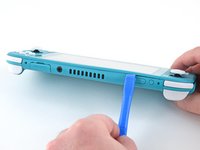
  5. Nintendo Switch Lite Screen Replacement, Twist to release the clips: шаг 5, изображение 1 из 2 Nintendo Switch Lite Screen Replacement, Twist to release the clips: шаг 5, изображение 2 из 2
    • Insert an opening tool into the right speaker grille on the bottom of the device.

    • Twist the opening tool to release the clips.

    • Avoid inserting the opening tool further than required to prevent damage to the speaker module.

    Спросите у FixBot
  6. Nintendo Switch Lite Screen Replacement, Slide and pry around the corners: шаг 6, изображение 1 из 2 Nintendo Switch Lite Screen Replacement, Slide and pry around the corners: шаг 6, изображение 2 из 2
    • Slide and pry the opening tool around the bottom-right corner to release the clips on the right side of the device.

    Спросите у FixBot
  7. Nintendo Switch Lite Screen Replacement: шаг 7, изображение 1 из 2 Nintendo Switch Lite Screen Replacement: шаг 7, изображение 2 из 2
    • Continue sliding and prying the opening tool along the gap on the top of the device to release the clips.

    Спросите у FixBot
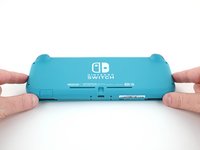
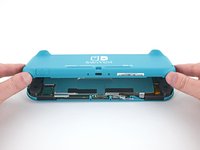
  8. Nintendo Switch Lite Screen Replacement, Remove the back panel: шаг 8, изображение 1 из 3 Nintendo Switch Lite Screen Replacement, Remove the back panel: шаг 8, изображение 2 из 3 Nintendo Switch Lite Screen Replacement, Remove the back panel: шаг 8, изображение 3 из 3
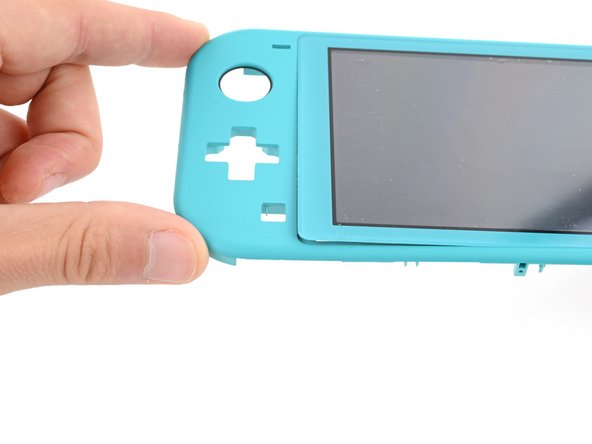
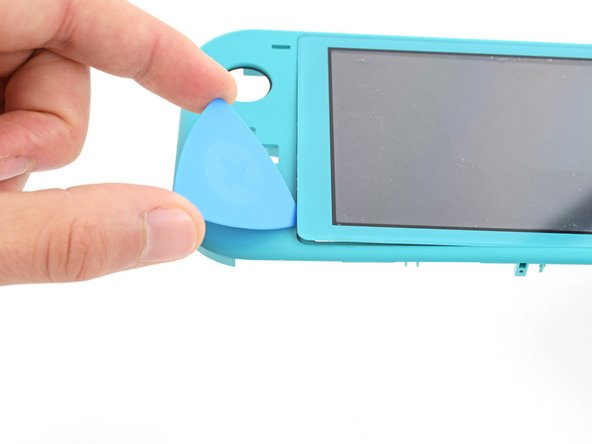
    • Lift the bottom edge of the back panel, opening it like a book.

    • Remove the back panel.

    Спросите у FixBot
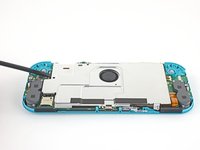
  9. Nintendo Switch Lite Screen Replacement, Remove the shield plate: шаг 9, изображение 1 из 1
    • Use a JIS 000 driver or an official iFixit PH 000 driver to remove the following four screws:

    • Three 3.1 mm screws

    • One 4.5 mm screw

    Спросите у FixBot
  10. Nintendo Switch Lite Screen Replacement: шаг 10, изображение 1 из 3 Nintendo Switch Lite Screen Replacement: шаг 10, изображение 2 из 3 Nintendo Switch Lite Screen Replacement: шаг 10, изображение 3 из 3
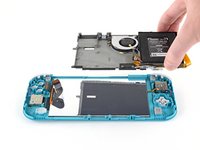
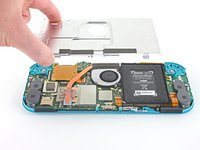
    • Use a spudger or your fingers to lift the shield plate up and out of the device.

    • You may feel a bit of resistance. This is normal, since the shield plate is slightly bonded to the heat sink with thermal paste.

    • Remove the shield plate.

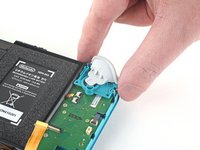
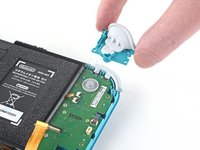
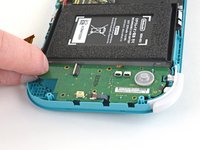
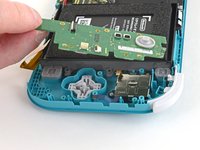
    • Clean off the old thermal paste from the shield plate and heat sink using isopropyl alcohol and a microfiber cloth. Apply new thermal paste to the heat sink before reassembly.

    Спросите у FixBot
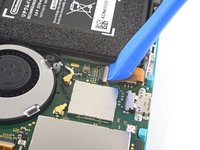
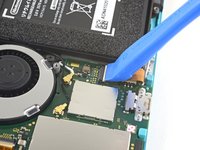
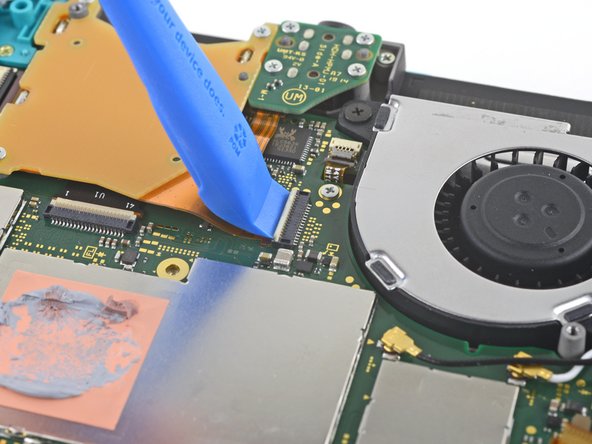
  11. Nintendo Switch Lite Screen Replacement, Disconnect the battery: шаг 11, изображение 1 из 2 Nintendo Switch Lite Screen Replacement, Disconnect the battery: шаг 11, изображение 2 из 2
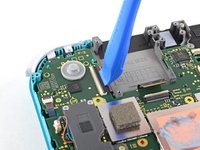
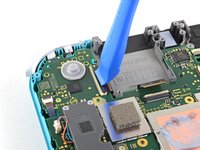
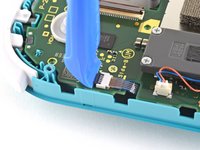
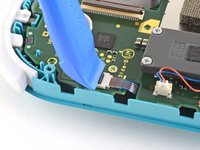
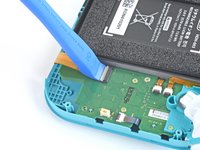
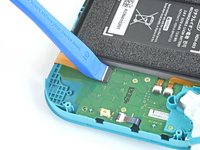
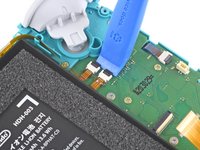
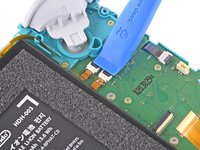
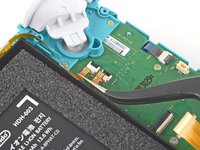
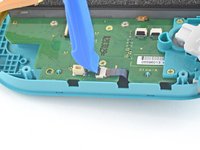
    • Use an opening tool or your fingernail to flip up the small, hinged locking flap on the motherboard interconnect cable's ZIF connector.

    Спросите у FixBot
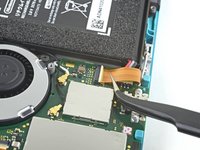
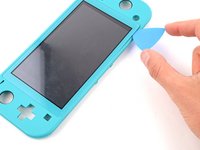
  12. Nintendo Switch Lite Screen Replacement: шаг 12, изображение 1 из 2 Nintendo Switch Lite Screen Replacement: шаг 12, изображение 2 из 2
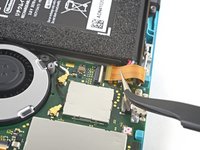
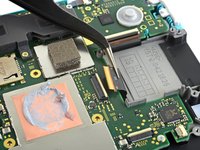
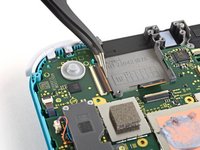
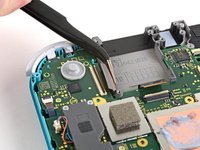
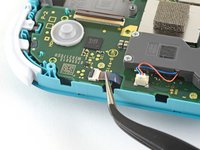
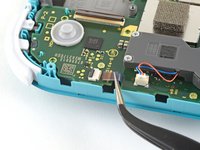
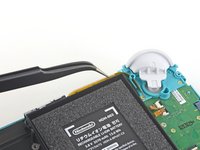
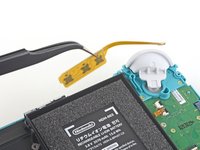
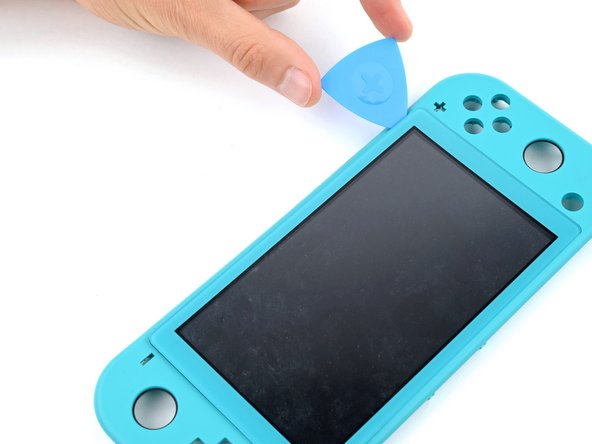
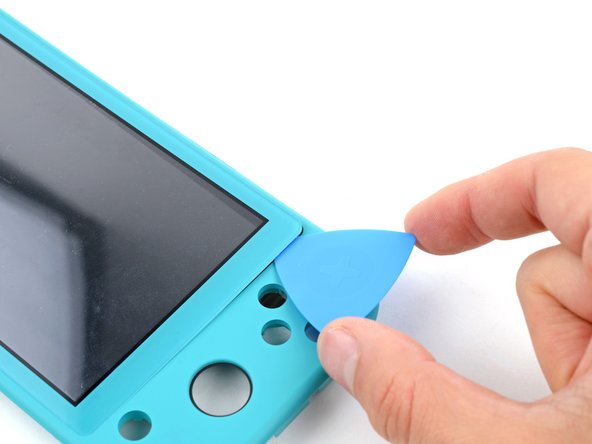
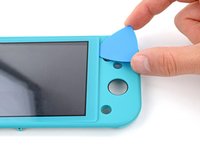
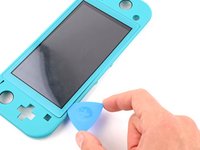
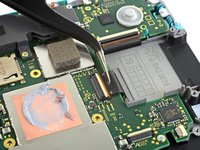
    • Do Not Use Metal Tweezers! Some fixers state that metallic tweezers can short circuit the ribbon cable/connector. It might be safer to just use nylon-tipped or ceramic-tipped tweezers.

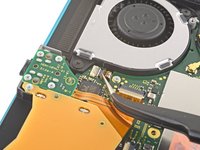
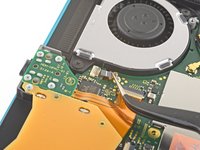
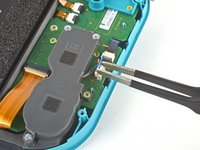
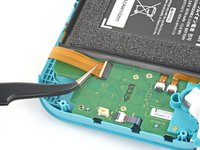
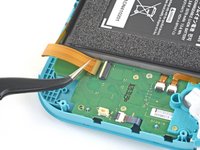
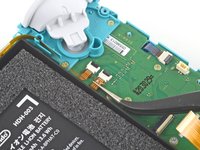
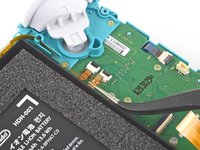
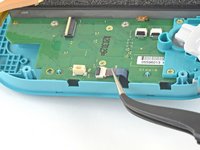
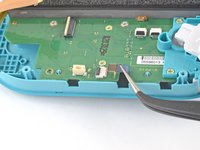
    • Use a pair of tweezers to slide the interconnect cable out of its connector on the motherboard.

    Спросите у FixBot
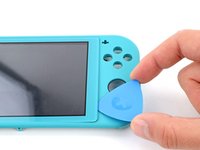
  13. Nintendo Switch Lite Screen Replacement: шаг 13, изображение 1 из 2 Nintendo Switch Lite Screen Replacement: шаг 13, изображение 2 из 2
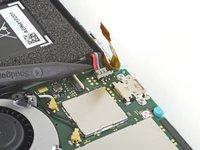
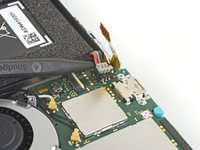
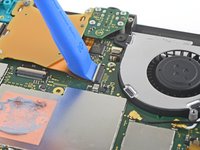
    • Use the point of a spudger to pry the battery connector straight up and out of its socket on the motherboard.

    Спросите у FixBot
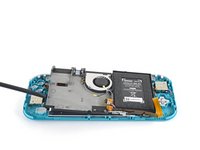
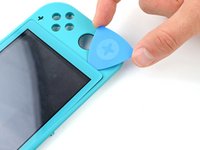
  14. Nintendo Switch Lite Screen Replacement, Remove the heat sink: шаг 14, изображение 1 из 1
    • Use the flat end of a spudger or your fingers to carefully peel up the foam that's lightly adhered to the fan.

    • The foam only needs to be peeled back enough to clear the fan.

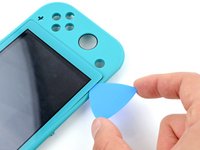
    Спросите у FixBot
  15. Nintendo Switch Lite Screen Replacement: шаг 15, изображение 1 из 1
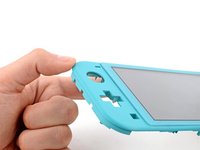
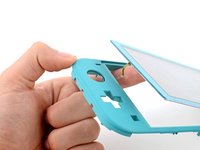
    • Use a JIS 000 driver or an official iFixit PH 000 driver to remove the three 3 mm screws securing the heat sink to the motherboard.

    Спросите у FixBot
  16. Nintendo Switch Lite Screen Replacement: шаг 16, изображение 1 из 3 Nintendo Switch Lite Screen Replacement: шаг 16, изображение 2 из 3 Nintendo Switch Lite Screen Replacement: шаг 16, изображение 3 из 3
    • Use a spudger or your fingers to lift the heatsink up and off of the motherboard to remove it.

    • You may feel a bit of resistance. This is normal, since the heat sink is slightly bonded to the CPU with thermal paste.

    • Clean off the old thermal paste from the heat sink and CPU using isopropyl alcohol and a microfiber cloth. Apply new thermal paste to the CPU before reassembly.

    Спросите у FixBot
  17. Nintendo Switch Lite Screen Replacement, Remove the game card reader and headphone jack: шаг 17, изображение 1 из 2 Nintendo Switch Lite Screen Replacement, Remove the game card reader and headphone jack: шаг 17, изображение 2 из 2
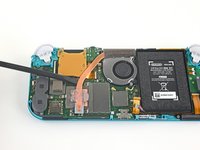
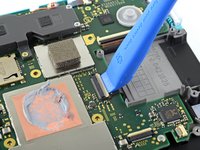
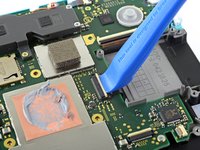
    • Use an opening tool or your fingernail to flip up the small, hinged locking flap on the game card reader cable's ZIF connector.

    Спросите у FixBot
  18. Nintendo Switch Lite Screen Replacement: шаг 18, изображение 1 из 1
    • Use a JIS 000 driver or an official iFixit PH 000 driver to remove the seven 3.1 mm screws securing the game card reader and headphone jack.

    Спросите у FixBot
  19. Nintendo Switch Lite Screen Replacement: шаг 19, изображение 1 из 3 Nintendo Switch Lite Screen Replacement: шаг 19, изображение 2 из 3 Nintendo Switch Lite Screen Replacement: шаг 19, изображение 3 из 3
    Инструмент, используемый на этом этапе:
    Tweezers
    $4.99
    • Use a pair of tweezers or your fingers to carefully lift the game card reader and maneuver it to the left to slide the cable out of its connector.

    • Remove the game card reader and headphone jack.

    Спросите у FixBot
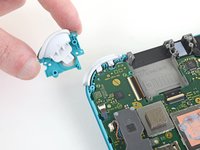
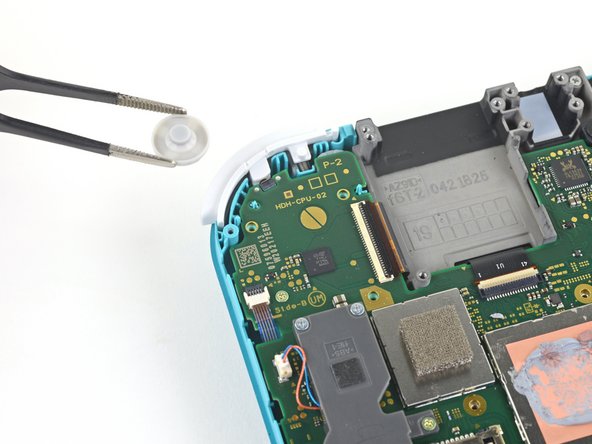
  20. Nintendo Switch Lite Screen Replacement, Remove the right trigger button assembly: шаг 20, изображение 1 из 1
    • Use a JIS 000 driver or an official iFixit PH 000 driver to remove the two 4.5 mm screws securing the right trigger button assembly to the motherboard.

    Спросите у FixBot
  21. Nintendo Switch Lite Screen Replacement: шаг 21, изображение 1 из 2 Nintendo Switch Lite Screen Replacement: шаг 21, изображение 2 из 2
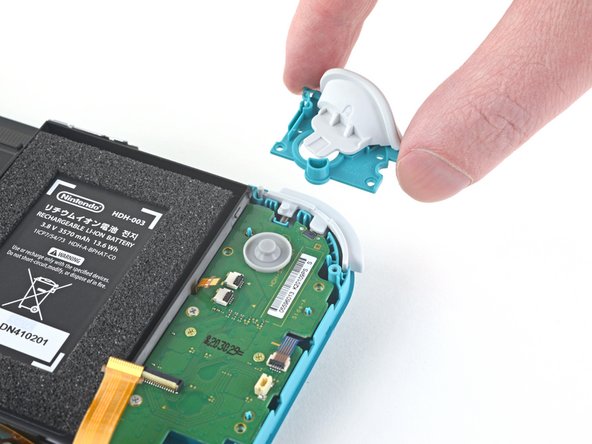
    • Remove the right trigger button assembly.

    Спросите у FixBot
  22. Nintendo Switch Lite Screen Replacement: шаг 22, изображение 1 из 2 Nintendo Switch Lite Screen Replacement: шаг 22, изображение 2 из 2
    Инструмент, используемый на этом этапе:
    Tweezers
    $4.99
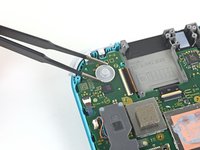
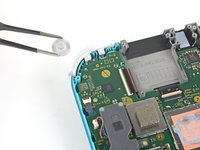
    • Use a pair of tweezers or your fingers to remove the right trigger button assembly's rubber pad if it didn't stay attached to the button assembly.

    Спросите у FixBot
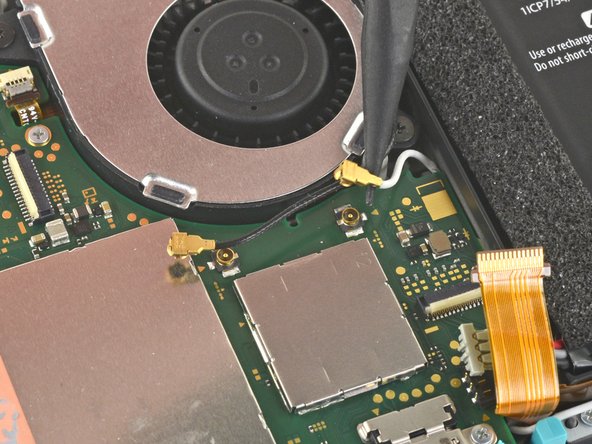
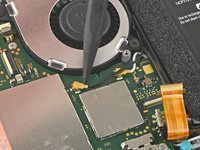
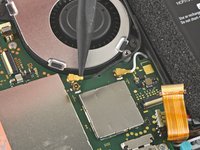
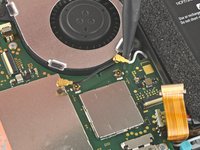
  23. Nintendo Switch Lite Screen Replacement, Disconnect the antenna cables: шаг 23, изображение 1 из 3 Nintendo Switch Lite Screen Replacement, Disconnect the antenna cables: шаг 23, изображение 2 из 3 Nintendo Switch Lite Screen Replacement, Disconnect the antenna cables: шаг 23, изображение 3 из 3
    • Use the point of a spudger to pry the black antenna cable straight up out of its socket on the motherboard.

    • Repeat the same process for the white antenna cable.

    Спросите у FixBot
  24. Nintendo Switch Lite Screen Replacement, Disconnect the fan cable: шаг 24, изображение 1 из 1
    • Use an opening tool or your fingernail to flip up the small, hinged locking flap on the fan cable's ZIF connector.

    Спросите у FixBot
  25. Nintendo Switch Lite Screen Replacement: шаг 25, изображение 1 из 2 Nintendo Switch Lite Screen Replacement: шаг 25, изображение 2 из 2
    • Use a pair of tweezers to slide out the fan cable from its connector on the motherboard.

    Спросите у FixBot
  26. Nintendo Switch Lite Screen Replacement, Disconnect the screen cable: шаг 26, изображение 1 из 2 Nintendo Switch Lite Screen Replacement, Disconnect the screen cable: шаг 26, изображение 2 из 2
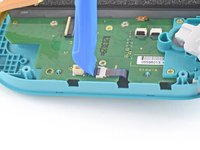
    • Use an opening tool or your fingernail to flip up the small, hinged locking flap on the screen cable's ZIF connector.

    Спросите у FixBot
  27. Nintendo Switch Lite Screen Replacement: шаг 27, изображение 1 из 2 Nintendo Switch Lite Screen Replacement: шаг 27, изображение 2 из 2
    • Use a pair of tweezers to slide the screen cable out of its connector on the motherboard.

    Спросите у FixBot
  28. Nintendo Switch Lite Screen Replacement, Disconnect the digitizer cable: шаг 28, изображение 1 из 2 Nintendo Switch Lite Screen Replacement, Disconnect the digitizer cable: шаг 28, изображение 2 из 2
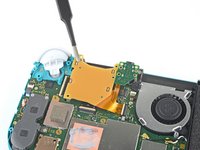
    • Use an opening tool or your fingernail to flip up the small, hinged locking flap on the digitizer cable's ZIF connector.

    Спросите у FixBot
  29. Nintendo Switch Lite Screen Replacement: шаг 29, изображение 1 из 2 Nintendo Switch Lite Screen Replacement: шаг 29, изображение 2 из 2
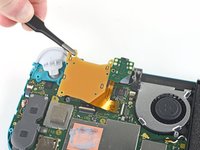
    • Use a pair of tweezers to slide the digitizer cable out of its connector on the motherboard.

    Спросите у FixBot
  30. Nintendo Switch Lite Screen Replacement, Disconnect the right joystick cable: шаг 30, изображение 1 из 2 Nintendo Switch Lite Screen Replacement, Disconnect the right joystick cable: шаг 30, изображение 2 из 2
    • Use an opening tool or your fingernail to flip up the small, hinged locking flap on the right joystick cable's ZIF connector.

    Спросите у FixBot
  31. Nintendo Switch Lite Screen Replacement: шаг 31, изображение 1 из 2 Nintendo Switch Lite Screen Replacement: шаг 31, изображение 2 из 2
    • Use a pair of tweezers to slide the right joystick cable out of its connector on the motherboard.

    Спросите у FixBot
  32. Nintendo Switch Lite Screen Replacement, Remove the motherboard assembly: шаг 32, изображение 1 из 1
    • Use a JIS 000 driver or an official iFixit PH 000 driver to remove the following six screws securing the motherboard:

    • Three 3.1 mm screws

    • Three 4.5 mm screws

    Спросите у FixBot
  33. Nintendo Switch Lite Screen Replacement: шаг 33, изображение 1 из 3 Nintendo Switch Lite Screen Replacement: шаг 33, изображение 2 из 3 Nintendo Switch Lite Screen Replacement: шаг 33, изображение 3 из 3
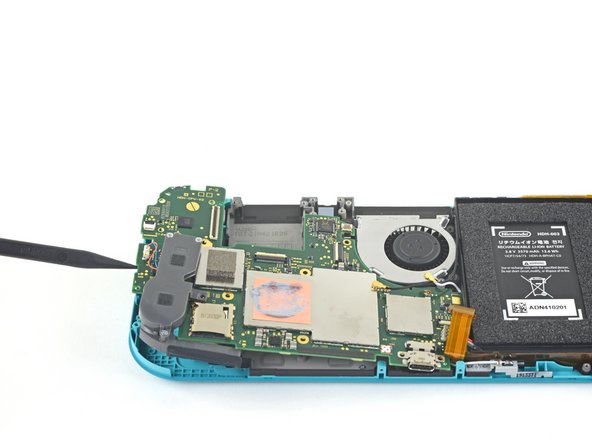
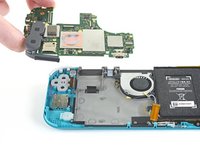
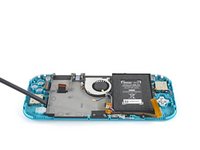
    • Insert a spudger in the gap between the frame and the motherboard and lift the motherboard up and out of its recess.

    • Remove the motherboard assembly.

    Спросите у FixBot
  34. Nintendo Switch Lite Screen Replacement, Remove the right joystick: шаг 34, изображение 1 из 1
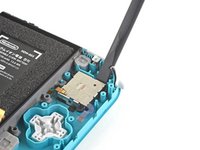
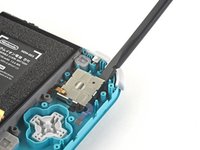
    • Use a JIS 000 driver or an official iFixit PH 000 driver to remove the two 3.5 mm screws securing the joystick.

    Спросите у FixBot
  35. Nintendo Switch Lite Screen Replacement: шаг 35, изображение 1 из 2 Nintendo Switch Lite Screen Replacement: шаг 35, изображение 2 из 2
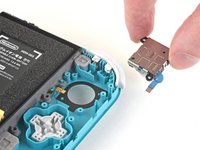
    • Use your fingers to remove the joystick.

    • There is a thin black gasket around the hole where the joystick pokes through the frame. Try not to disturb this gasket as you remove the joystick.

    Спросите у FixBot
  36. Nintendo Switch Lite Screen Replacement, Remove the left speaker module: шаг 36, изображение 1 из 2 Nintendo Switch Lite Screen Replacement, Remove the left speaker module: шаг 36, изображение 2 из 2
    Инструмент, используемый на этом этапе:
    Tweezers
    $4.99
    • Use a pair of tweezers or your fingers to pull the left speaker cable straight up and out of its socket on the daughterboard.

    • Do not pull from the wires, or else you risk ripping the wires off the connector.

    Спросите у FixBot
  37. Nintendo Switch Lite Screen Replacement: шаг 37, изображение 1 из 1
    • Use a JIS 000 driver or an official iFixit PH 000 driver to remove the 4.5 mm screw securing the left speaker module.

    Спросите у FixBot
  38. Nintendo Switch Lite Screen Replacement: шаг 38, изображение 1 из 3 Nintendo Switch Lite Screen Replacement: шаг 38, изображение 2 из 3 Nintendo Switch Lite Screen Replacement: шаг 38, изображение 3 из 3
    • Use your fingers to lift the speaker module up and out of its recess to remove it.

    • Part of the speaker module sits underneath a delicate ribbon cable. Take care not to snag the speaker module on the cable as you remove it.

    Спросите у FixBot
  39. Nintendo Switch Lite Screen Replacement, Disconnect the motherboard interconnect cable: шаг 39, изображение 1 из 2 Nintendo Switch Lite Screen Replacement, Disconnect the motherboard interconnect cable: шаг 39, изображение 2 из 2
    • Use an opening tool or your fingernail to flip up the small, hinged locking flap on the motherboard interconnect cable's ZIF connector.

    Спросите у FixBot
  40. Nintendo Switch Lite Screen Replacement: шаг 40, изображение 1 из 2 Nintendo Switch Lite Screen Replacement: шаг 40, изображение 2 из 2
    • Use a pair of tweezers to slide the motherboard interconnect cable out of its connector on the daughterboard.

    Спросите у FixBot
  41. Nintendo Switch Lite Screen Replacement, Disconnect the screen and volume button cables: шаг 41, изображение 1 из 2 Nintendo Switch Lite Screen Replacement, Disconnect the screen and volume button cables: шаг 41, изображение 2 из 2
    • Use an opening tool or your fingernail to flip up the small, hinged locking flaps on the two ribbon cable ZIF connectors.

    Спросите у FixBot
  42. Nintendo Switch Lite Screen Replacement: шаг 42, изображение 1 из 3 Nintendo Switch Lite Screen Replacement: шаг 42, изображение 2 из 3 Nintendo Switch Lite Screen Replacement: шаг 42, изображение 3 из 3
    • Use a pair of tweezers to slide the daughterboard screen cable out of its connector on the motherboard.

    • Repeat this procedure for the volume buttons cable.

    Спросите у FixBot
  43. Nintendo Switch Lite Screen Replacement, Remove the volume buttons: шаг 43, изображение 1 из 2 Nintendo Switch Lite Screen Replacement, Remove the volume buttons: шаг 43, изображение 2 из 2
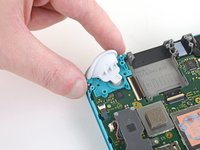
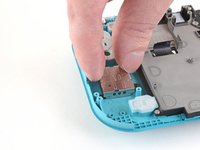
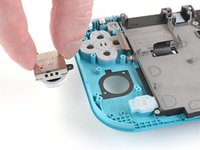
    • Use a pair of tweezers or your fingers to remove the volume buttons.

    Спросите у FixBot
  44. Nintendo Switch Lite Screen Replacement, Disconnect the joystick cable: шаг 44, изображение 1 из 2 Nintendo Switch Lite Screen Replacement, Disconnect the joystick cable: шаг 44, изображение 2 из 2
    • Use an opening tool or your fingernail to flip up the small, hinged locking flap on the left joystick cable's ZIF connector.

    Спросите у FixBot
  45. Nintendo Switch Lite Screen Replacement: шаг 45, изображение 1 из 2 Nintendo Switch Lite Screen Replacement: шаг 45, изображение 2 из 2
    • Use a pair of tweezers to slide the left joystick cable out of its connector on the daughterboard.

    Спросите у FixBot
  46. Nintendo Switch Lite Screen Replacement, Remove the left trigger button assembly: шаг 46, изображение 1 из 1
    • Use a JIS 000 driver or an official iFixit PH 000 driver to remove the two 4.5 mm screws securing the left trigger button assembly.

    Спросите у FixBot
  47. Nintendo Switch Lite Screen Replacement: шаг 47, изображение 1 из 2 Nintendo Switch Lite Screen Replacement: шаг 47, изображение 2 из 2
    • Remove the left trigger button assembly.

    Спросите у FixBot
  48. Nintendo Switch Lite Screen Replacement, Remove the daughterboard: шаг 48, изображение 1 из 1
    • Use a JIS 000 driver or an official iFixit PH 000 driver to remove the following four screws:

    • Two 4.5 mm screws

    • Two 6 mm screws

    Спросите у FixBot
  49. Nintendo Switch Lite Screen Replacement: шаг 49, изображение 1 из 2 Nintendo Switch Lite Screen Replacement: шаг 49, изображение 2 из 2
    • Use your fingers to lift the daughterboard up and out of its recess to remove it.

    Спросите у FixBot
  50. Nintendo Switch Lite Screen Replacement, Remove the left joystick: шаг 50, изображение 1 из 1
    • Use a JIS 000 driver or an official iFixit PH 000 driver to remove the two 3.5 mm screws securing the left joystick.

    Спросите у FixBot
  51. Nintendo Switch Lite Screen Replacement: шаг 51, изображение 1 из 3 Nintendo Switch Lite Screen Replacement: шаг 51, изображение 2 из 3 Nintendo Switch Lite Screen Replacement: шаг 51, изображение 3 из 3
    • Use the flat end of a spudger to lift the joystick up and out of its recess.

    • Use your fingers to remove the joystick.

    • There is a thin black gasket around the hole where the joystick pokes through the frame. Try not to disturb this gasket as you remove the joystick.

    Спросите у FixBot
  52. Nintendo Switch Lite Screen Replacement, Unfasten the midframe assembly: шаг 52, изображение 1 из 1
    • Use a JIS 000 driver or an official iFixit PH000 driver to remove the four screws securing the midframe assembly:

    • Three 2.5 mm screws

    • One 6 mm screw

    Спросите у FixBot
  53. Nintendo Switch Lite Screen Replacement, Remove the midframe assembly: шаг 53, изображение 1 из 3 Nintendo Switch Lite Screen Replacement, Remove the midframe assembly: шаг 53, изображение 2 из 3 Nintendo Switch Lite Screen Replacement, Remove the midframe assembly: шаг 53, изображение 3 из 3
    • Use a spudger to pry the midframe assembly up until you can grip it with your fingers.

    • Grip the midframe assembly and pull up to remove it.

    Спросите у FixBot
  54. Nintendo Switch Lite Screen Replacement, Remove the remaining buttons: шаг 54, изображение 1 из 2 Nintendo Switch Lite Screen Replacement, Remove the remaining buttons: шаг 54, изображение 2 из 2
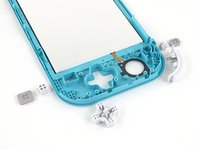
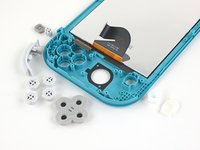
    • Remove any remaining buttons that are loose in the frame.

    Спросите у FixBot
  55. Nintendo Switch Lite Screen Replacement, Heat the left edge: шаг 55, изображение 1 из 1
    • Flip the frame over so the screen is facing up.

    • Heat an iOpener and apply it to the left edge of the screen for two minutes.

    • Alternatively, you can use a hair dryer on the Low heat setting.

    • If you're using a hair dryer, only heat the screen a few seconds at a time or you may warp the plastic shell.

    Спросите у FixBot
  56. Nintendo Switch Lite Screen Replacement, Insert an opening pick: шаг 56, изображение 1 из 3 Nintendo Switch Lite Screen Replacement, Insert an opening pick: шаг 56, изображение 2 из 3 Nintendo Switch Lite Screen Replacement, Insert an opening pick: шаг 56, изображение 3 из 3
    • Lightly bend the left side of the frame away from the screen to create a gap in the bottom left corner.

    • If you're having difficulty creating a gap, reapply a heated iOpener for two minutes and try again.

    • Insert an opening pick in the gap.

    • Don't insert your pick more than 3 mm to avoid damaging the screen.

    Спросите у FixBot
  57. Nintendo Switch Lite Screen Replacement, Slice the left adhesive: шаг 57, изображение 1 из 2 Nintendo Switch Lite Screen Replacement, Slice the left adhesive: шаг 57, изображение 2 из 2
    • Throughout this repair, don't insert your pick more than 3 mm to avoid damaging the screen.

    • Slide the opening pick along the left edge.

    • Leave the pick inserted in the top left corner to prevent the adhesive from resealing.

    Спросите у FixBot
  58. Nintendo Switch Lite Screen Replacement, Heat the top edge: шаг 58, изображение 1 из 1
    • Apply a heated iOpener to the top edge of the screen for two minutes.

    • You can also use a hair dryer, but remember not to heat the screen more than a few seconds at a time.

    Спросите у FixBot
  59. Nintendo Switch Lite Screen Replacement, Slice the top adhesive: шаг 59, изображение 1 из 2 Nintendo Switch Lite Screen Replacement, Slice the top adhesive: шаг 59, изображение 2 из 2
    • Rotate the opening pick around the top left corner.

    Спросите у FixBot
  60. Nintendo Switch Lite Screen Replacement: шаг 60, изображение 1 из 2 Nintendo Switch Lite Screen Replacement: шаг 60, изображение 2 из 2
    • Slide the opening pick along the top edge.

    • Leave the opening pick inserted in the top right corner.

    Спросите у FixBot
  61. Nintendo Switch Lite Screen Replacement, Heat the right edge: шаг 61, изображение 1 из 1
    • Apply a heated iOpener to the right edge of the screen for two minutes.

    • You can also use a hair dryer, but remember not to heat the screen more than a few seconds at a time.

    Спросите у FixBot
  62. Nintendo Switch Lite Screen Replacement, Slice the right adhesive: шаг 62, изображение 1 из 2 Nintendo Switch Lite Screen Replacement, Slice the right adhesive: шаг 62, изображение 2 из 2
    • Rotate the opening pick around the top right corner.

    Спросите у FixBot
  63. Nintendo Switch Lite Screen Replacement: шаг 63, изображение 1 из 2 Nintendo Switch Lite Screen Replacement: шаг 63, изображение 2 из 2
    • Slide the opening pick along the right edge.

    • Leave the opening pick inserted in the bottom right corner.

    Спросите у FixBot
  64. Nintendo Switch Lite Screen Replacement, Heat the bottom edge: шаг 64, изображение 1 из 1
    • Apply a heated iOpener to the bottom edge of the screen for two minutes.

    • You can also use a hair dryer, but remember not to heat the screen more than a few seconds at a time.

    Спросите у FixBot
  65. Nintendo Switch Lite Screen Replacement, Slice the bottom adhesive: шаг 65, изображение 1 из 2 Nintendo Switch Lite Screen Replacement, Slice the bottom adhesive: шаг 65, изображение 2 из 2
    • Rotate the opening pick around the bottom right corner.

    Спросите у FixBot
  66. Nintendo Switch Lite Screen Replacement: шаг 66, изображение 1 из 2 Nintendo Switch Lite Screen Replacement: шаг 66, изображение 2 из 2
    • Slide the opening pick along the bottom edge.

    Спросите у FixBot
  67. Nintendo Switch Lite Screen Replacement, Separate the adhesive: шаг 67, изображение 1 из 2 Nintendo Switch Lite Screen Replacement, Separate the adhesive: шаг 67, изображение 2 из 2
    • Grip the frame and push up on the underside of the screen's left edge to separate the adhesive securing it.

    Спросите у FixBot
  68. Nintendo Switch Lite Screen Replacement, Remove the screen: шаг 68, изображение 1 из 3 Nintendo Switch Lite Screen Replacement, Remove the screen: шаг 68, изображение 2 из 3 Nintendo Switch Lite Screen Replacement, Remove the screen: шаг 68, изображение 3 из 3
    • The digitizer cables prevent the screen from being lifted straight up from the frame.

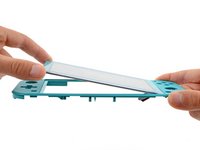
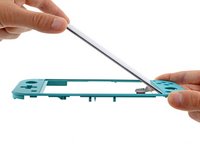
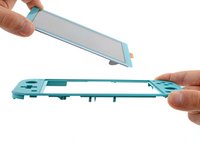
    • Lift the left side of the screen to a 45-degree angle and remove it.

    • If the screen is still stuck to the frame, slide an opening pick around the perimeter and try again.

    • During reassembly, follow this guide to replace the screen adhesive.

    Спросите у FixBot
Заключение

Compare your new replacement part to the original part—you may need to transfer remaining components or remove adhesive backings from the new part before you install it.

To reassemble your device, follow these instructions in reverse order.

Take your e-waste to an R2 or e-Stewards certified recycler.

Repair didn’t go as planned? Try some basic troubleshooting, or ask our Nintendo Switch Lite Answers community for help.

29 человек успешно провели ремонт по этому руководству.

Spencer Day

Участник с: 09/14/22

187 978 Репутация

Автор 1 187 руководств

Команда

iFixit Участник iFixit

Staff

123 членов

Автор 25 713 руководств

2 Комментарии к руководству

Thanks for your guide - it was very helpful, first time I took screen off without breaking it off :). I also bought the iFixit kit with the heat pad. I can now see that the trick was not so much a lot of heat, but heat evenly along the whole side
Angelo Felix - Ответить Поделиться
omg you are a lifesaver thank you so much

Adien Richards - Ответить Поделиться
Добавить комментарий

Статистика просмотров:

За последние 24 часов: 48

За последние 7 дней: 430

За последние 30 дней: 2,199

За всё время: 66,473