
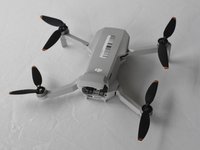
DJI Mini 2 Drone Arms Replacement

Введение
Перейти к шагу 1This guide will show you how to successfully replace an arm on the DJI Mini 2 drone, this will allow a drone with body damage to be repaired and fly again.
The drone arm stores the wires that connect the motors attached to the propellers and motors themselves. Damage to the drone arms can cause the drone have an unstable flight or ground the drone.
This guide requires the use of ESD-safe tools and a Soldering Kit. If you are new to soldering here is a guide to help you with this process.
Выберете то, что вам нужно


-
-
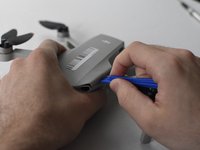
Face the DJI Mini 2 away from you so that you are looking at the charging ports.
-
Use your finger to open up the back panel.
-
-
-
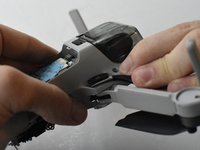
Pinch the locking mechanism on the battery to release the lock.
-
Pull the battery straight out of the compartment.
-
-
-
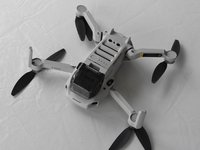
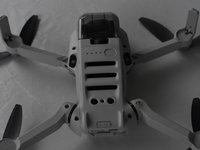
Unfold the wings of the drone.
-
Place the drone upside down on a flat surface.
-
-
-
Flip the drone back over.
-
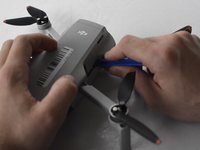
Use a combination of the opening tool and your fingers to pry open the top panel of the drone along the seams.
-
-
-
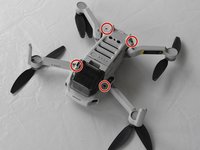
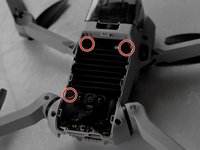
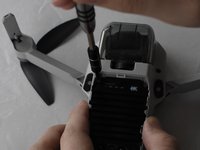
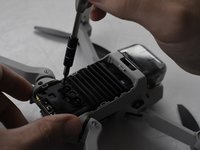
Remove the two 5 mm J000 screws located in the battery hatch and near the ports on the back of the drone.
-
-
-
Flip the drone over again.
-
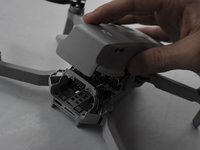
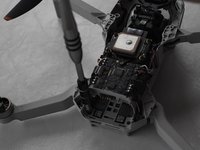
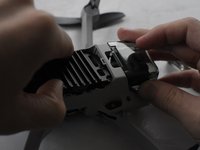
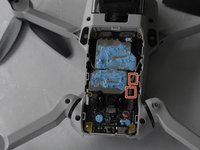
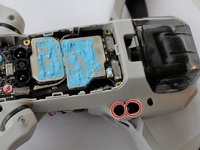
Pry off the bottom panel of the drone using the opening tools and your fingers.
-
-
Инструмент, используемый на этом этапе:Tweezers$4.99
-
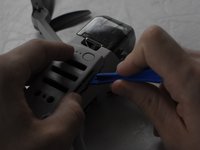
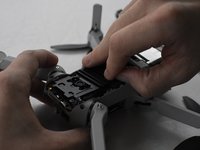
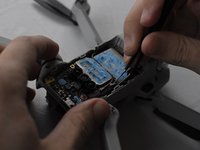
Using ESD Safe Tweezers Blunt Nose, remove the two gray coaxial cables attached to the main board.
-
-
-
Using the ESD Safe Blunt Nose Tweezers, pull the two gray wires through the drone chassis to the other side.
-
-
-
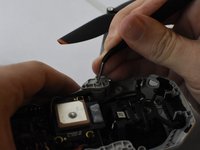
Flip the drone over so that it is right-side up. Then, use a soldering kit to remove the black, red, and white cables from the motherboard.
-
-
-
Turn the drone back over so that it is right-side up.
-
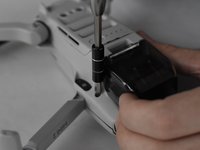
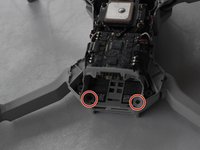
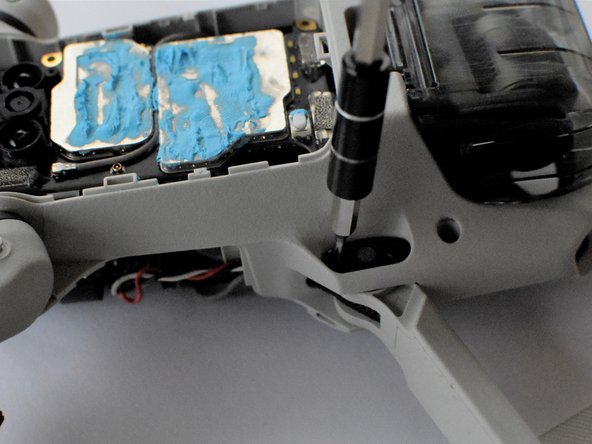
Remove the two 3.5mm J000 screws from the drone arm being replaced.
-
-
-
Flip the drone back over and use the tweezers to apply pressure to the pin of the drone arm.
-
Turn the drone back over again and use the tweezers to pull out the drone arm pin.
-


To reassemble your device, follow these instructions in reverse order.
To reassemble your device, follow these instructions in reverse order.
Отменить: Я не выполнил это руководство.
5 человек успешно провели ремонт по этому руководству.

Команду

UMass Dartmouth, Team F-1, Gurgel Spring 2022 Участник UMass Dartmouth, Team F-1, Gurgel Spring 2022
UMASSD-GURGEL-S22SFG1
2 членов
Автор 15 руководств
2 Комментариев
complete and comprehensive guide, Easy to follow.
Only two small points of critique,
On step 5 It says "Use a combination of the opening tool and your fingers to pry open the top panel of the drone along the seams."
This seemed almost impossible to do withcout damaging the plastic.
I then found a youtube video that showcased that you can unclip a few lips inside the drone, this made the cover come off much easyer.
The video also showed an easyer whay to put the pint removed in step 14 back in.
Apart form these two tips, the guide is practically perfect
The video is by: J T
Thanks that was just want i needed.