
Apple Watch Series 4 Screen Replacement
Введение
Перейти к шагу 1Use this guide to replace a broken, cracked, or defective display on your Apple Watch Series 4.
Make sure to update your Apple Watch to watchOS 5 or later (and the paired iPhone to iOS 12 or later) to avoid pairing issues after a display replacement.
Replacing the display can cause issues with Apple Pay. If possible, to reduce the likelihood of problems, delete all your Apple Pay account info before the replacement, and then re-enter it with the new display installed.
This guide shows the procedure on the standard, GPS-only version of the watch, but the cellular/LTE version is similar.
Выберете то, что вам нужно
Запчасти
Инструменты
Показать больше…
-
-
Before starting repairs, take your watch off the charger and power it down.
-
If your touchscreen is broken and prevents powering off the watch, use this alternate method to power it down.
-
-
Инструмент, используемый на этом этапе:Safety Glasses$3.19
-
Because the gap between the screen and watch body is so thin, a sharp blade is needed to separate the two. Read the following warnings carefully before proceeding.
-
-
-
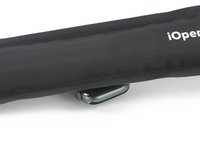
Prepare an iOpener (or use a hair dryer or heat gun) and heat the face of the watch to loosen the display adhesive.
-
Leave the iOpener on the watch for at least two minutes to fully heat the screen and soften the adhesive holding it to the case.
-
-
-
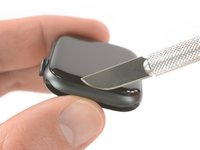
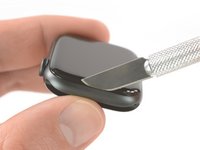
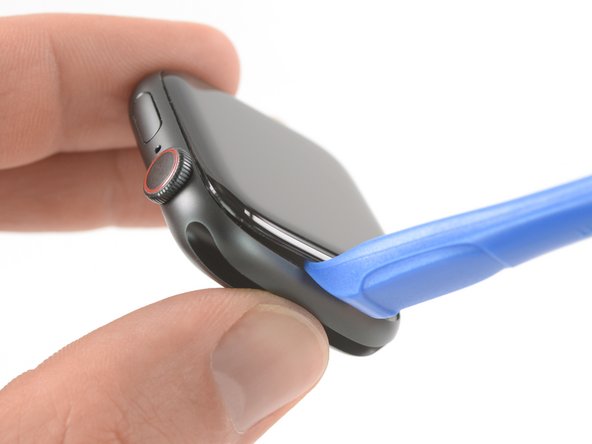
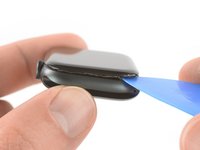
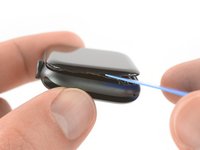
Place the edge of a curved blade into the thin gap between the display and the outer case. Start at the short side of the display, closest to the digital crown.
-
Press firmly straight down into the gap.
-
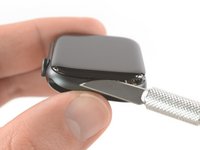
Once inserted, tilt the blade to pry the display open slightly.
This part is REALLY hard! Even after using the iOpener to warm the watch I had to use A LOT of force to get the blade in between the glass and the case. Be very careful when prying the display. I applied way too much force and my blade shot into the case under the display. I don’t think I damaged anything, but I did replace the force touch gasket to be sure.
I have a stainless steel case, not sure if that makes a difference, and was unable to do this without breaking the screen. Be very careful. Followed instructions but could not get the screen to release no matter how hot I got the watch.
I am moderately experienced at opening Apple devices having replaced batteries in several iPhones, iPods, and an iPad. I could not get the watch open with the x-acto knife blade as shown. I found other sites showed using a 0.1mm thick tool. I bought one and found it relatively easy to open the watch. It has the advantage of going in horizontal rather than vertical so it went between the glass and the force sense gasket. Force sense gasket wasn't disturbed at all. iFixit should add this type of tool to their offering.
-
-
-
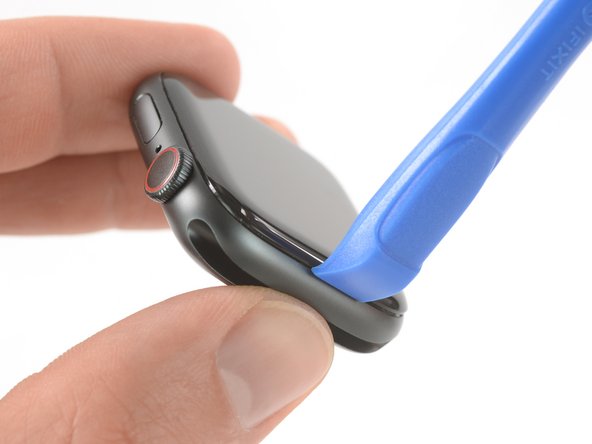
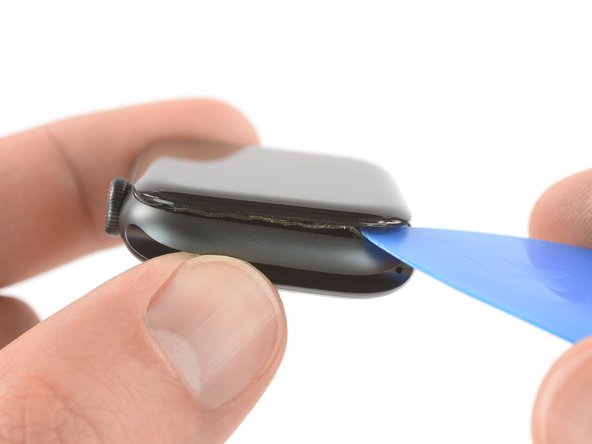
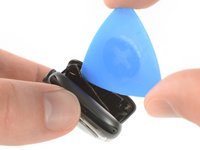
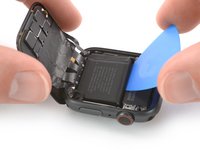
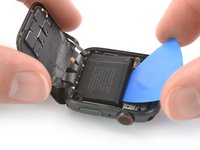
Once you've opened a small gap with the curved blade, remove the blade and insert the thinner edge of an opening tool into the gap.
-
Push the opening tool into the gap, using your thumb as a pivot to lift the display open a bit farther.
-
-
-
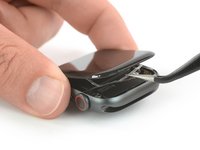
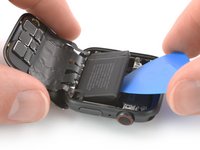
It's likely that the Force Touch sensor will stick to the display frame instead to the watch's body. In this case, insert an opening pick under the display and carefully separate the Force Touch gasket from the display.
-
Slide the pick around the display to separate the adhesive between the Force Touch gasket and the display.
This impossible for me. I just left the force touch gasket attached to the display side. I was able to bend the display back with the gasket still in place.
See first the instructions for replacing the force touch gasket to familiarize yourself with parts that need separating. These instructions will seem unclear if you don't know what the force touch gasket looks like.
-
-
Инструмент, используемый на этом этапе:Tweezers$4.99
-
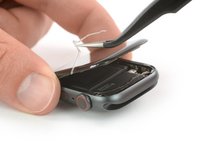
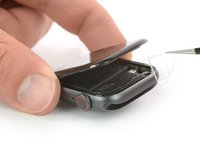
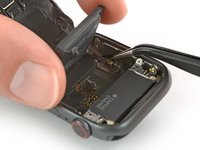
Open the display at max. to an 45° angle, and use tweezers to peel off the adhesive between the display and the Force Touch gasket.
-
Thread the adhesive around and behind the display cables to get it off completely. Since the adhesive needs to be replaced anyway, you can cut it if that makes removal easier for you.
-
-
-
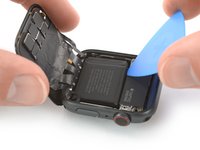
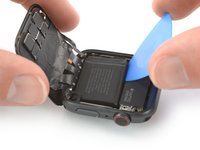
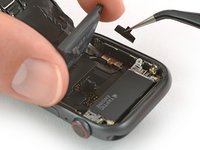
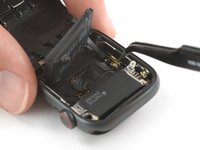
Carefully fold the screen to the back until you get enough space to pry out the battery.
-
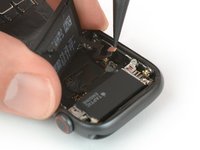
Insert an opening pick between the battery and the Taptic Engine.
If you are just replacing the screen then there is no need to remove battery.
When removing the screen I tore the two outer cables attached to the lcd screen. What are their purpose? I read somewhere they are just some sort of shield. Will my watch function normally without them?
thanks
-
-
-
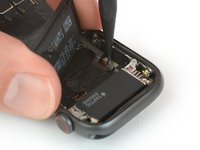
Slide the opening pick along the edge of the battery to loosen the adhesive.
-
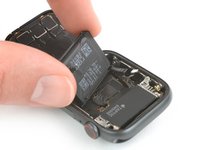
Use constant, steady pressure to slowly pry the battery up, separating it from the adhesive securing it to the system board.
-
-
Инструмент, используемый на этом этапе:Tweezers$4.99
-
Carefully lift the battery and bring it in a 75° angle.
-
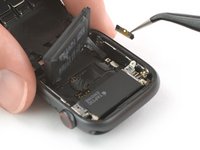
Use a pair of tweezers to peel the black sticker off the metal plate which covers the battery connector.
-
-
-
Use a pair of tweezers to remove the metal plate which covers the battery connector.
-
-
-
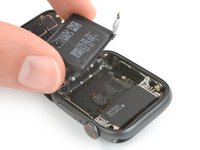
Use the pointed end of a spudger to pry up and disconnect the battery flex cable.
-
-
Инструмент, используемый на этом этапе:Tesa 61395 Tape$5.99
-
Remove the battery.
When installing the new battery be aware that the sidewall of the watch directly above the contacts and cover screw hole is magnetized. This was shock to me and a little frustrating. Every time I attempted to place the cover with a tweezers it was pulled toward the sidewall. I pushed the plate in place with a spudger, then attached the screw to the tip of the screwdriver. I was then able to insert the screw with minimal disturbance to cover plate.
-
-
-
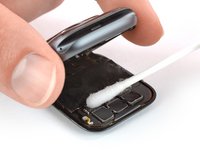
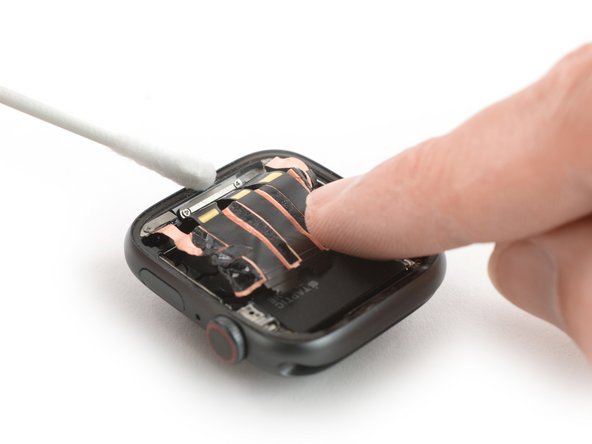
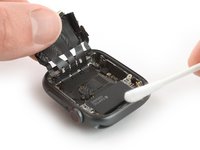
Apply a little bit of high isopropyl alcohol (>99%) to a Q-tip and apply it to the black adhesive foil. Let it penetrate the adhesive for about two minutes.
-
Alternatively you can place an a heated iOpener on top of the screen to loosen the adhesive. Apply the iOpener at least for two minutes.
-
-
Инструмент, используемый на этом этапе:Tweezers$4.99
-
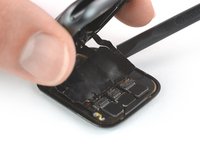
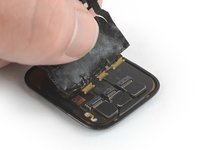
Use a pair of tweezers to carefully peel off the tape covering the three display cable connectors.
-
-
-
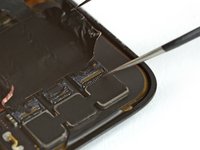
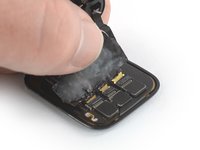
Use one arm of a pair of tweezers to carfully open the three ZIF connectors on the rear side of the screen.
-
-
-
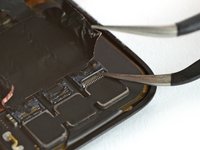
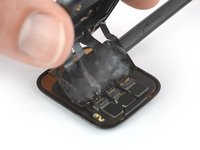
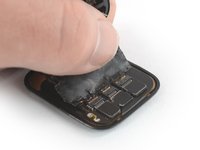
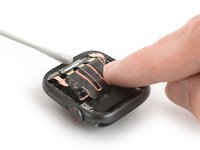
Use a pair of blunt nose tweezers to peel up the sides of the black foil which adheres the cable to the rear side of the screen.
Be very careful not to damage the copper-colored ribbon cables at either end of the display flex cable. I found it impossible to remove the black foil without tearing these ribbons, and as my repair was ultimately unsuccessful, I have no doubt that this mistake was the cause of my failure. I wish this step had emphasized how difficult removing the foil could be. If you make the same mistake as I did, it will require advanced soldering to replace the display flex cable. That's a bridge too far for me with a 5+ year old watch, so it's off to the trash bin for it. Shame...
-
-
-
Lift the body of the watch up and carefully slide a spudger underneath the display flex cable to loosen remaining adhesive.
-
-
-
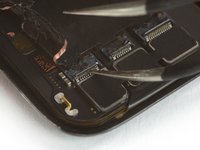
Carefully pull the display flex cables out of their ZIF connectors.
-
Separate the watch assembly and the screen.
-
-
Инструмент, используемый на этом этапе:Adhesive Cleanup Kit (Set of 12)$7.99
-
Apply a little bit of high isopropyl alcohol (>99%) to a Q-tip or use a cleaning pad to gently remove the leftover adhesive on top of the Force Touch gasket.
-
-
Инструмент, используемый на этом этапе:Tweezers$4.99
-
Use a pair of tweezers to carefully remove the replacement adhesive with the blue protective film from the backing paper.
-
-
-
Hold the replacement adhesive diagonally to thread it over the display cable.
-
Position the replacement adhesive on top of the Force Touch gasket.
-
-
-
Use the pointed end of a spudger to make final position adjustments and press the adhesive into place.
Don’t remove the blue protective film until you’ve got the screen connected to the ribbon cables. You’ll almost guaranteed to need a third hand to get the ribbon cable back in. Don’t forget to flip up the connector locks on the case side and flip them back down after inserting the cable.
-
To reassemble your Apple Watch Series 4 follow these instructions in reverse order to reattach the screen and the battery.
Take your e-waste to an R2 or e-Stewards certified recycler.
Repair didn’t go as planned? Check out our Answers community for troubleshooting help.
To reassemble your Apple Watch Series 4 follow these instructions in reverse order to reattach the screen and the battery.
Take your e-waste to an R2 or e-Stewards certified recycler.
Repair didn’t go as planned? Check out our Answers community for troubleshooting help.
Отменить: Я не выполнил это руководство.
34 человек успешно провели ремонт по этому руководству.
17 Комментариев
Can you tell me what the black adhesive tape with flex ends that covers the flex ribbons is used for and can it be replaced ?
That is for shielding and grounding purposes. If you get a spare you can of course replace it. But be careful not to damage the display cables.
Sheila, this you can purchase on Aliexpress. i tried to get it elsewhere, seems noone else stocks it. cost approx $10. i found it here: https://www.aliexpress.com/item/10050019...
I have replaced an original screen from another apple watch and everything seems to have gone well. But when I try to pair with the iphone it doesn't succeed. Is it because I didn't put the NFC chip from the original apple watch? What can be?.
It is an apple watch series 4 44 mm + cellular.
Thank you very much.
Do you have to replace the black flex ribbons when preparing the apple watch or can you leave them out?
Very difficult repair, indeed. Be very careful about the side wires, they can be very easily be cut when opening the screen. I just hope having a contact supper to supper will be enough… Response in some hours.
This tutorial could be completed with an advice about how to bring the screen wires back to their connectors. That was the most difficult part for me. I was afraid to cut or destroy them.
Concerning the parts, I found the adhesive ring very thick compare to the adhesive I had to remove. What I had as parts did not correspond to what was shown in the repair tutorial. The watch is getting pressed now so I can’t judge if the adhesive is ok or too thick.
It was also very difficult to separate to only get the ring.
Anyway, thanks for this tutorial. Without it, impossible to repair the first time.
Sorry for replying after such a long time: I have cut the smaller side wires (both, I'm very proud of myself ;) ), did you have any problems using the watch with such wires cut? It seems very difficult to find replacement parts for such components.
Replaced screen and testing before closing everything back up. Screen comes on, but it doesn’t respond to touch. Is this due to a cable not connecting properly, or is this a bad screen? Comes on and looks great, but not touch responsive. -dw
Hi Andrew, yes, there might be a cable not sitting correctly in its connector. Those tiny cables are hard to handle and need to be inserted all the way in their connectors. Hopefully that solves the issue.
Quick question: the two wire cables at the sides of the black foil (Step 18) are of any use? I have broken mine (both) while opening the watch, and I am wondering if I have to throw everything in the garbage (I was replacing the battery) or I can still use the watch after battery replacement (I have to order the battery yet)
Pareil les 3 connecteurs impeccable mais un des deux stickers aux extrémités s'est cassé ... Est-ce pour cela que ma montre ne s'allume pas ?
Bonjour, j'ai respecté toutes les étapes une par une ... Et rien ne se passe dans ma montre ... Montre non utilisée pendant plus d'un an du coup j'ai choisi de changer la batterie ... Rien de plus ... La montre "chauffe" donc la charge semble fonctionner mais l'écran est noir et aucun éclair ou autre a l'écran ^^
Are there any news on Apple Pay function after replacing the screen? As I can remember at some time there was a disclaimer at this guide that there is currently no easy fix to get NFC and Apple Pay working after replacement. I thought if only changing the screen it's 100% not working but now it sounds like it could succeed or not. Is that right?
We haven’t tested it recently. So all we can say is in the introduction:
"Replacing the display can cause issues with Apple Pay. If possible, to reduce the likelihood of problems, delete all your Apple Pay account info before the replacement, and then re-enter it with the new display installed."
Oh boy I'm not exited for this repair... Hopefully it goes well...
























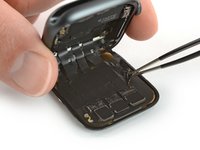
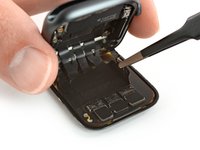
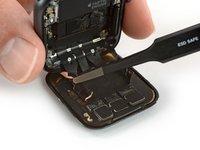


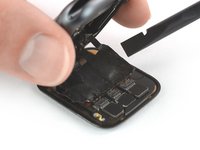





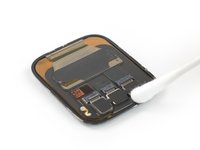


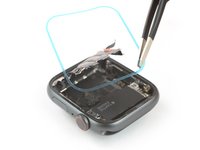
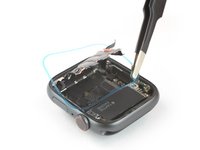
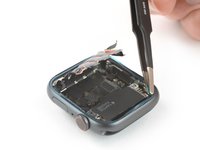


Hi. I changed the screen on an apple watch series 4, now the screen works, whcih is great, but when I charge it, the green snake comes on but never charges. It heats up the bottom, gets very warm. Could it be the battery itself? Maybe needs a new one? Is rthere anything else that woudl be causing the battery to not charge and or heat up on the bottom when chaging the screen?
Derrick Brewer - Ответить