
Samsung Galaxy S24 Ultra Battery Replacement

Введение
Перейти к шагу 1Follow this guide to replace a dead or worn-out battery in your Samsung Galaxy S24 Ultra.
This guide is for the battery only. If you're replacing the screen and battery assembly (the frame, screen, and battery as one piece), follow this guide instead.
Выберете то, что вам нужно
Запчасти

Инструменты


Показать больше…
-
-
Unplug any cables from your phone.
-
Hold the side key and the volume down button, then select "Power off" to turn off your phone.
-
-
-
Heat an iOpener and apply it to the right edge of the back cover for two minutes.
-
-
-
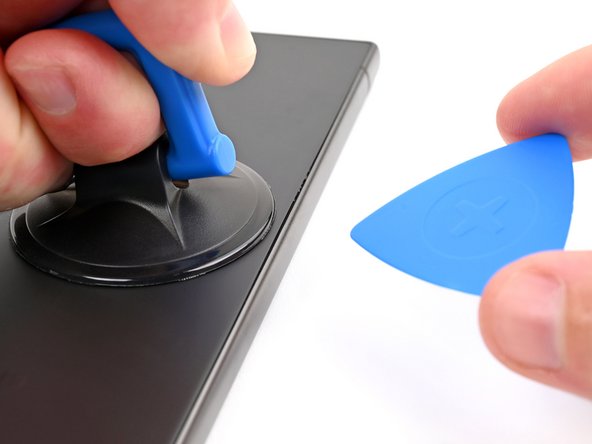
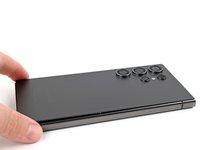
Apply a suction handle to the back cover, as close to the center of the right edge as possible.
-
Pull up on the suction handle with strong, steady force to create a gap between the cover and the frame.
-
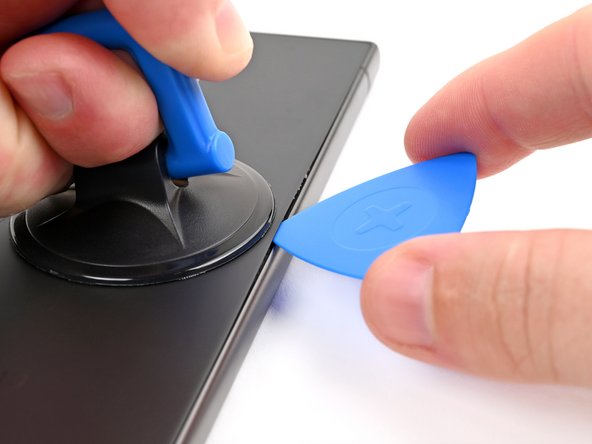
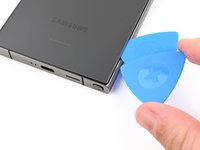
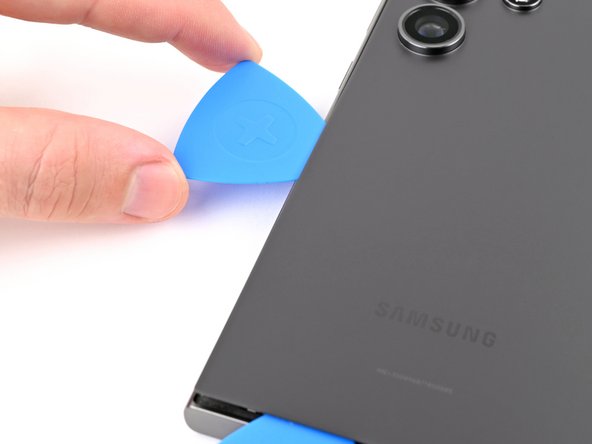
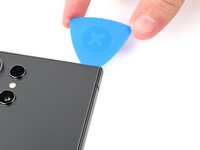
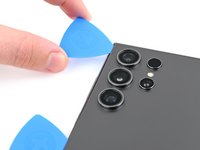
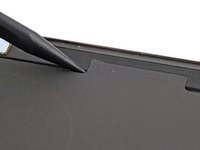
Insert an opening pick into the gap.
-
-
-
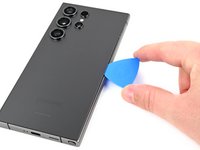
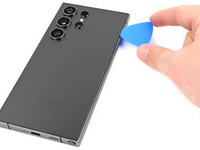
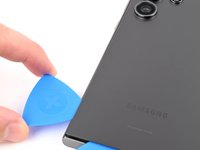
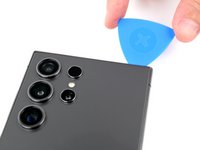
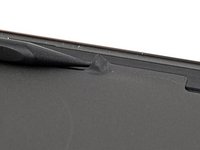
Slide the pick back and forth along the right edge to separate the adhesive.
-
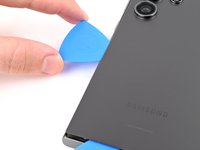
Leave the pick inserted near the bottom right corner to prevent the adhesive from resealing.
-
-
-
Apply a heated iOpener to the bottom edge of the back cover for two minutes.
-
-
-
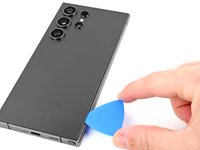
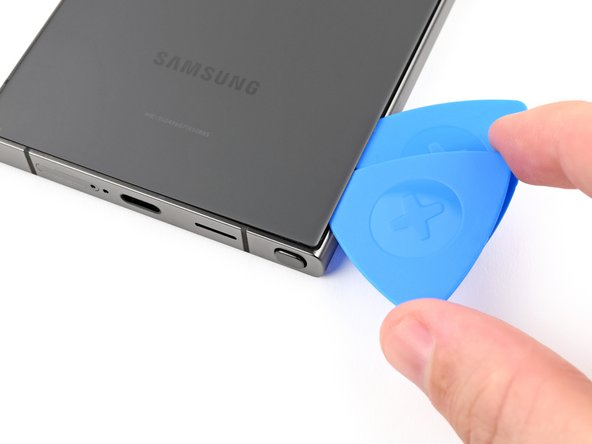
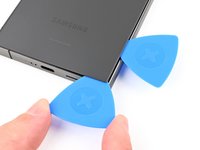
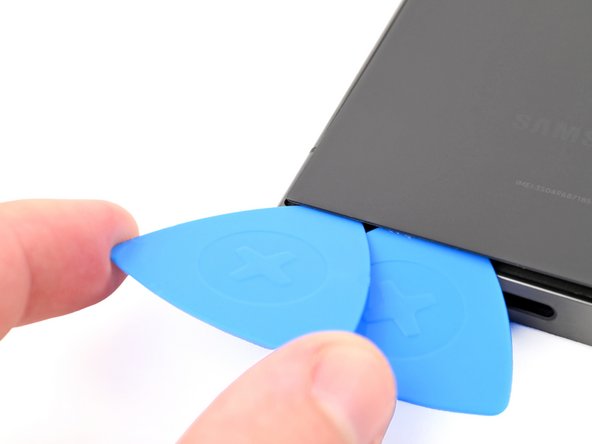
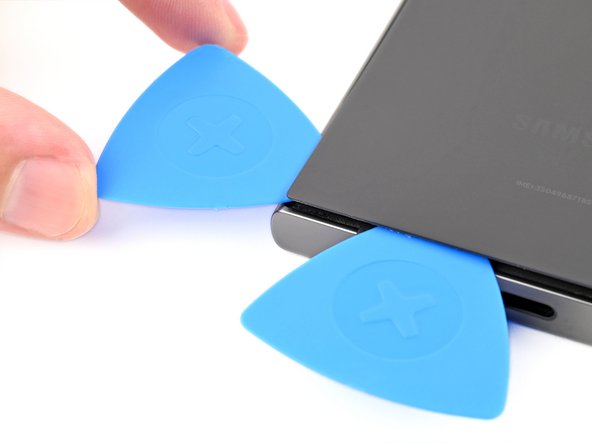
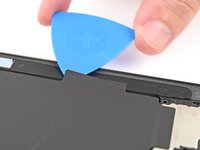
Insert a second opening pick next to the first one, near the bottom of the right edge.
-
Rotate the opening pick around the bottom right corner to separate the adhesive.
-
-
-
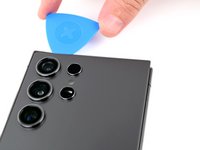
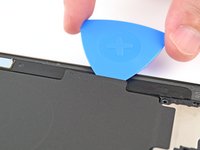
Slide the opening pick along the bottom edge to separate the adhesive.
-
Leave the pick inserted near the bottom left corner to prevent the adhesive from resealing.
-
-
-
Apply a heated iOpener to the left edge of the back cover for two minutes.
-
-
-
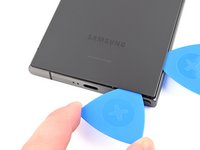
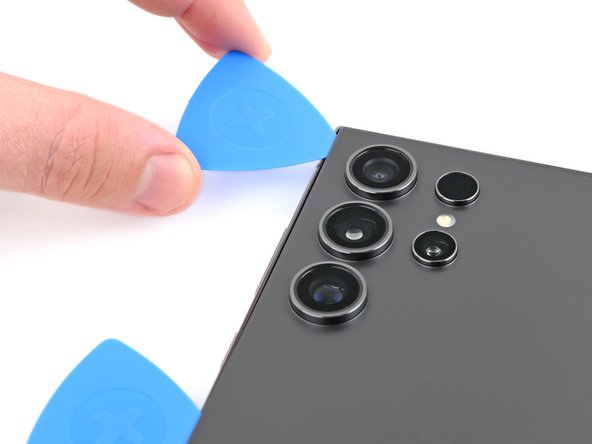
Insert a third opening pick next to the second one, near the left side of the bottom edge.
-
Rotate the opening pick around the bottom left corner to separate the adhesive.
-
-
-
Slide your opening pick along the left edge to separate the adhesive, stopping before you reach the power button.
-
Leave the pick inserted near the power button to prevent the adhesive from resealing.
-
-
-
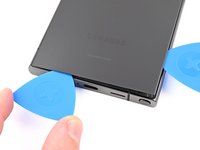
Apply a heated iOpener to the top edge of the back cover for two minutes.
-
-
-
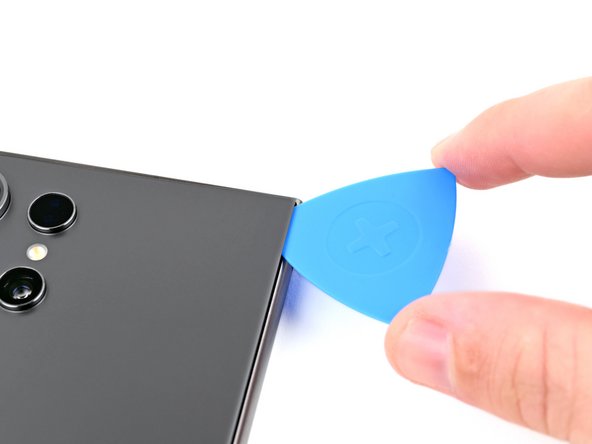
Insert an opening pick in the gap at the top of the right edge.
-
Rotate the opening pick around the top right corner to separate the adhesive.
-
-
-
Slide the pick around the top left corner and down the left edge to separate the remaining adhesive.
-
-
-
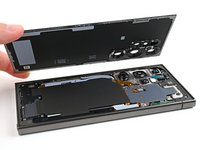
Grab and remove the back cover.
-
Remove any adhesive chunks with a pair of tweezers or your fingers. Apply heat if you're having trouble separating the adhesive.
-
If you're using custom-cut adhesives, follow this guide.
-
If you're using double-sided tape, follow this guide.
-
-
-
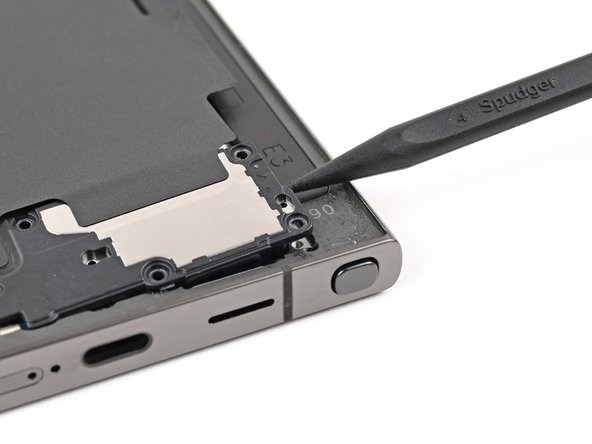
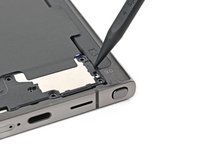
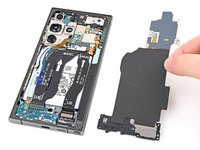
Use a spudger to pry up and disconnect the wireless charging coil press connector from the motherboard.
-
-
-
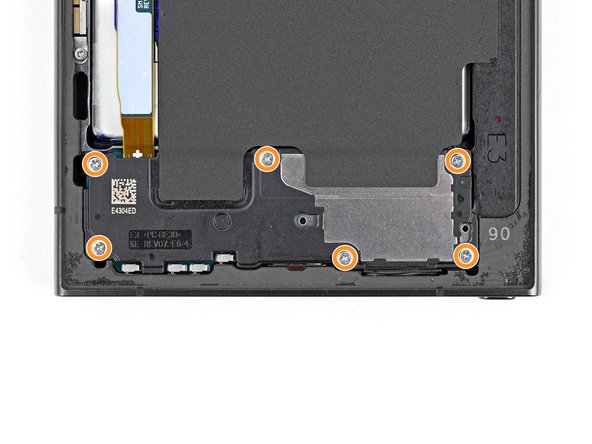
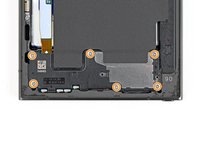
Use a Phillips screwdriver to remove the ten 3.5 mm‑long screws securing the wireless charging coil and the loudspeaker:
-
Four screws securing the wireless charging coil
-
Six screws securing the loudspeaker
-
-
-
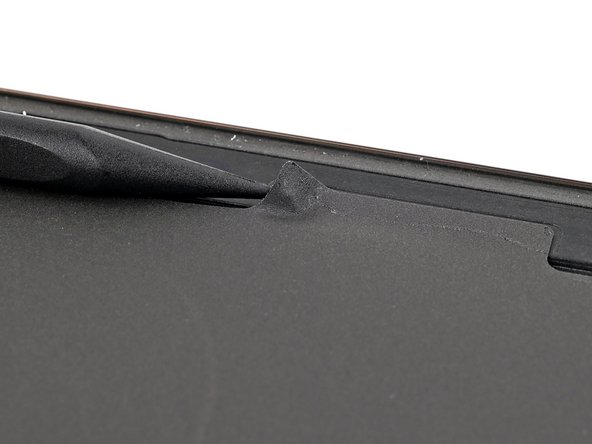
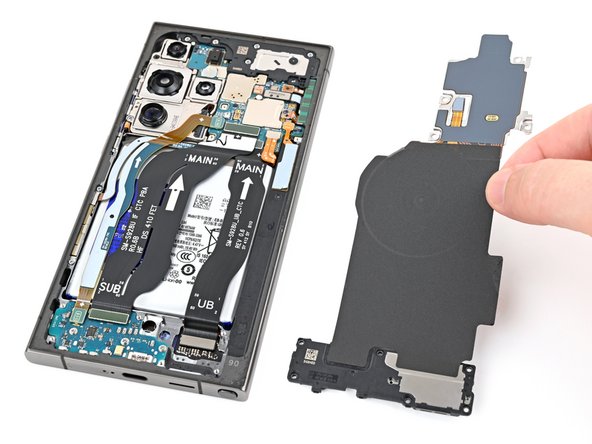
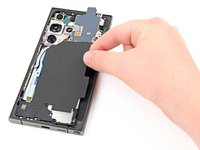
Use a spudger to gently pry up a corner of the tab of the wireless charging coil that's adhered to the right edge of the frame.
-
-
-
Insert the point of a spudger into the gap between the right edge of the loudspeaker and the frame.
-
Pry up to unclip the loudspeaker from the frame.
-
-
-
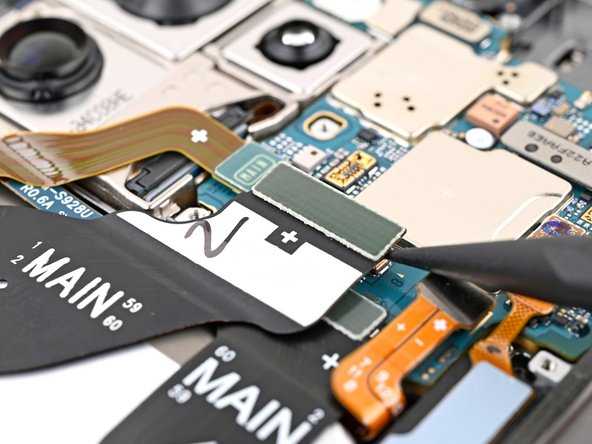
Use a spudger to pry up and disconnect the battery press connector.
-
-
-
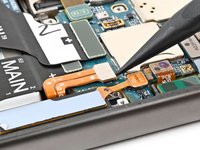
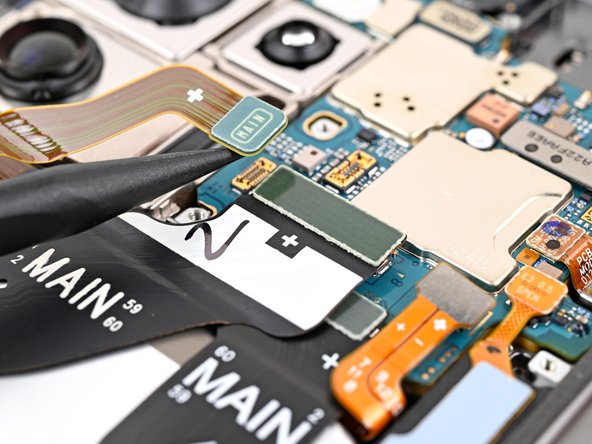
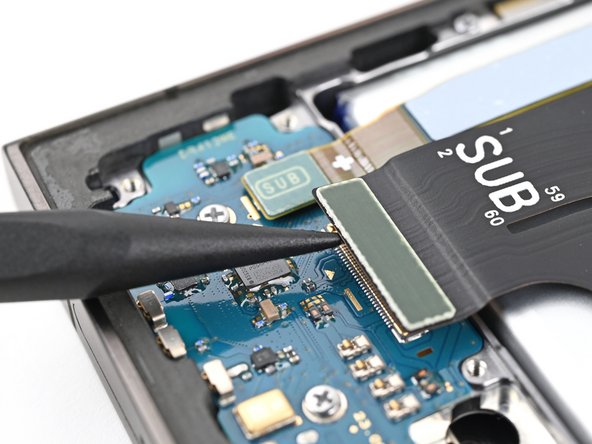
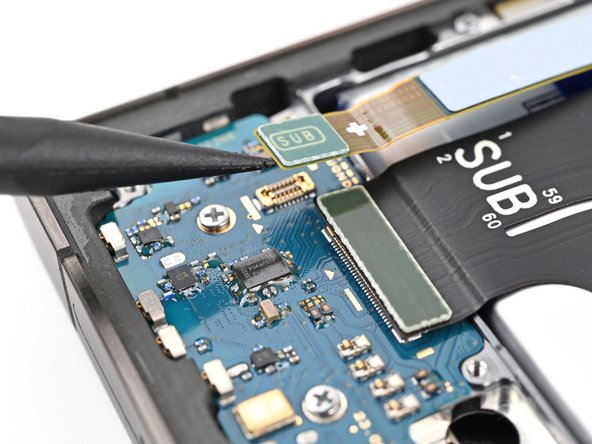
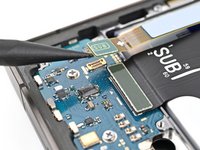
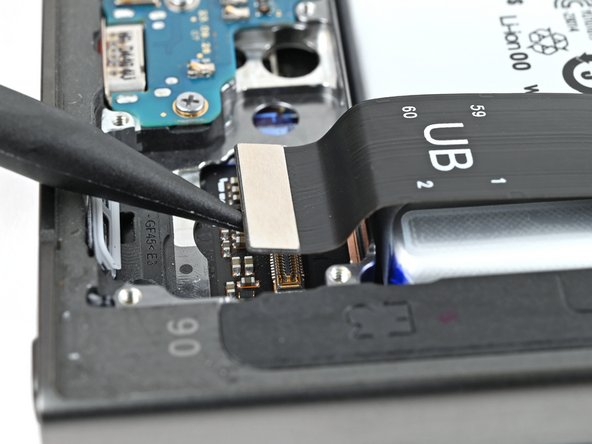
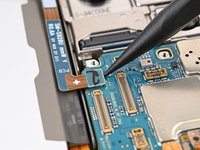
Use a spudger to pry up and disconnect both interconnect cable press connectors from the motherboard.
-
-
-
Use a spudger to pry up and disconnect both interconnect cable press connectors from the daughterboard.
-
-
-
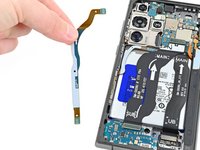
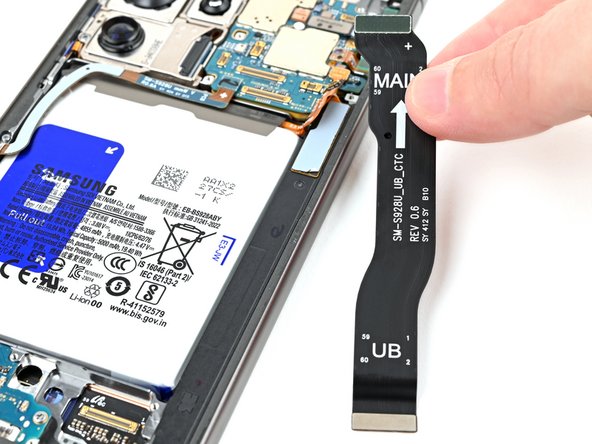
Grab and remove the interconnect cables from the phone.
-
-
-
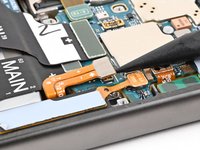
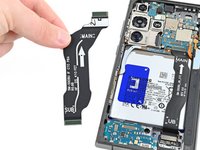
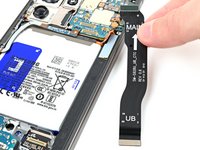
Use a spudger to pry up and disconnect the display cable press connector from the motherboard.
-
-
-
Use a spudger to pry up and disconnect the display cable press connector from the daughterboard.
-
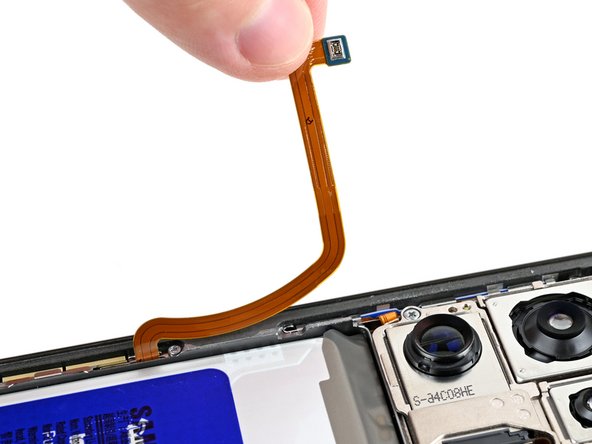
Grab and remove the display cable.
-
-
-
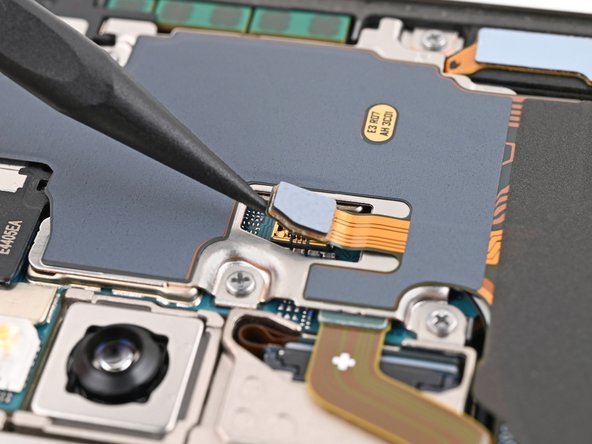
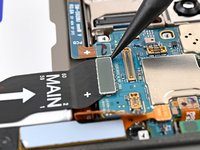
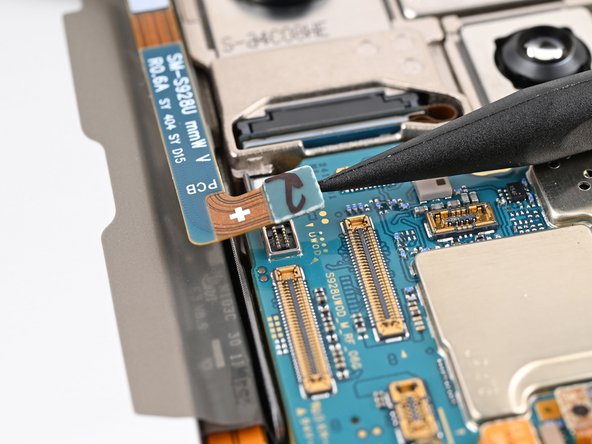
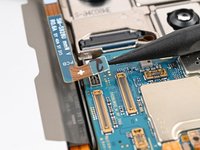
Use a spudger to pry up and disconnect the lower antenna cable press connector from the motherboard.
-
Move the lower antenna cable so it is out of the way of the battery.
-
-
-
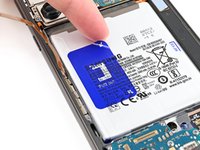
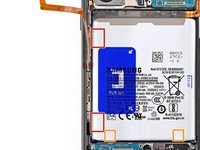
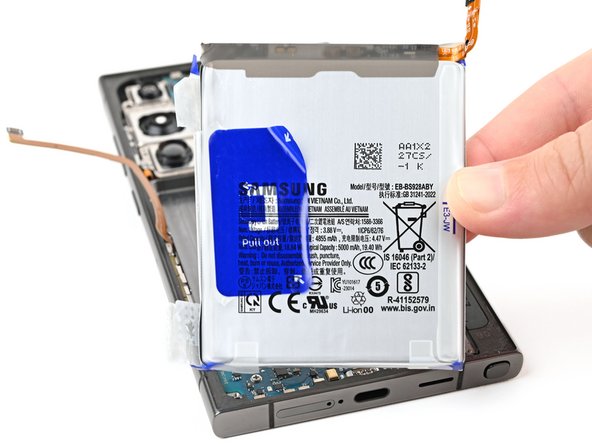
Peel the battery pull tab away from the battery, towards the left edge of the phone.
-
-
-
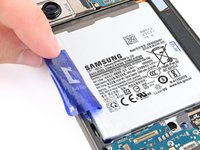
Separate the small, clear tabs above and below the blue part of the pull tab from the rest of the pull tab.
-
Bend these small tabs away from the battery to make sure they stay clear of the battery.
-
Your device may have two tabs on the bottom edge of the battery. These are designed to tear away during the next step, but if you have trouble removing the battery, you can carefully peel these tabs up as well.
-
-
-
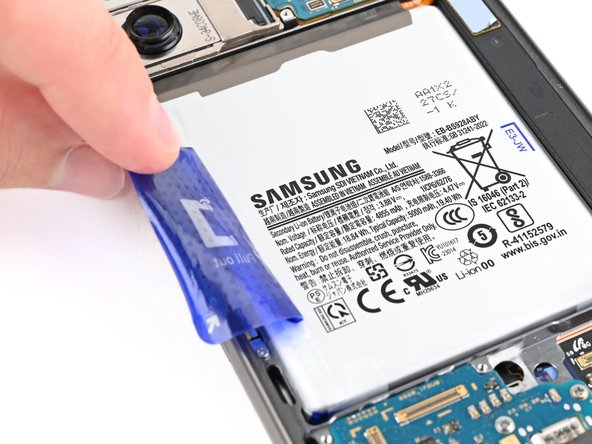
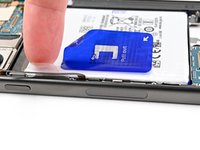
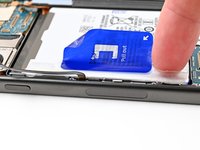
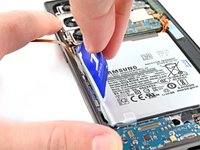
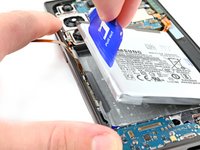
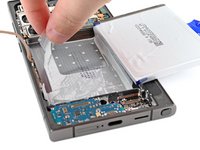
With one hand firmly holding down the frame of the phone, use firm, steady force to lift the blue pull tab straight up until the battery separates from the bottom layer of adhesive film.
-
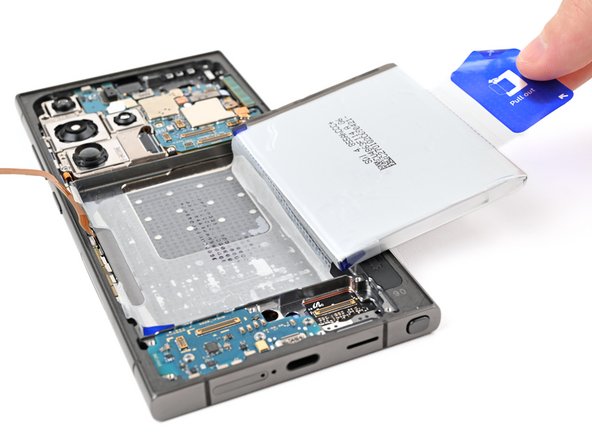
Lay the battery over the right edge of your phone.
-
-
-
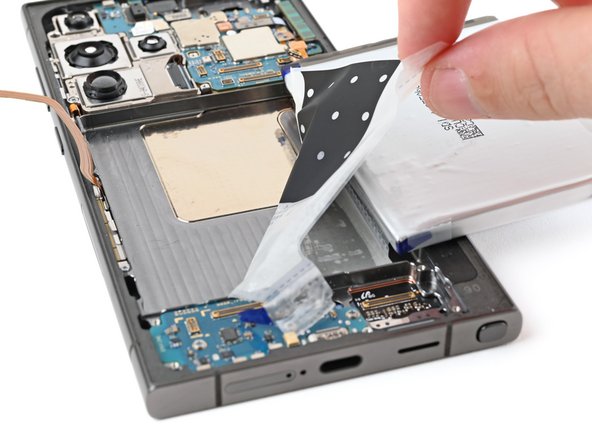
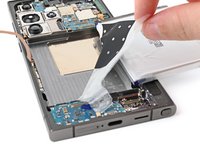
Peel up the remaining film from the frame.
-
Remove the battery.
-
If you used isopropyl alcohol, wait ten minutes before installing the new battery to allow the alcohol to completely evaporate.
-


To reassemble your device, follow these instructions in reverse order.
For optimal performance, calibrate your newly installed battery after reassembling your phone.
Repair didn’t go as planned? Try some basic troubleshooting, or ask our Answers community for help.
Take your e-waste to an R2 or e-Stewards certified recycler.
Отменить: Я не выполнил это руководство.
3 человек успешно провели ремонт по этому руководству.


2 Комментариев
Can i use the s24 ultra battery to my s22 ultra? because the s24 ultra has a higher battery capacity than the S22 ultra battery. thanks in advance for the response
It's too good to be true! Beacause the S22 Ultra itself it's not predisposed for a larger battery and this can may affect your phone functionality. Stay safe!